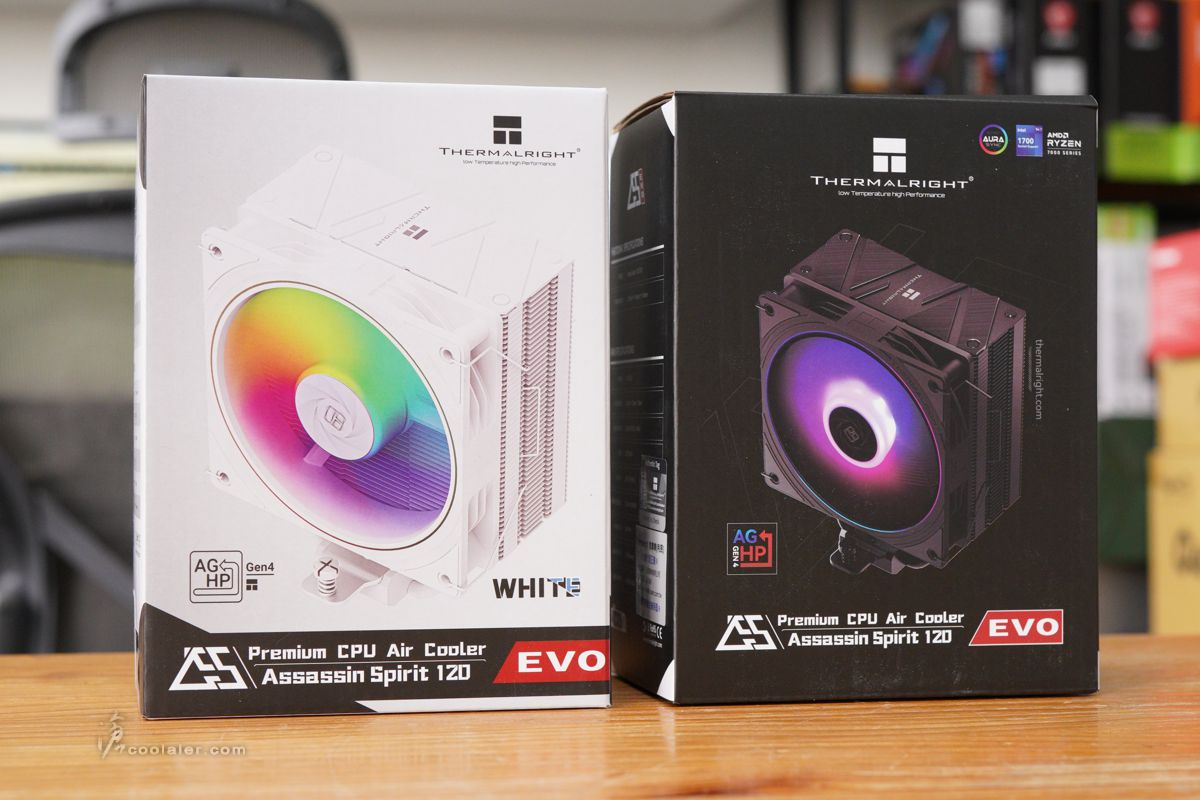
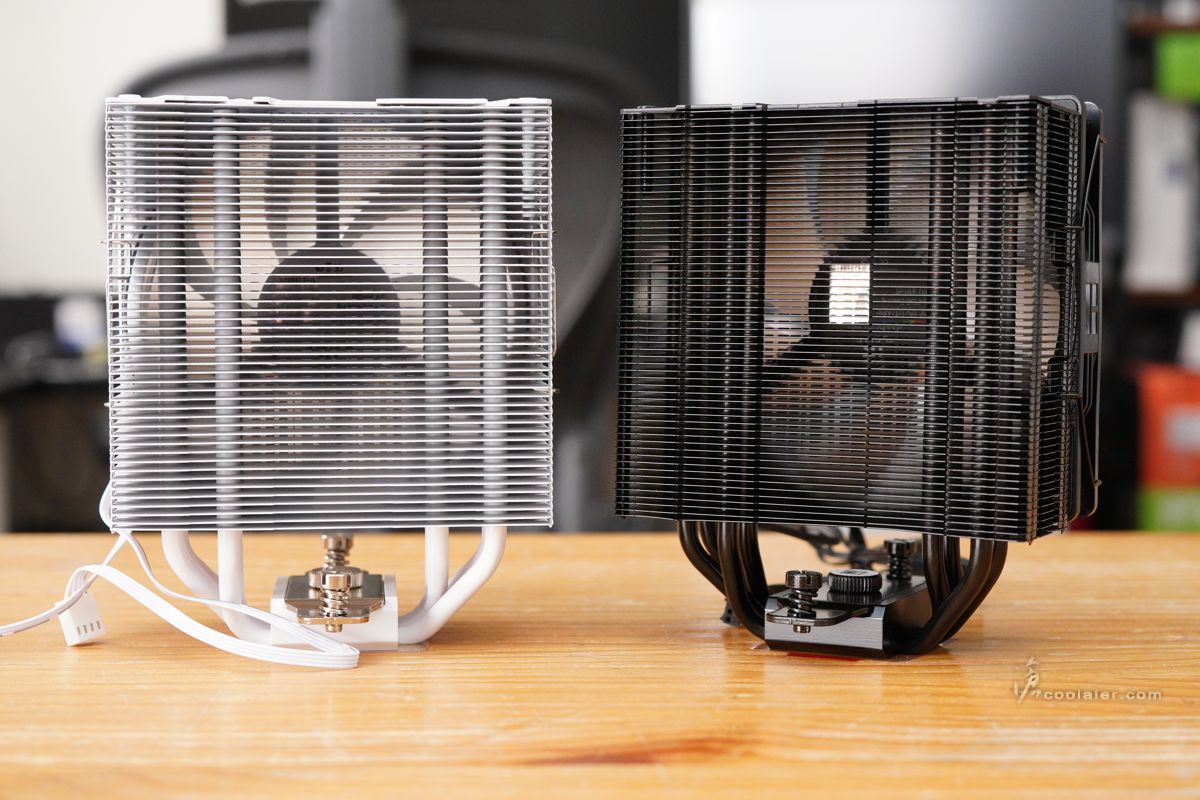
Thermalright 的 Assassin Spirit 系列是屬於單塔型散熱器,在散熱定位上屬於入門、中階取向,目前該官網上該系列就有9款產品,大致上分為單風扇、雙風扇、有燈效、無燈效、有上蓋飾板、無上蓋、高風壓風扇、黑色、白色這些的變化組合。而此次開箱的 Assassin Spirit 120 EVO 有黑色以及白色 White ARGB 兩種,採用單風扇、有燈效支援以及有上蓋飾版。
Assassin Spirit 120 EVO 有黑色以及白色 White ARGB 兩種可選。
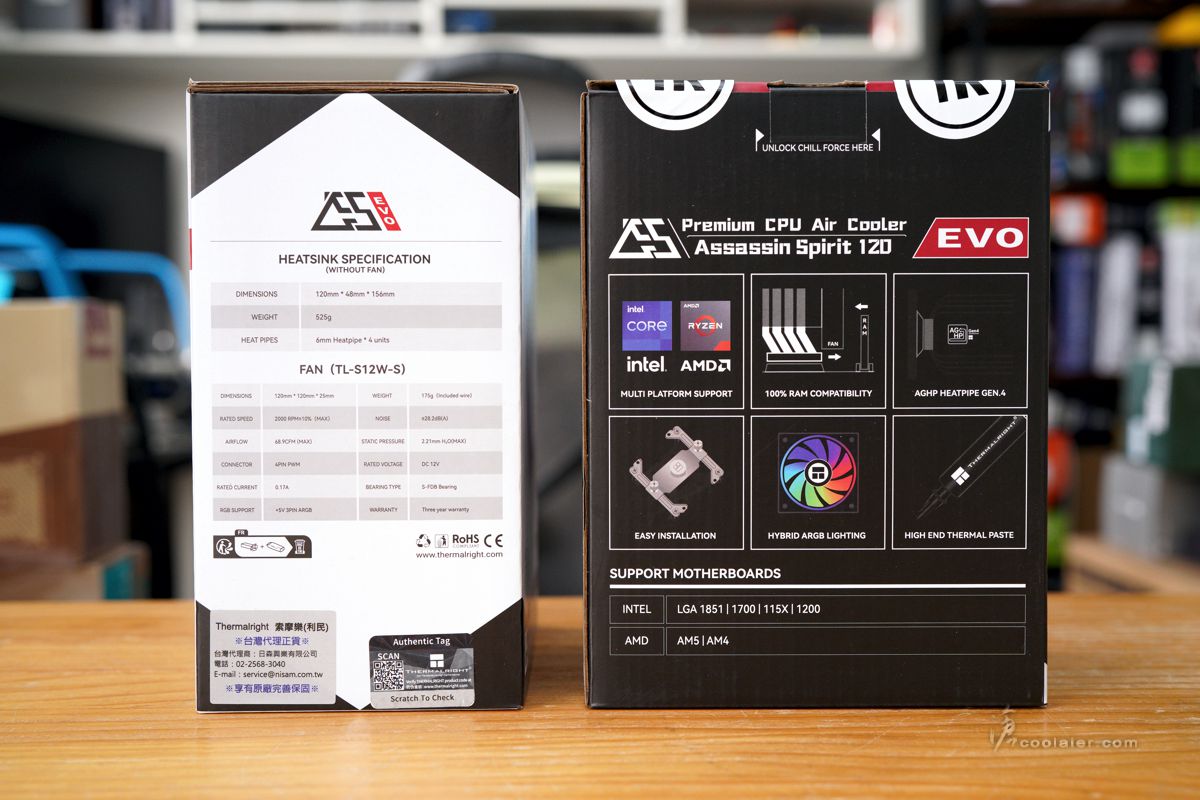
Assassin Spirit 120 EVO 規格
適用平台:Intel LGA 1700 / 1200 / 115x ;AMD AM5 / AM4
尺寸:長120 mm × 寬48 mm × 高156 mm
重量:525g ( 不含風扇 )
熱管:6 mm熱管×4支
風扇尺寸:長120 mm × 寬120 mm × 高25 mm
風扇轉速:2000 RPM ( MAX )
風扇噪聲:28.2 dBA ( MAX )
風量:68.9 CFM ( MAX )
風壓:2.21 mm H2O ( MAX )
接頭類型:4 Pin PWM 接頭
軸承類型:S-FDB 軸承
主要特色,適用於 Intel 與 AMD 多數平台 (連新的 LGA 1851 都標出來了)、記憶體不干涉、採用第四代逆重力熱管 AGHP 4.0、容易安裝、ARGB 風扇燈效、附有高階散熱膏。
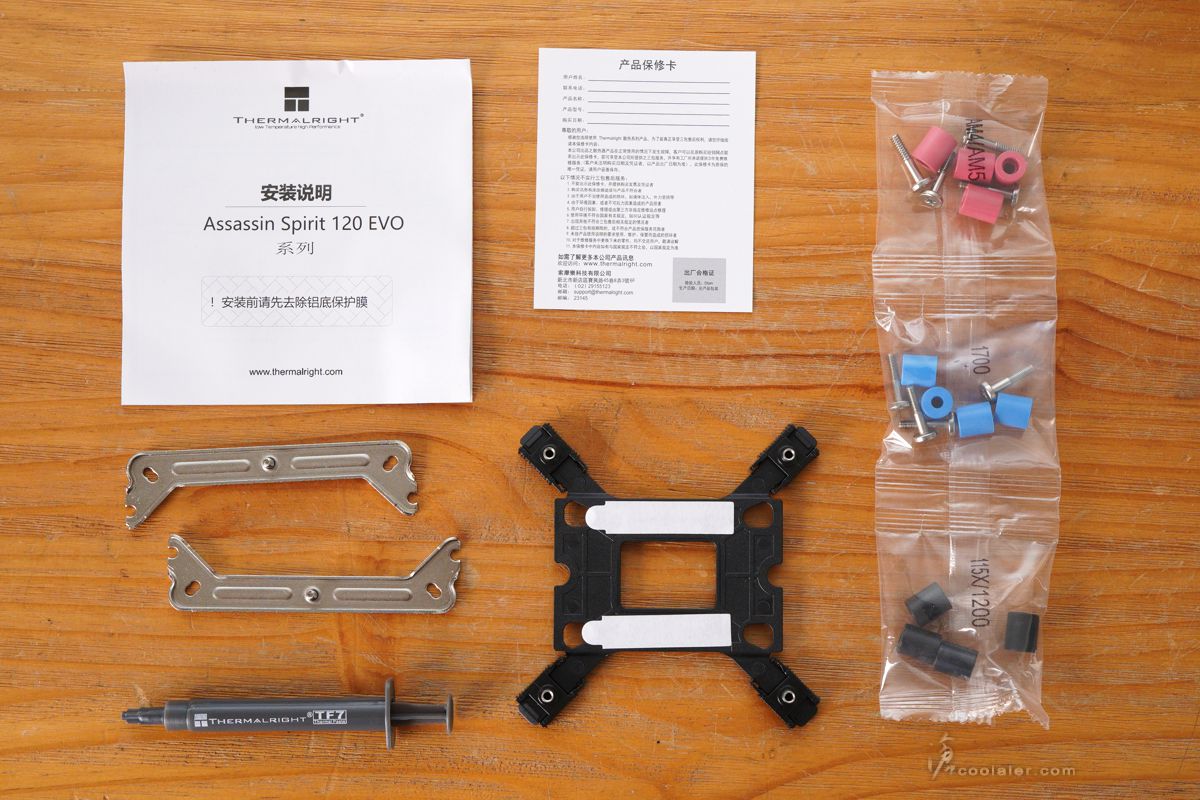
配件有說明書、扣具、散熱膏、Intel 背板、平台安裝螺絲套件。
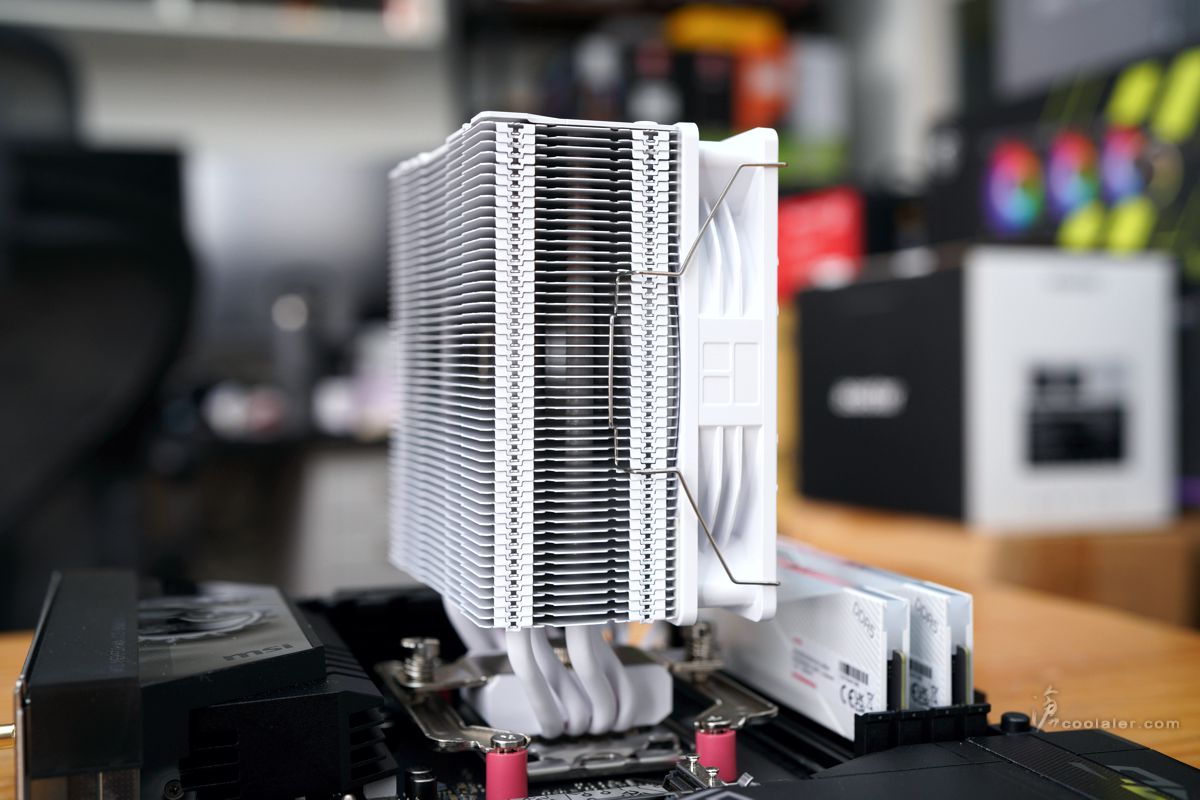
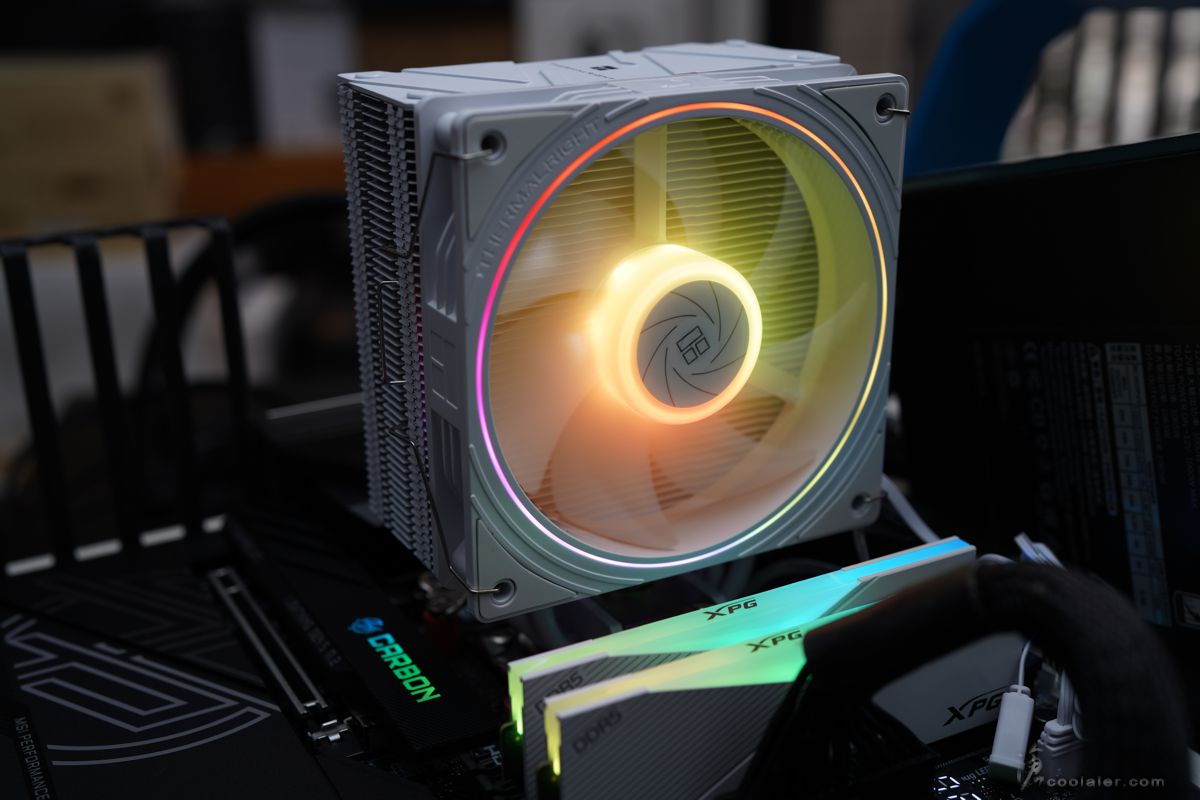
外觀採用單塔型設計搭配單風扇,入門中階適用,出廠就已經先把風扇裝上,風扇採用鐵絲扣具固定。

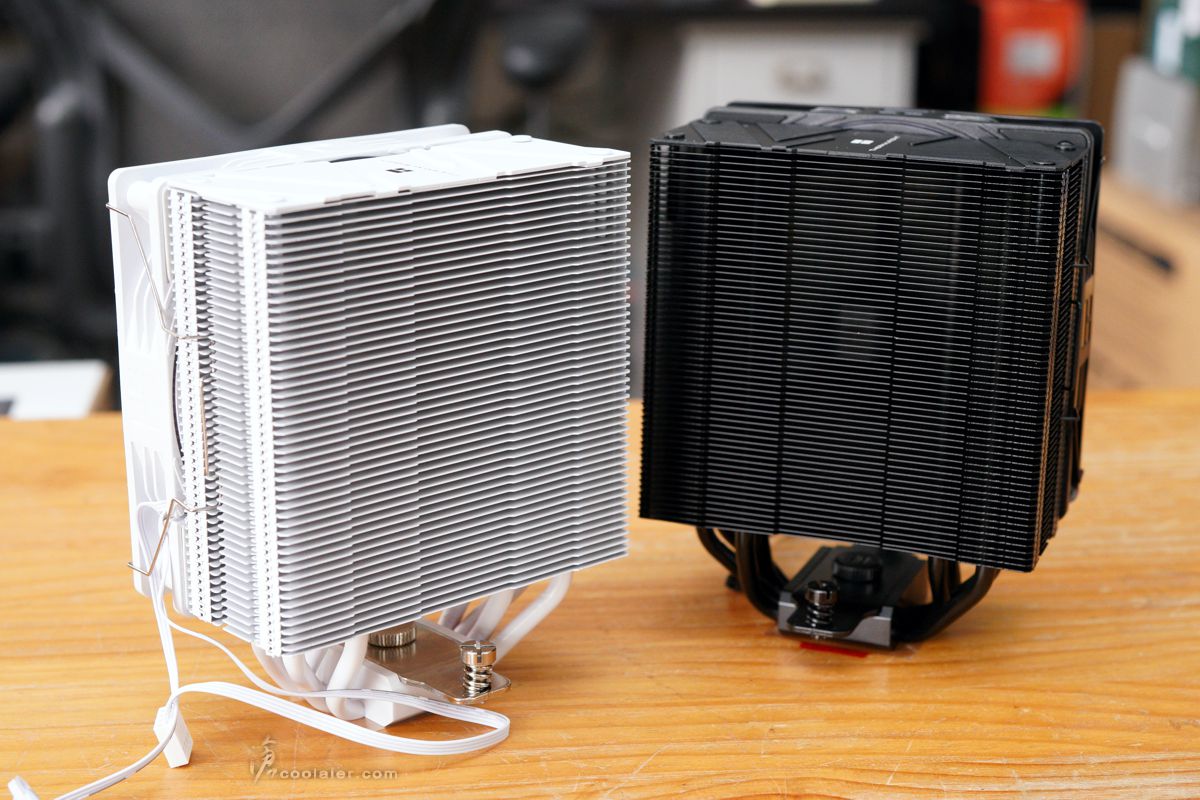
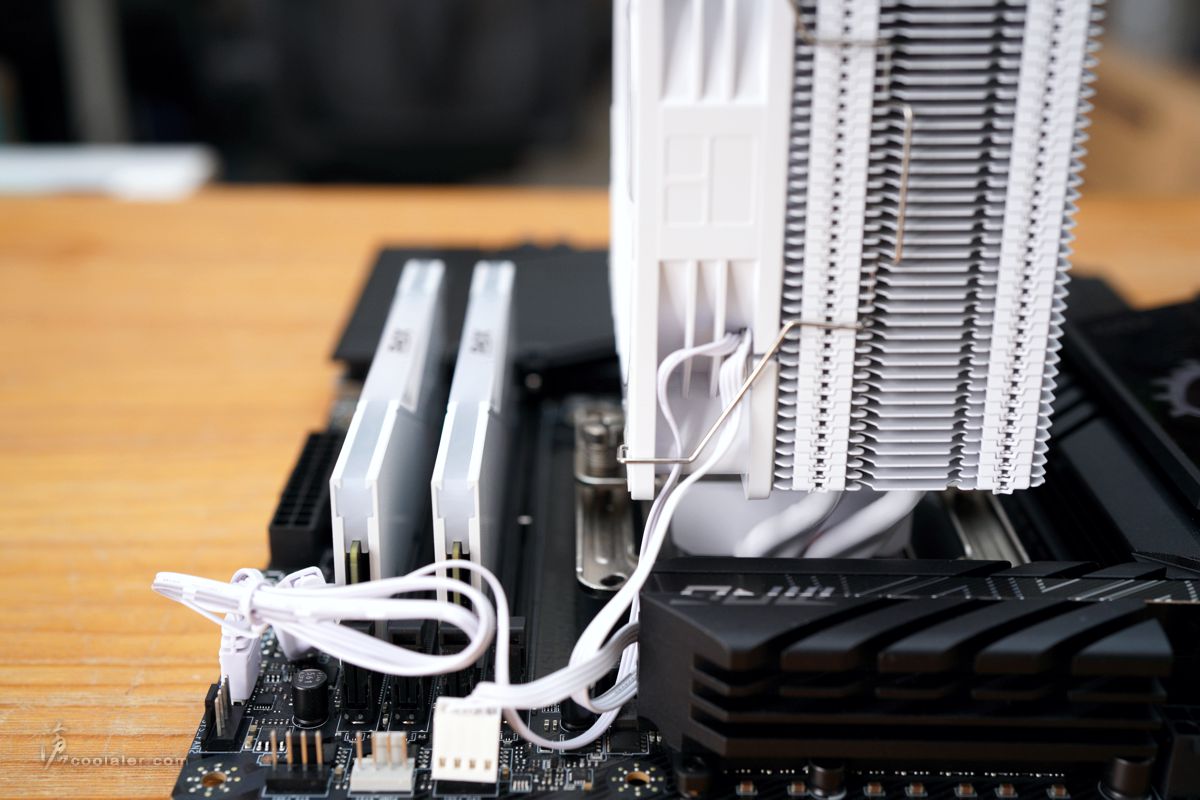
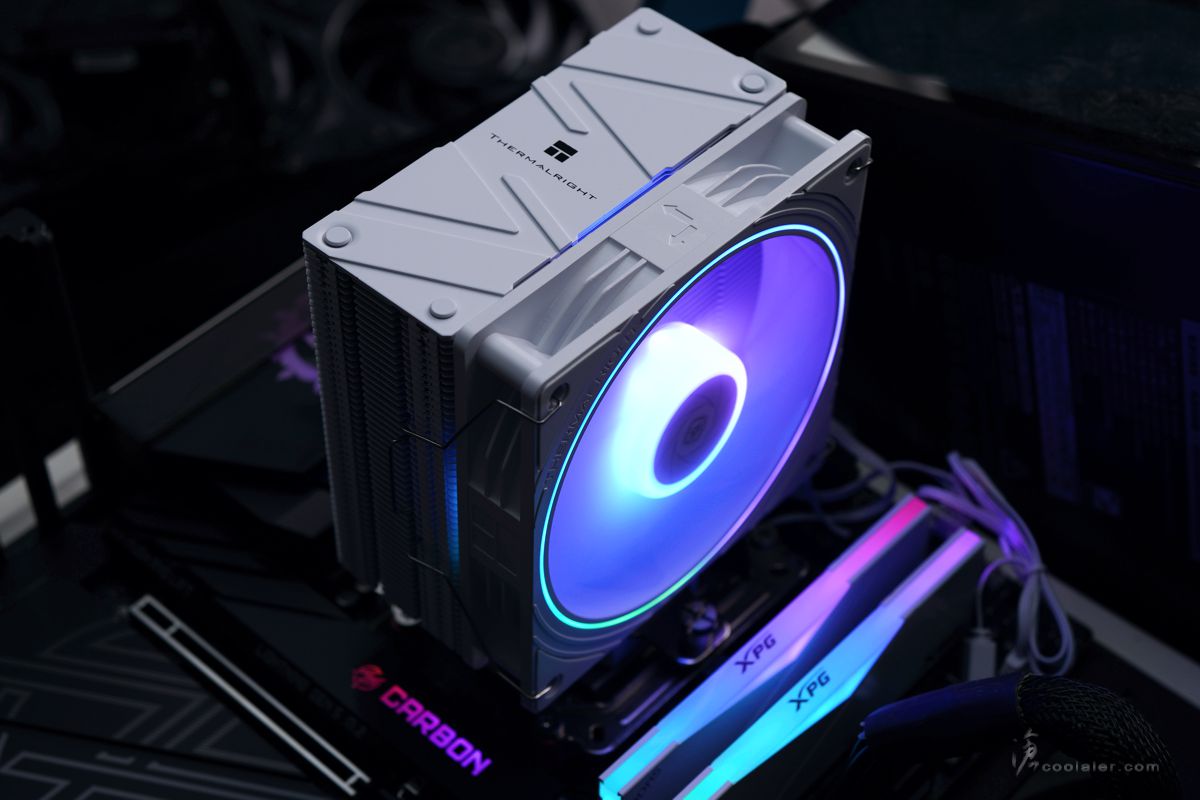
散熱器不含風扇寬度48mm(風扇25mm),與底座採用偏移設計,安裝風扇也不干涉記憶體。
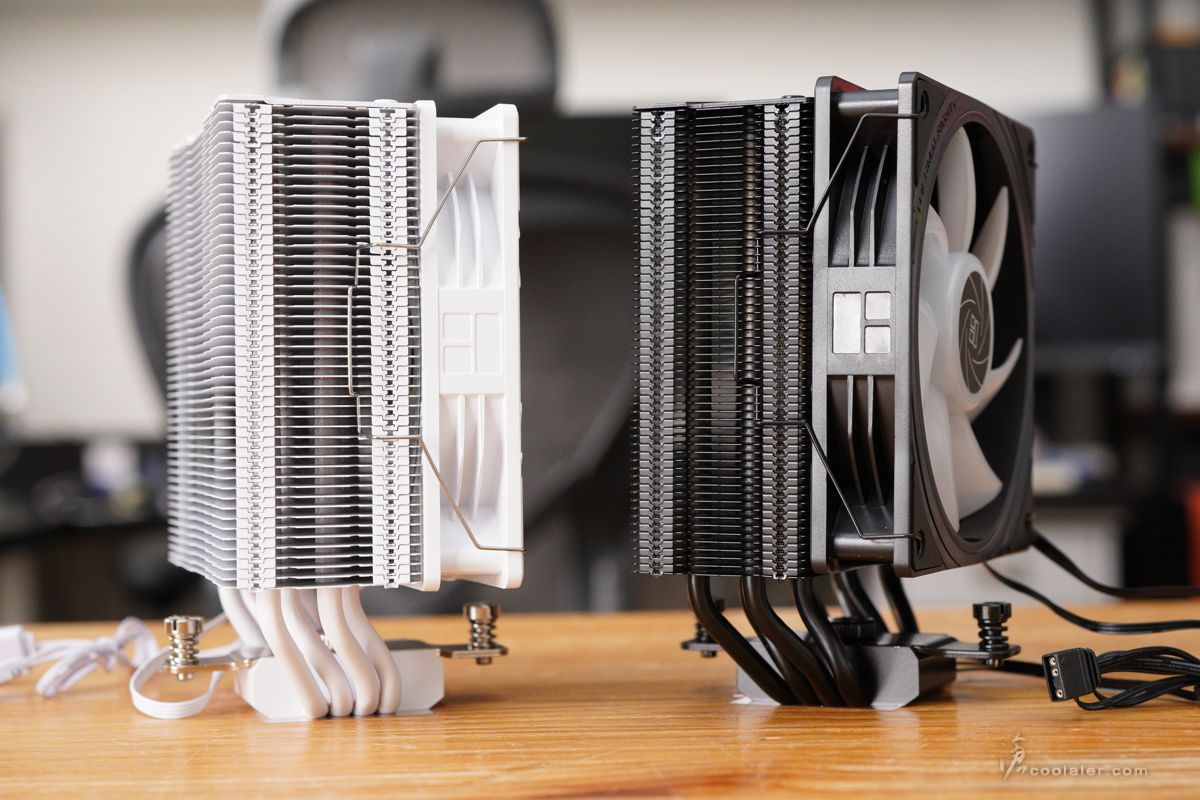
另一側隱約可見內部4根熱導管穿插於鰭片。
鰭片有相應顏色的烤漆處理,比起陽春銀要好看得多。也避免日後長時間使用氧化。
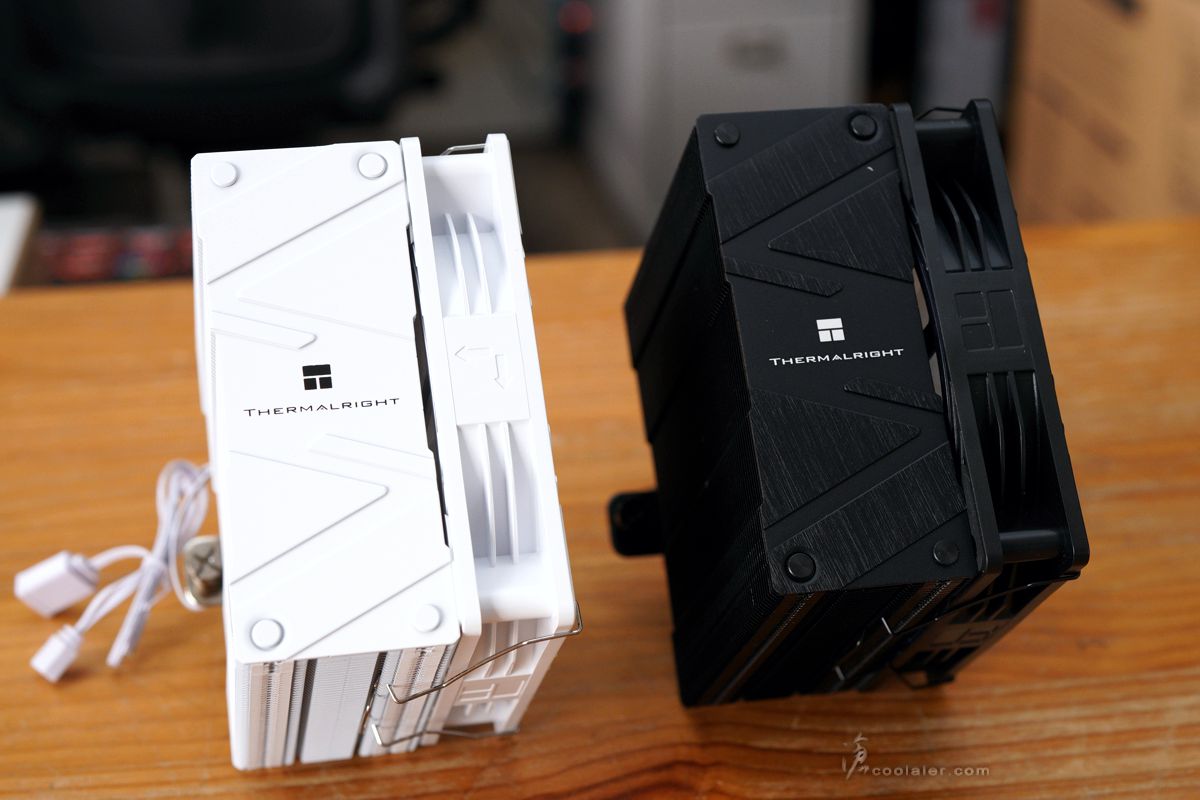
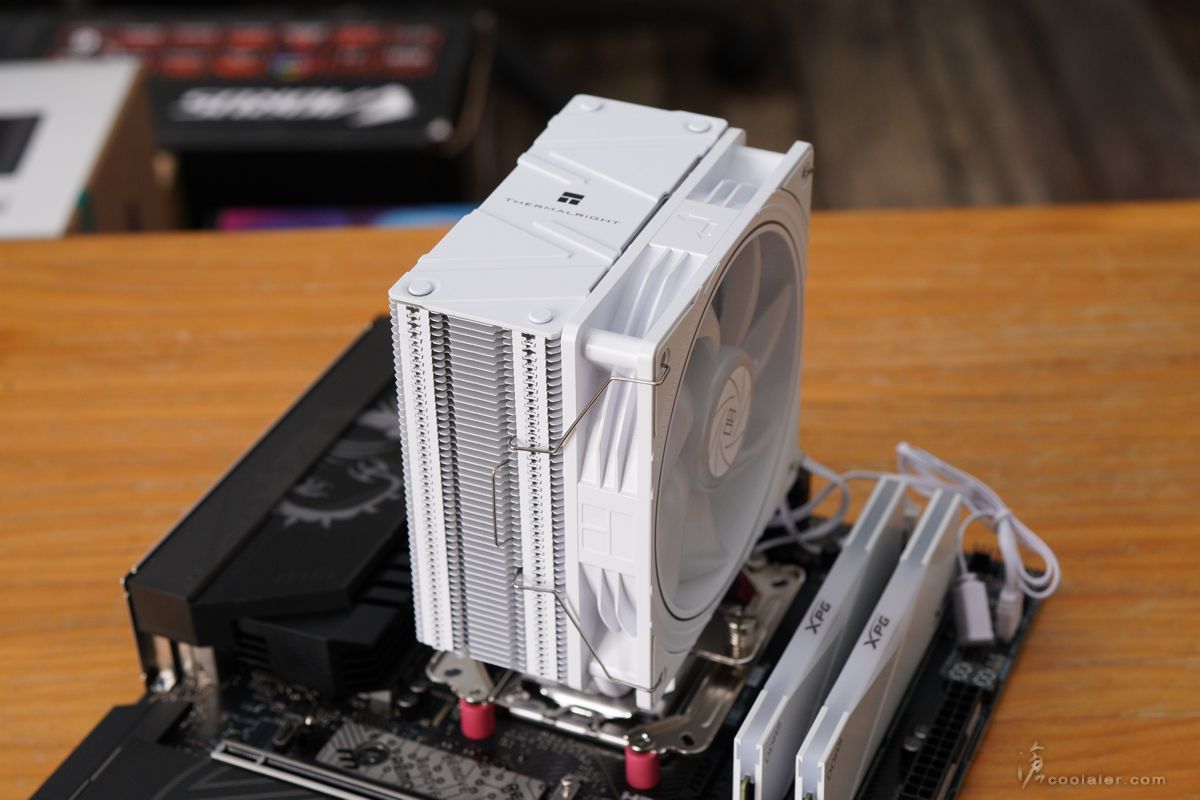
頂部有加上飾蓋,看起來就有質感許多,也適合透側。Assassin Spirit 也有無飾蓋的版本,上方直接看到裸露的熱導管。
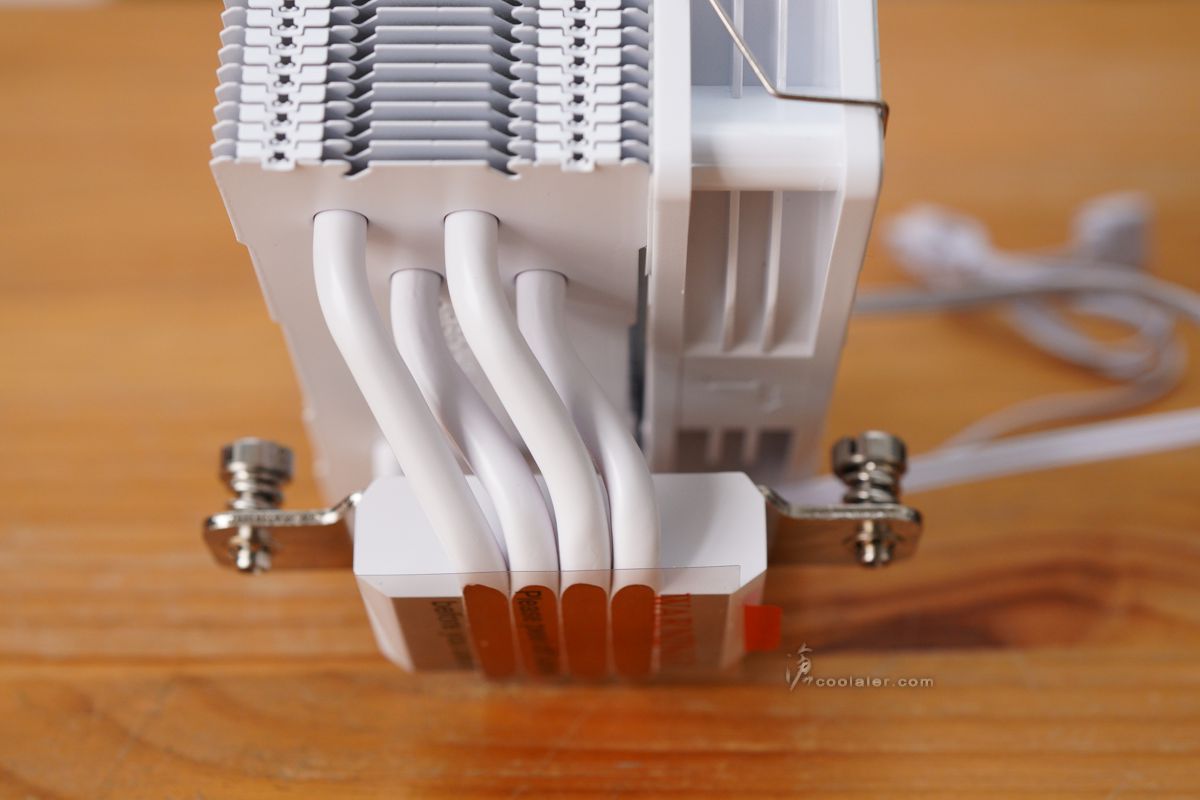
底部是採用熱導管直觸 CPU 的方式導熱。出廠外部貼有透明貼紙,避免氧化,安裝時務必移除。
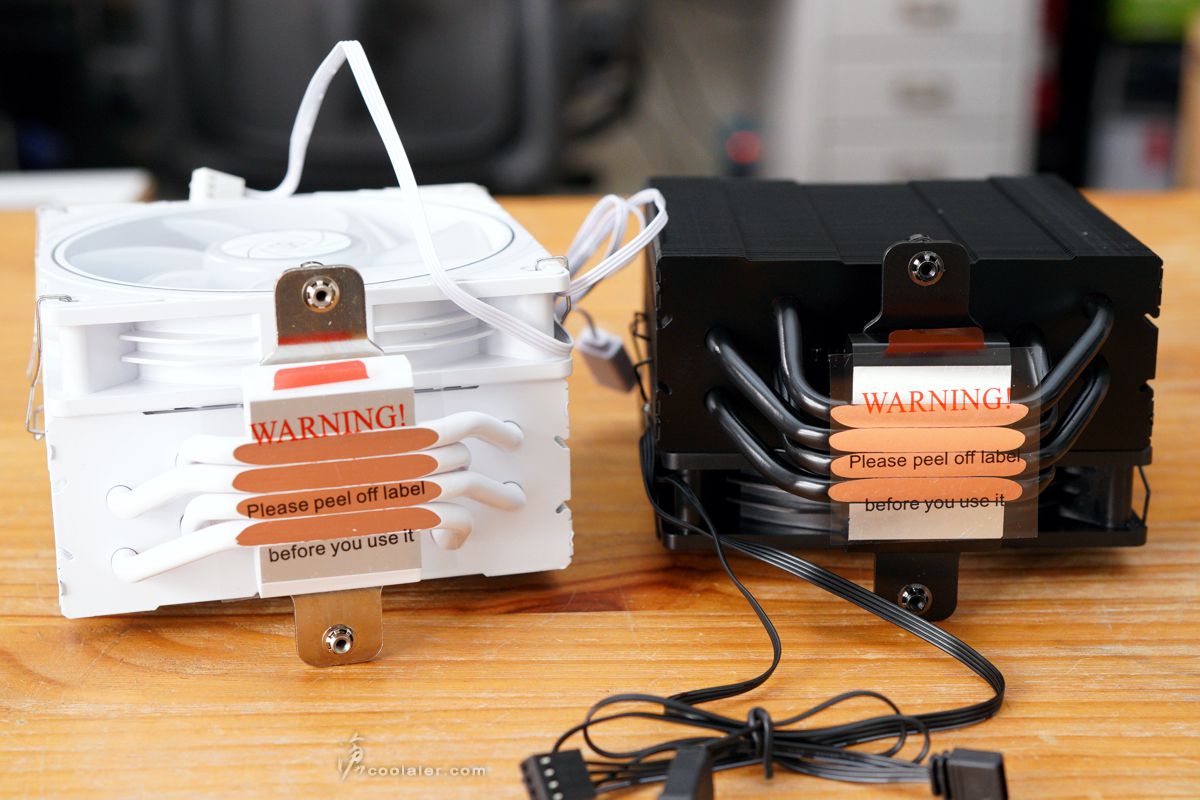
4根 6mm 的熱導管。
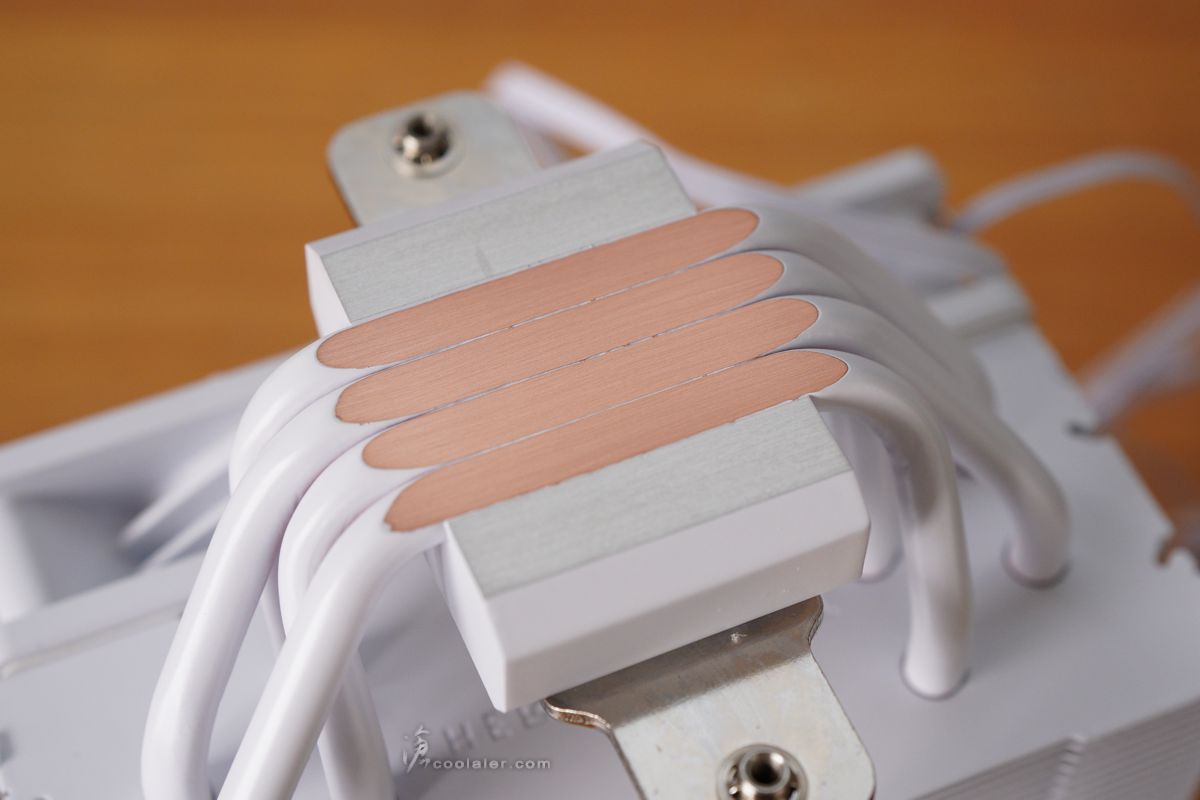
在熱導管外部也加上了烤漆處理避免氧化維持漂亮的外觀。
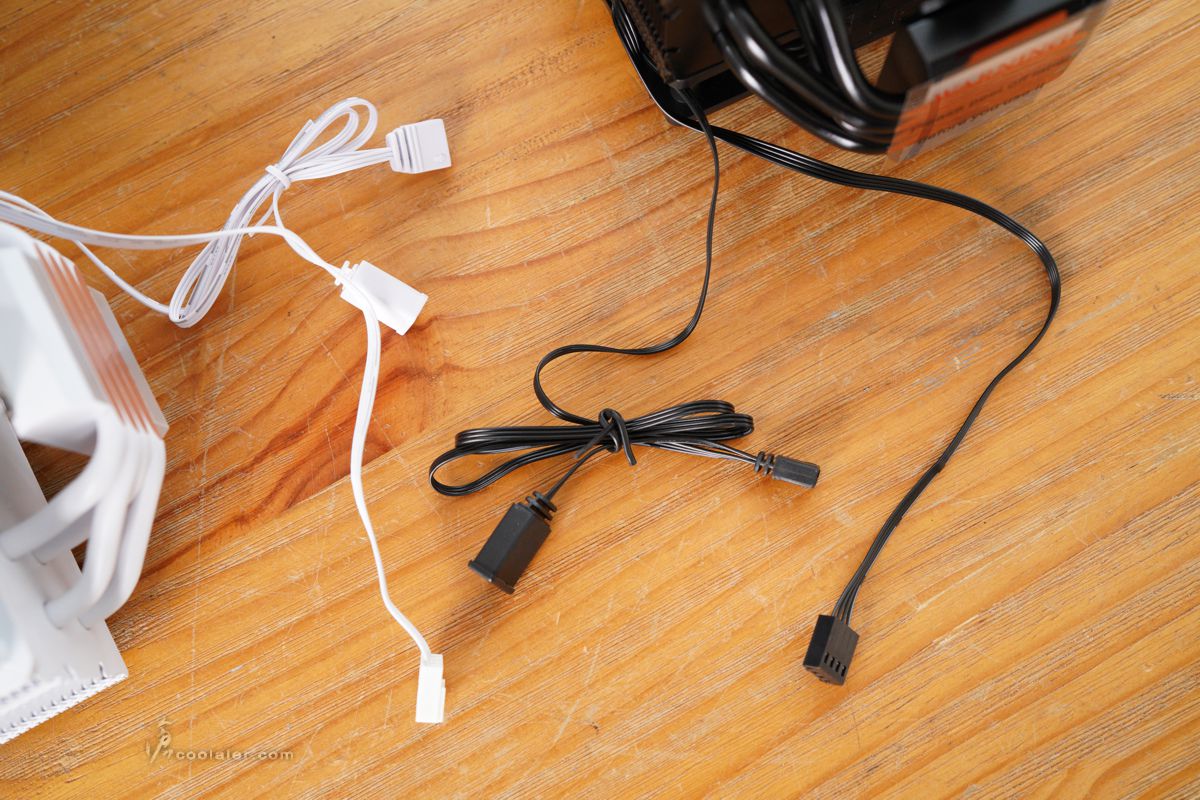
風扇兩條連接線,4pin 電源與 ARGB 串接燈效線。
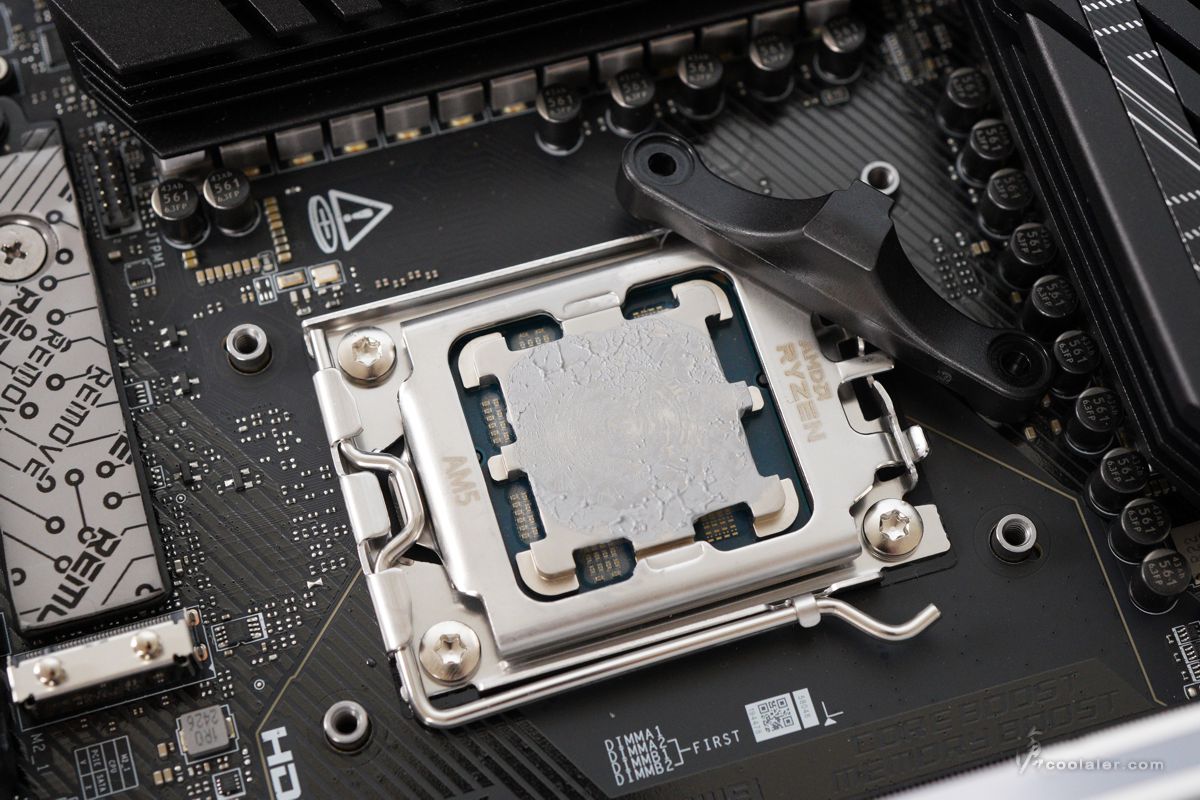
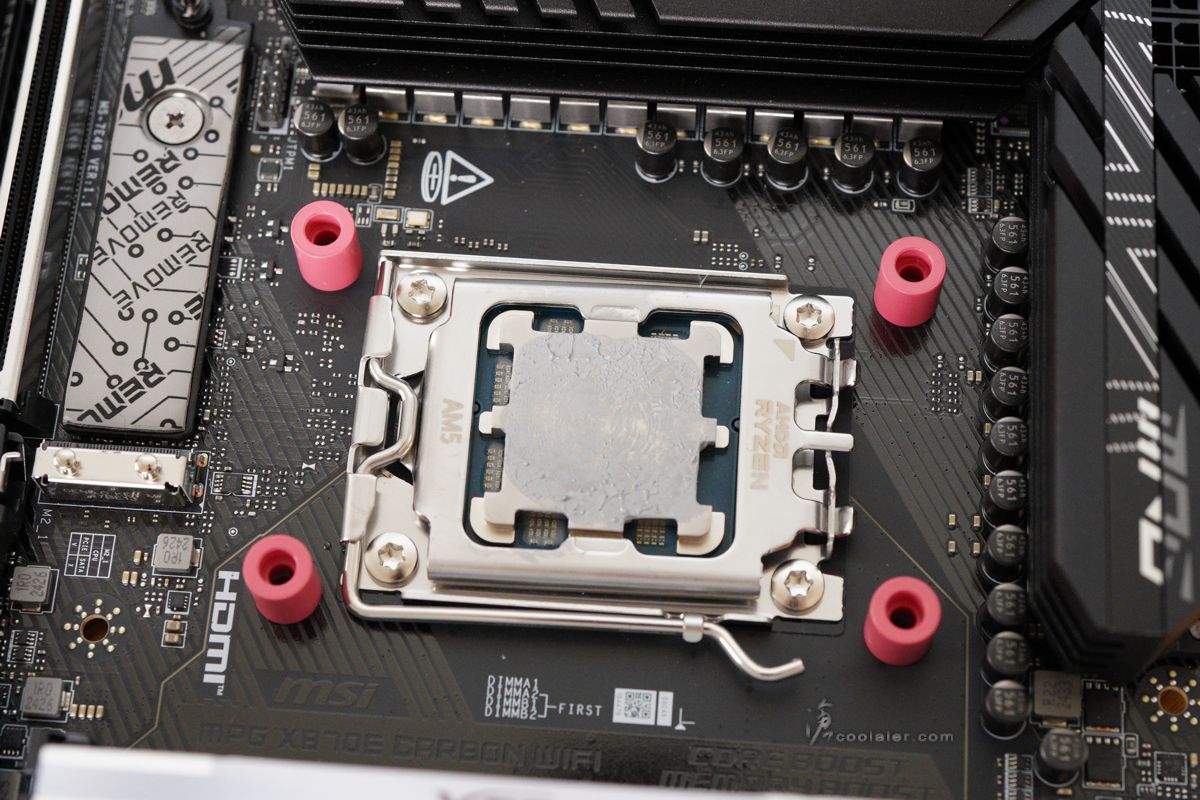
安裝平台為 AM5,首先需要先拆下原本主機板上的扣具支架。
四邊套上墊高的塑膠套筒。不知道為何是使用這種桃紅色,黑色或白色不是比較搭嗎?
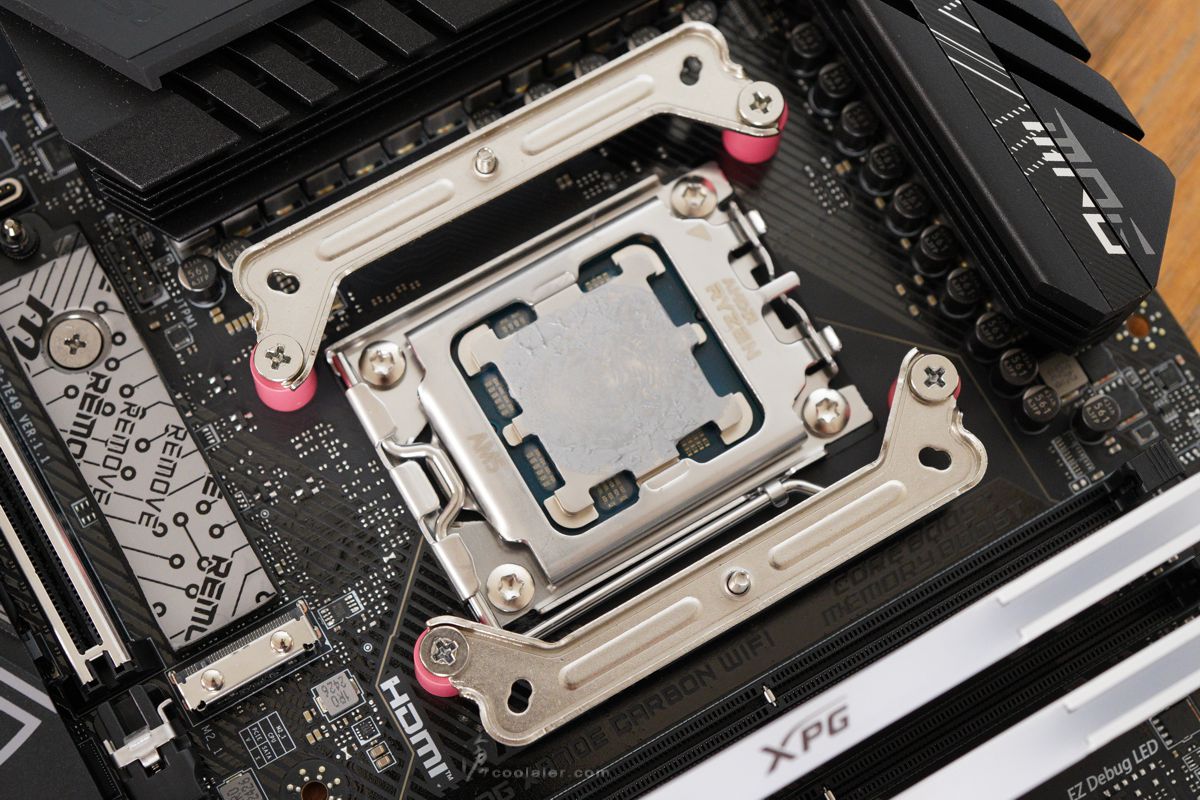
套上 AMD 平台的扣具,兩邊鎖上螺絲固定。
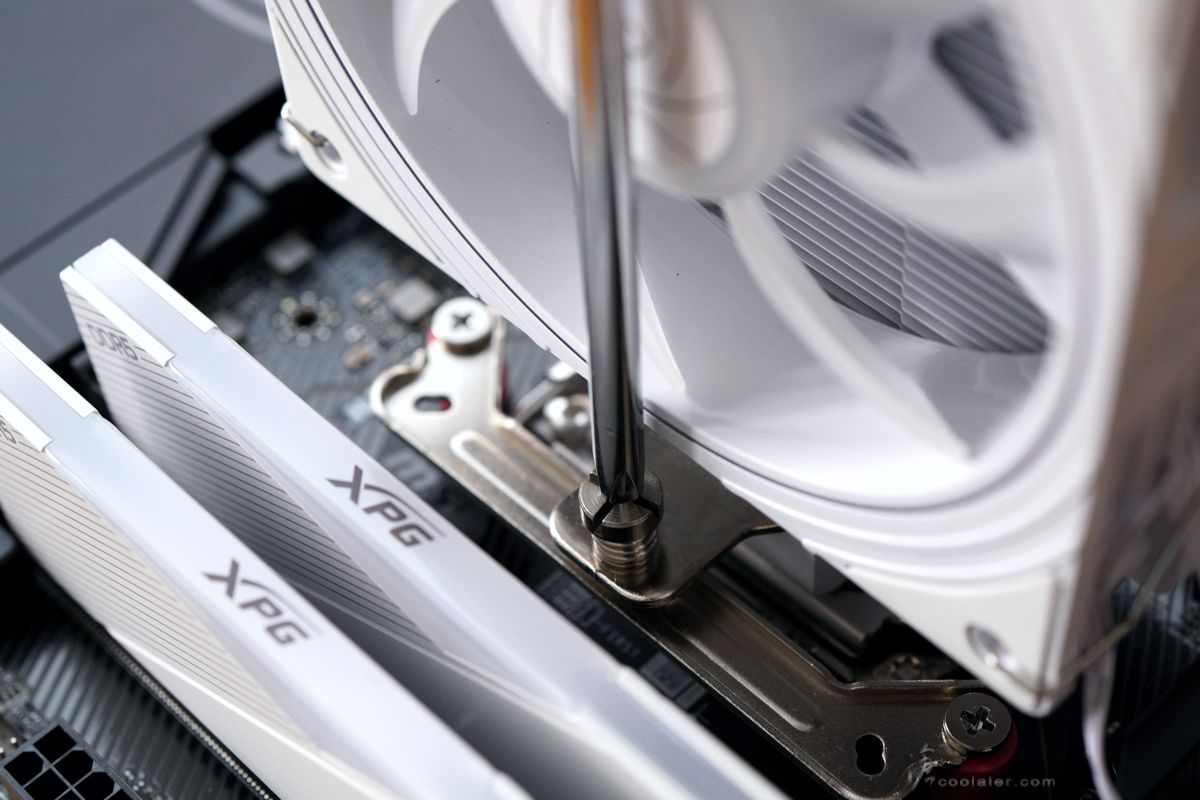
裝上散熱器,對應兩邊扣具上的鎖點固定。
來上一整套白色應該也很不錯。
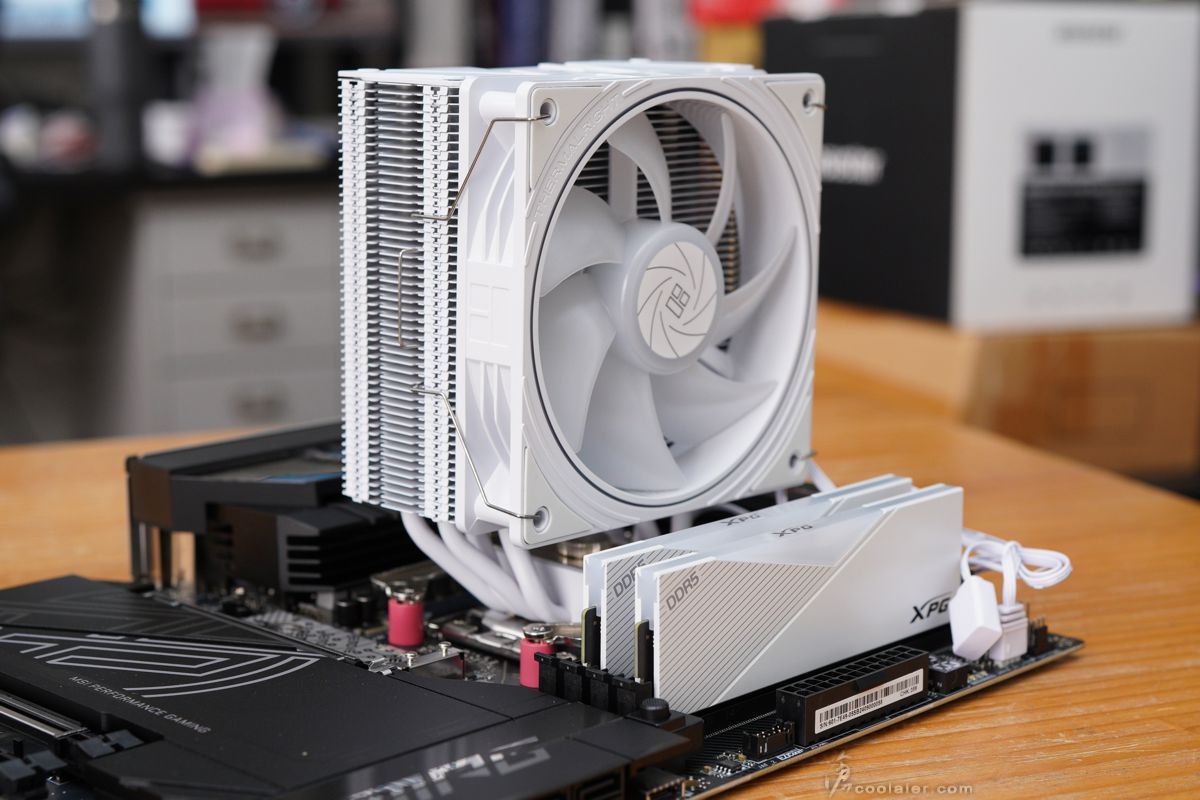
記憶體的部分是完全不干涉,插滿四根或是較高的記憶體散熱片都沒關係。
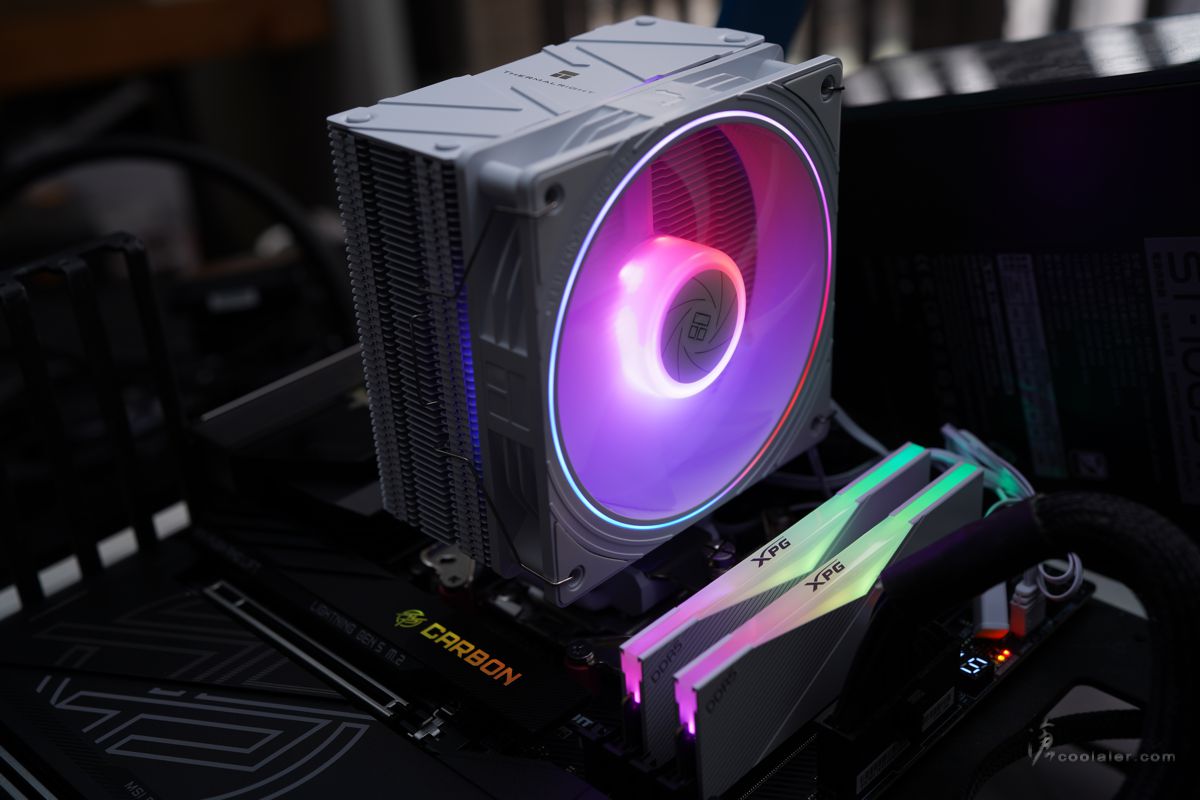
燈效的部分是直接連接到主機板上由主板控制,也可以支援控制器,例如有些機殼帶有控制器的那種。
測試平台
CPU: AMD Ryzen 5 9600X
CPU Cooler: Thermalright Assassin Spirit 120 EVO White ARGB
RAM: ADATA LANCER RGB DDR5-8000 16GBx2
MB: MSI MPG X870E CARBON WIFI
VGA: MSI RTX 4060 Ti GAMING X TRIO
SSD: GIGABYTE AORUS Gen4 SSD 1TB
PSU: InWin 1065W
OS: Windows 11
使用 AMD Ryzen 5 9600X 處理器,測試 65W 預設以及 105W 超頻的兩種溫度以及效能。
CINEBENCH R23
65W:15725 pts
最高溫:72度

這個分數與之前測得 9600X 於 AIO 360 水冷的分數差不多,並沒有掉速。
65W (3分鐘):15572 pts
最高溫:72度

拉長三分鐘的全負載測試,分數小降一些,但這僅於是誤差值內而已。溫度則並沒有更高,一樣72度。
接著換到 105W ,BIOS 並無其他設定。
105W:16942 pts
最高溫:95度
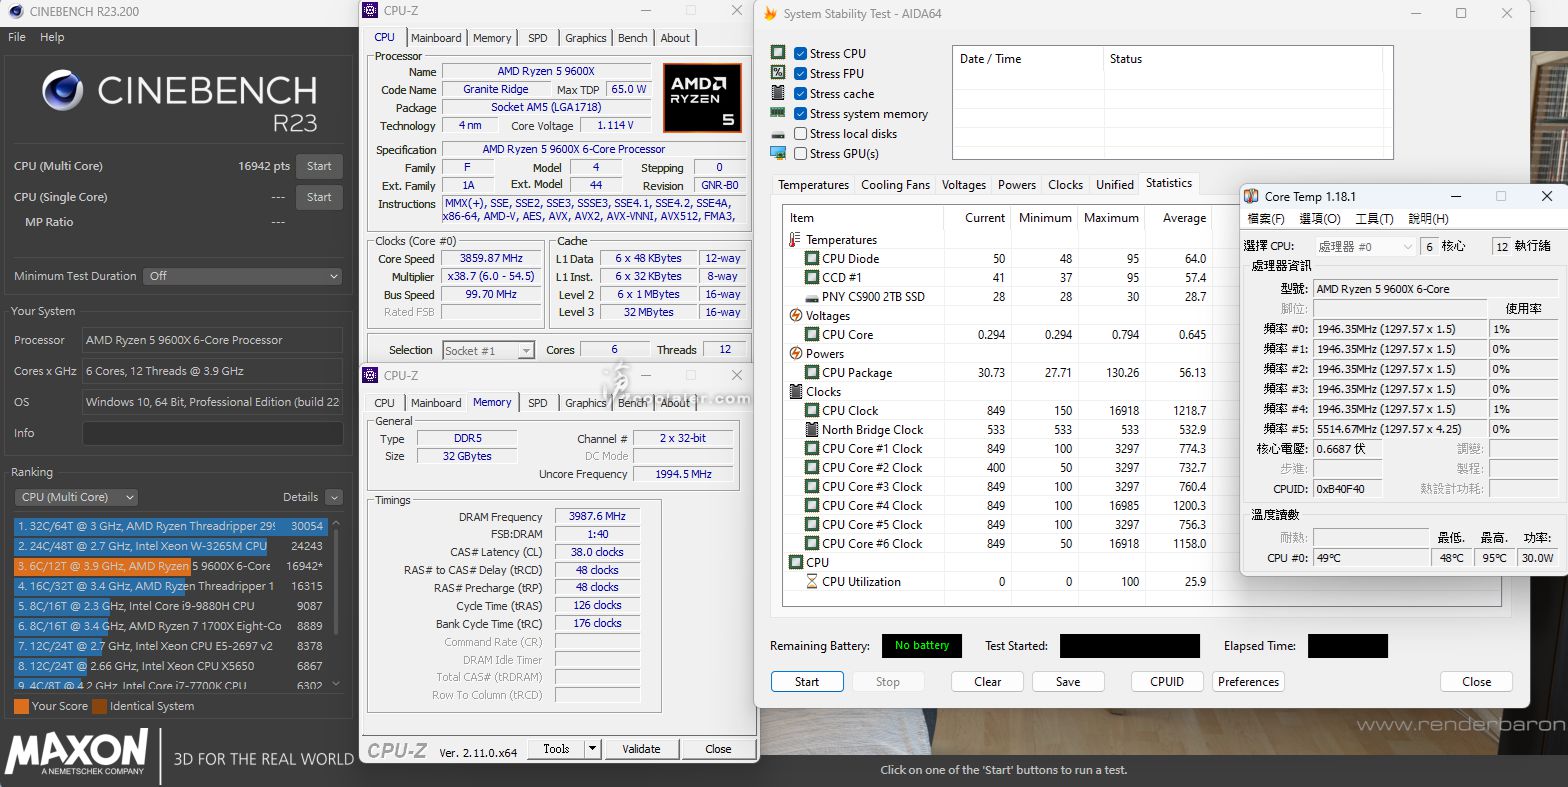
拉到 105W 之後,效能相比 65W 要提高 7.7%,不過溫度可預期已觸及溫度牆95度。先前使用360水冷的分數是17358分,所以是有些微掉速,差異是 2.4%。
105W (3分鐘):16993 pts
最高溫:95度
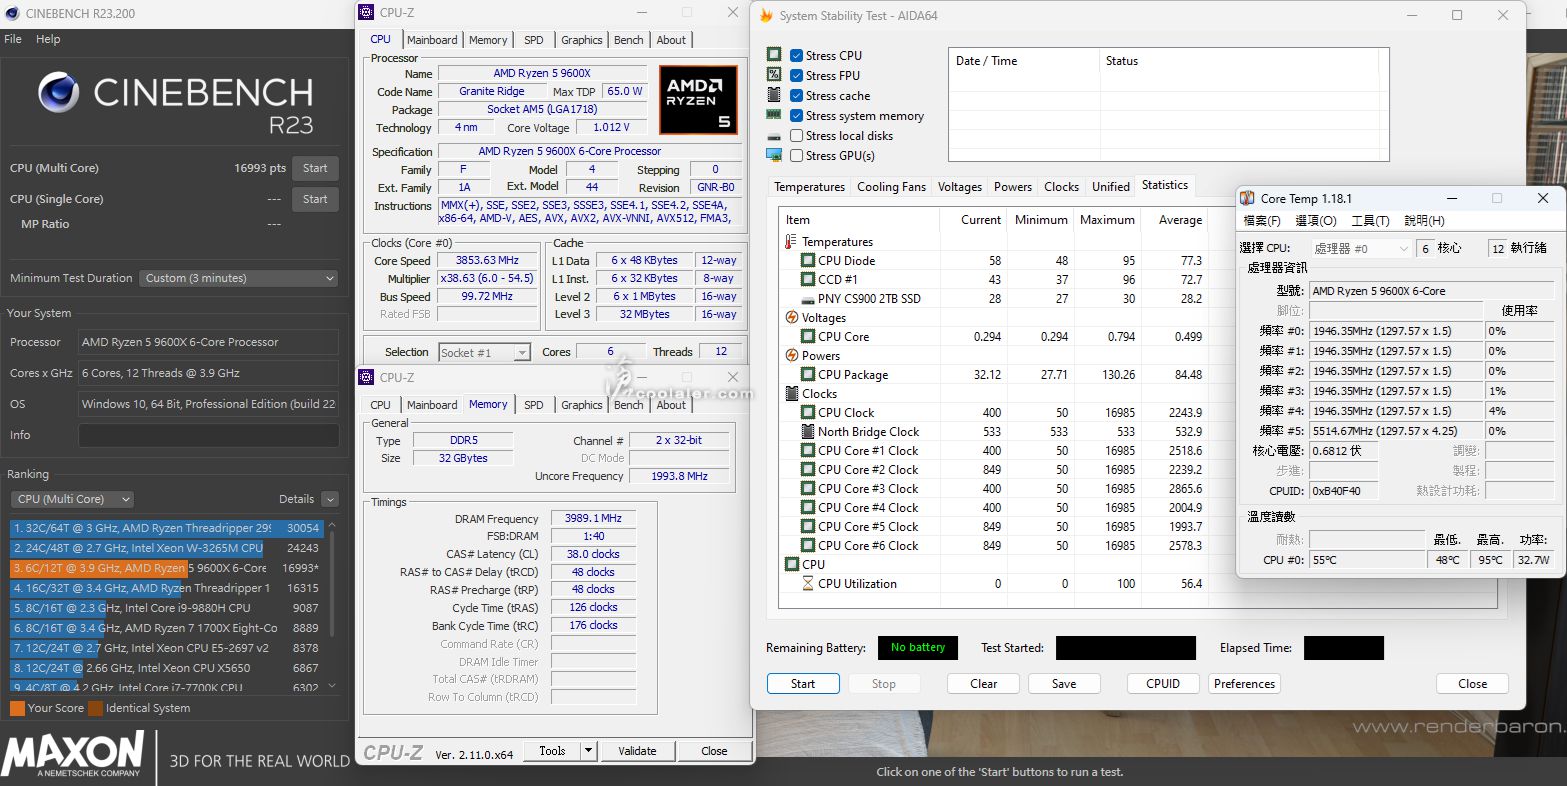
拉長三分鐘全負載,分數還比較高一些,當然這也是誤差值內,但也表示溫控還不錯,即便 105W 長時間使用。
小結
Thermalright Assassin Spirit 120 EVO 定位入門中階的散熱效能算是相當不錯,搭配 Ryzen 5 9600X 中高階處理器,如果預設 65W,是完全沒問題,大概都可以控制在7x度左右,即便想要玩一下 105W 的超頻也可以,雖然一定會撞到溫度牆,但仍可以得到不錯的效能提升,以 R23 測試來看是可以提升 7.7%,如果要提升到完美的 10% 以上,則需要壓制在95度以下,那就得用上 360 AIO 或更大的旗艦空冷。
Assassin Spirit 120 EVO 有黑色以及白色 White ARGB 兩種可選。
Assassin Spirit 120 EVO 規格
適用平台:Intel LGA 1700 / 1200 / 115x ;AMD AM5 / AM4
尺寸:長120 mm × 寬48 mm × 高156 mm
重量:525g ( 不含風扇 )
熱管:6 mm熱管×4支
風扇尺寸:長120 mm × 寬120 mm × 高25 mm
風扇轉速:2000 RPM ( MAX )
風扇噪聲:28.2 dBA ( MAX )
風量:68.9 CFM ( MAX )
風壓:2.21 mm H2O ( MAX )
接頭類型:4 Pin PWM 接頭
軸承類型:S-FDB 軸承
主要特色,適用於 Intel 與 AMD 多數平台 (連新的 LGA 1851 都標出來了)、記憶體不干涉、採用第四代逆重力熱管 AGHP 4.0、容易安裝、ARGB 風扇燈效、附有高階散熱膏。
配件有說明書、扣具、散熱膏、Intel 背板、平台安裝螺絲套件。
外觀採用單塔型設計搭配單風扇,入門中階適用,出廠就已經先把風扇裝上,風扇採用鐵絲扣具固定。
散熱器不含風扇寬度48mm(風扇25mm),與底座採用偏移設計,安裝風扇也不干涉記憶體。
另一側隱約可見內部4根熱導管穿插於鰭片。
鰭片有相應顏色的烤漆處理,比起陽春銀要好看得多。也避免日後長時間使用氧化。
頂部有加上飾蓋,看起來就有質感許多,也適合透側。Assassin Spirit 也有無飾蓋的版本,上方直接看到裸露的熱導管。
底部是採用熱導管直觸 CPU 的方式導熱。出廠外部貼有透明貼紙,避免氧化,安裝時務必移除。
4根 6mm 的熱導管。
在熱導管外部也加上了烤漆處理避免氧化維持漂亮的外觀。
風扇兩條連接線,4pin 電源與 ARGB 串接燈效線。
安裝平台為 AM5,首先需要先拆下原本主機板上的扣具支架。
四邊套上墊高的塑膠套筒。不知道為何是使用這種桃紅色,黑色或白色不是比較搭嗎?
套上 AMD 平台的扣具,兩邊鎖上螺絲固定。
裝上散熱器,對應兩邊扣具上的鎖點固定。
來上一整套白色應該也很不錯。
記憶體的部分是完全不干涉,插滿四根或是較高的記憶體散熱片都沒關係。
燈效的部分是直接連接到主機板上由主板控制,也可以支援控制器,例如有些機殼帶有控制器的那種。
測試平台
CPU: AMD Ryzen 5 9600X
CPU Cooler: Thermalright Assassin Spirit 120 EVO White ARGB
RAM: ADATA LANCER RGB DDR5-8000 16GBx2
MB: MSI MPG X870E CARBON WIFI
VGA: MSI RTX 4060 Ti GAMING X TRIO
SSD: GIGABYTE AORUS Gen4 SSD 1TB
PSU: InWin 1065W
OS: Windows 11
使用 AMD Ryzen 5 9600X 處理器,測試 65W 預設以及 105W 超頻的兩種溫度以及效能。
CINEBENCH R23
65W:15725 pts
最高溫:72度
這個分數與之前測得 9600X 於 AIO 360 水冷的分數差不多,並沒有掉速。
65W (3分鐘):15572 pts
最高溫:72度
拉長三分鐘的全負載測試,分數小降一些,但這僅於是誤差值內而已。溫度則並沒有更高,一樣72度。
接著換到 105W ,BIOS 並無其他設定。
105W:16942 pts
最高溫:95度
拉到 105W 之後,效能相比 65W 要提高 7.7%,不過溫度可預期已觸及溫度牆95度。先前使用360水冷的分數是17358分,所以是有些微掉速,差異是 2.4%。
105W (3分鐘):16993 pts
最高溫:95度
拉長三分鐘全負載,分數還比較高一些,當然這也是誤差值內,但也表示溫控還不錯,即便 105W 長時間使用。
小結
Thermalright Assassin Spirit 120 EVO 定位入門中階的散熱效能算是相當不錯,搭配 Ryzen 5 9600X 中高階處理器,如果預設 65W,是完全沒問題,大概都可以控制在7x度左右,即便想要玩一下 105W 的超頻也可以,雖然一定會撞到溫度牆,但仍可以得到不錯的效能提升,以 R23 測試來看是可以提升 7.7%,如果要提升到完美的 10% 以上,則需要壓制在95度以下,那就得用上 360 AIO 或更大的旗艦空冷。