MSI 去年有推出 Clutch GM41 Lightweight 無線以及有線版滑鼠,而最近則推出數字比較少的Clutch GM31 Lightweight ,一樣有無線版本與有線之分,之所以數字比較少應該是這版本主要針對前一版縮小而改款,主要針對偏好中小尺寸滑鼠玩家所設計。
無線版 Clutch GM41 與 GM31 的重量並沒有甚麼差異,前者74g,後者73g,都是相當輕量化的設計,在尺寸上 GM41 為 130.1 x 67 x 38.3 mm,而 GM31 長寬高都減少了,為 120 x 64 x 37 mm,更適合東方人的中小手型。
入手開箱的這款為 Clutch GM31 Lightweight Wireless 無線版本。
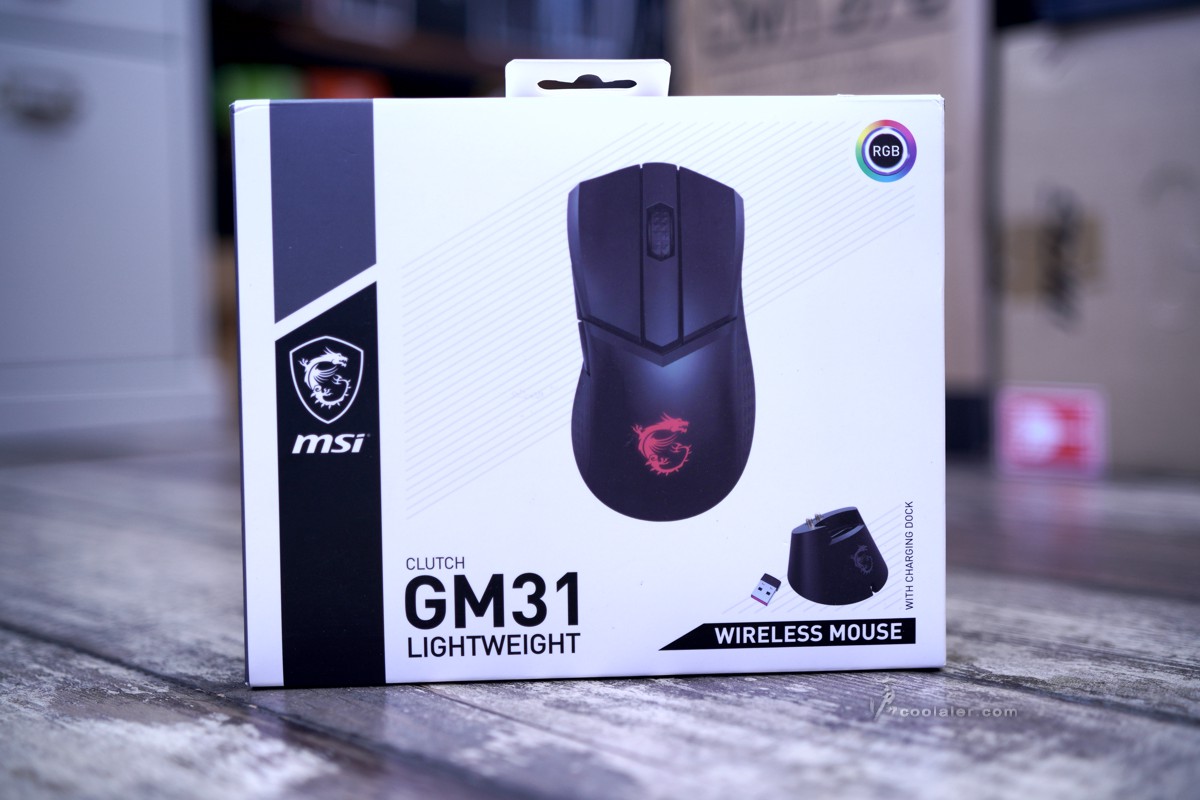
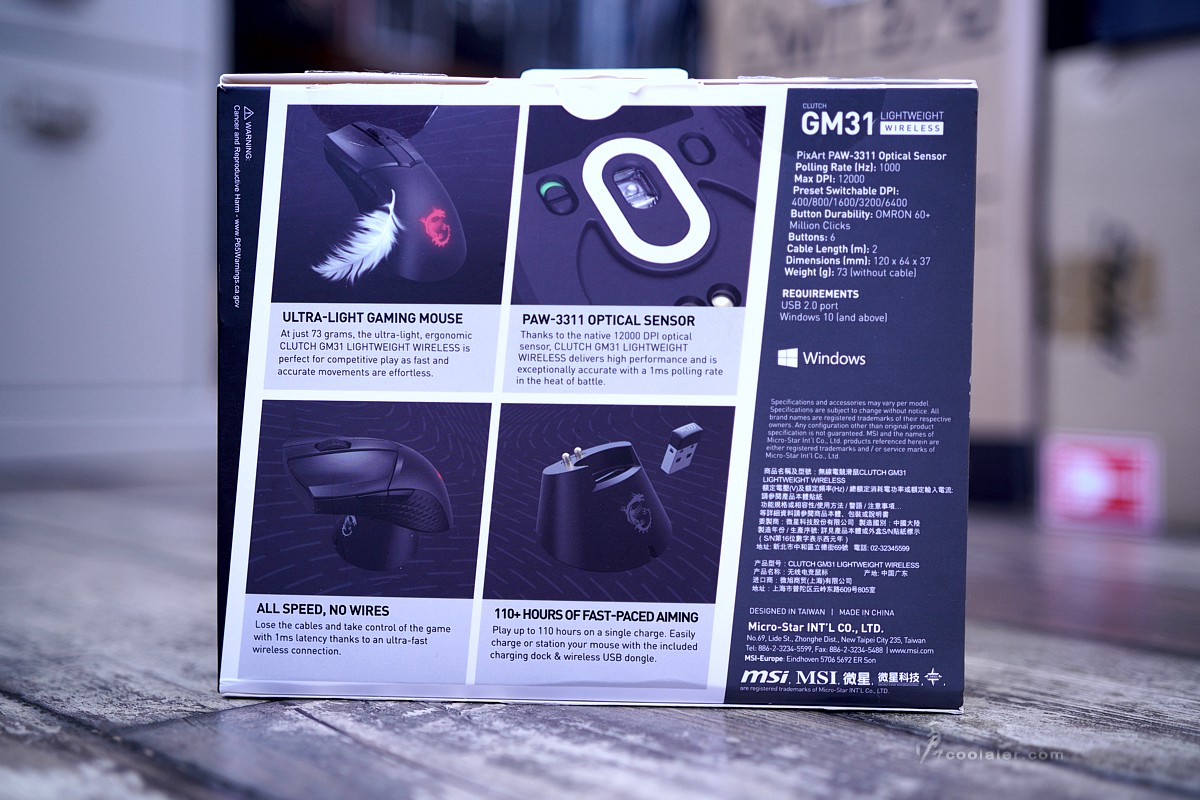
主要特色,採用 73g 輕量化設計,搭配 PixArt PAW-3311 光學感應器,最高 12000 DPI,無線 2.4G RF 連接,充飽電續航力可達110小時,快充10分鐘也可以有7小時的續航力。
開箱。
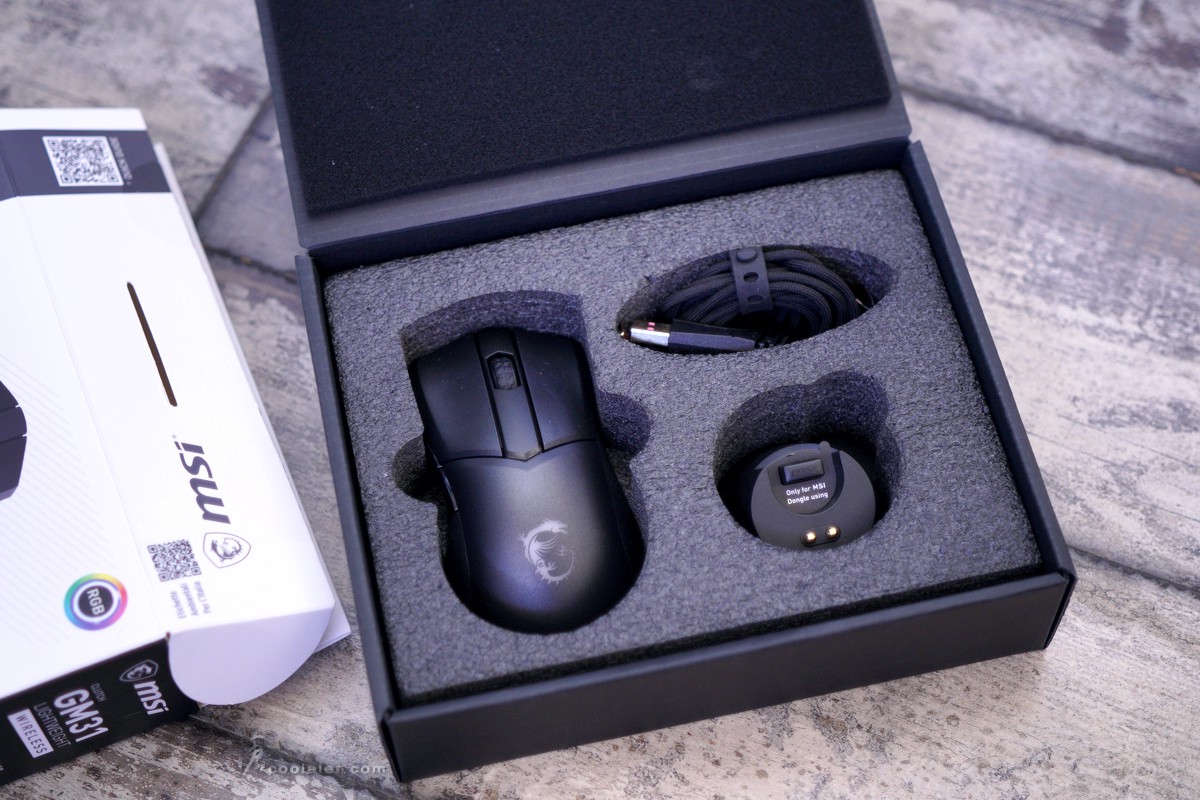
內部有滑鼠、線材、充電座與接收器。另外應該會有一本說明書,不過因為拿到這個也不是新的,可能遺失了。
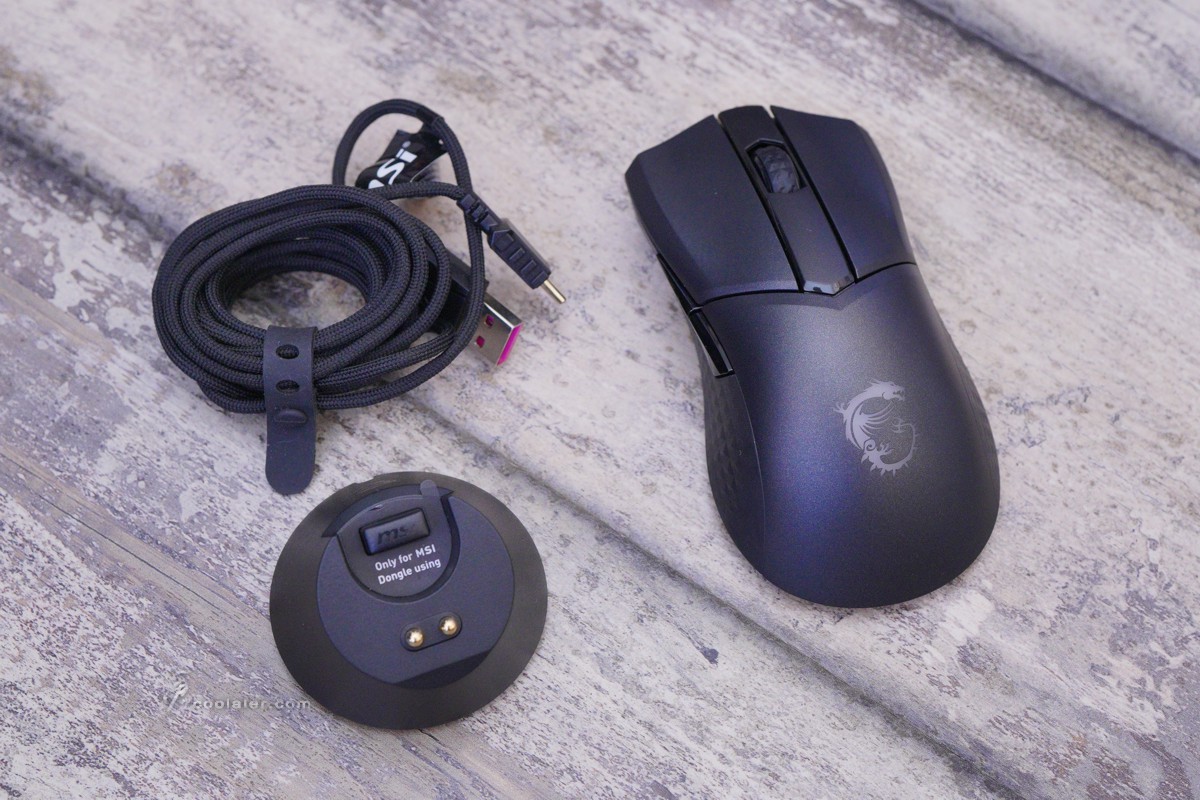
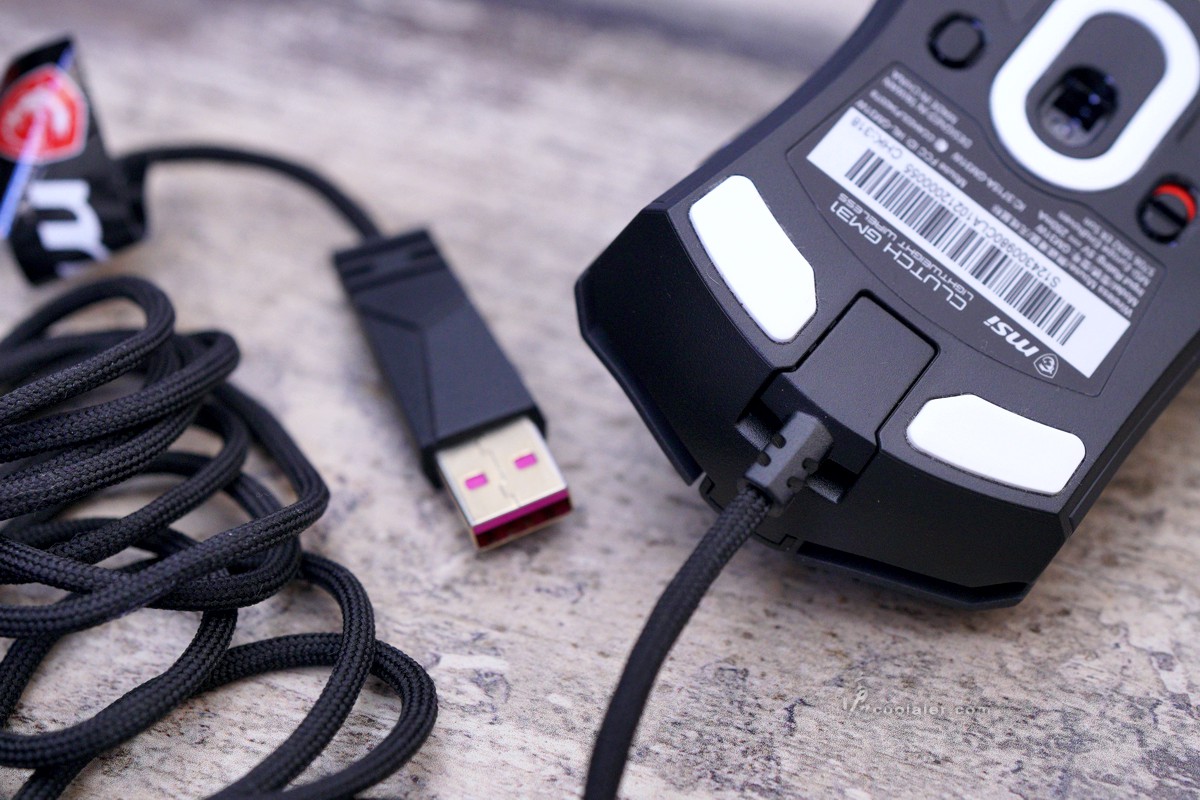
連接線材有2公尺長,一頭為 USB Type-A 連接於電腦,另一頭為 USB Type-C 連接於充電座或滑鼠。線材的部分有編織網包覆,質地柔軟易彎折。
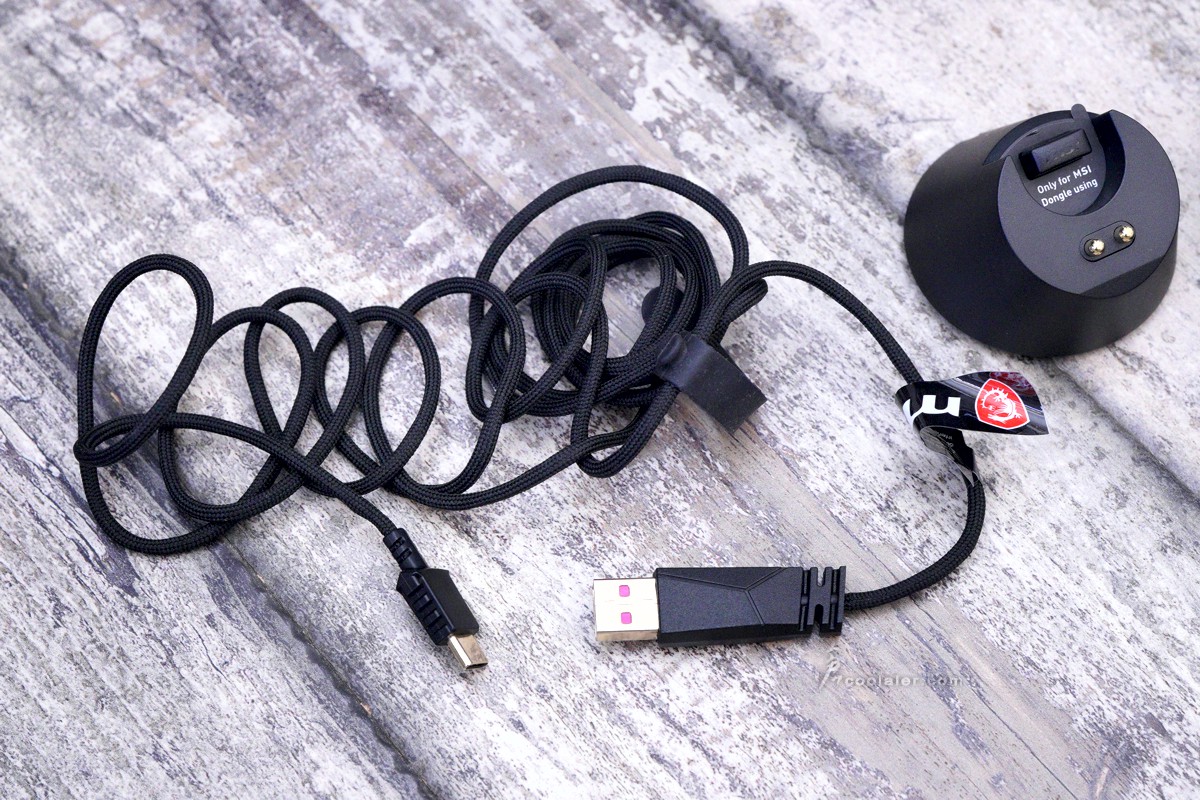
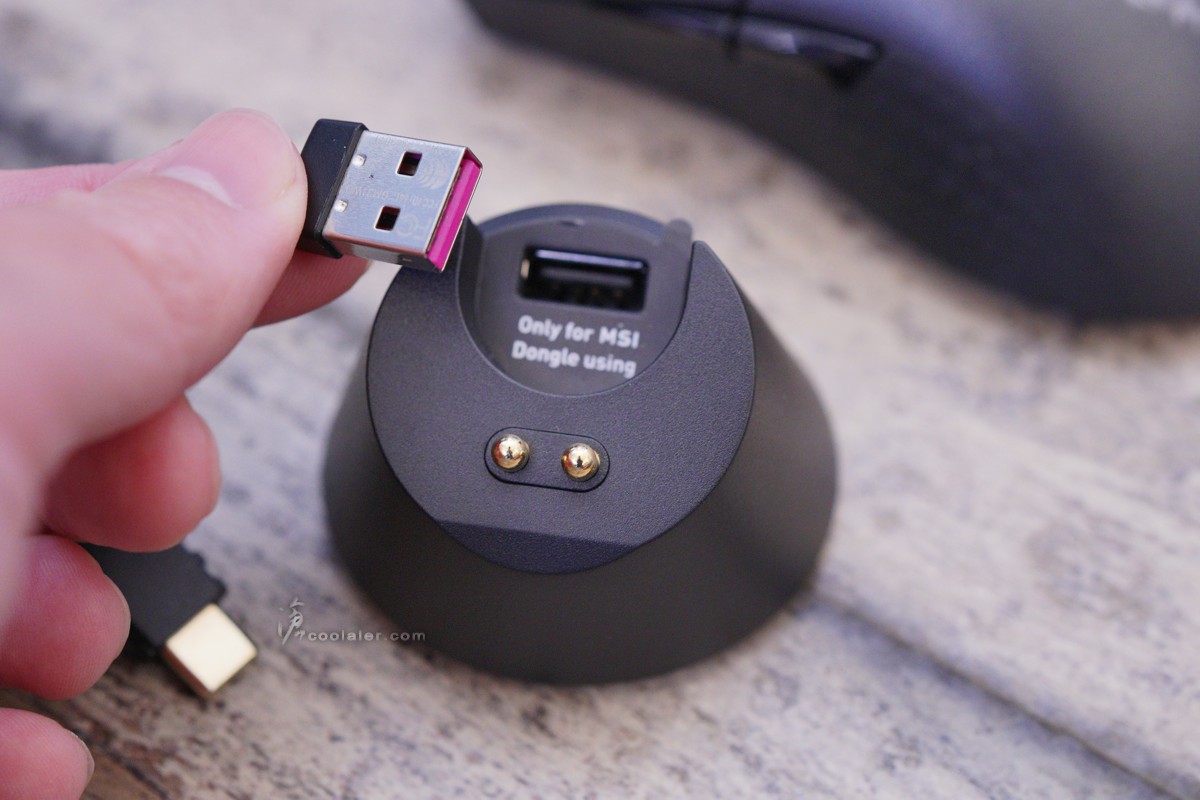
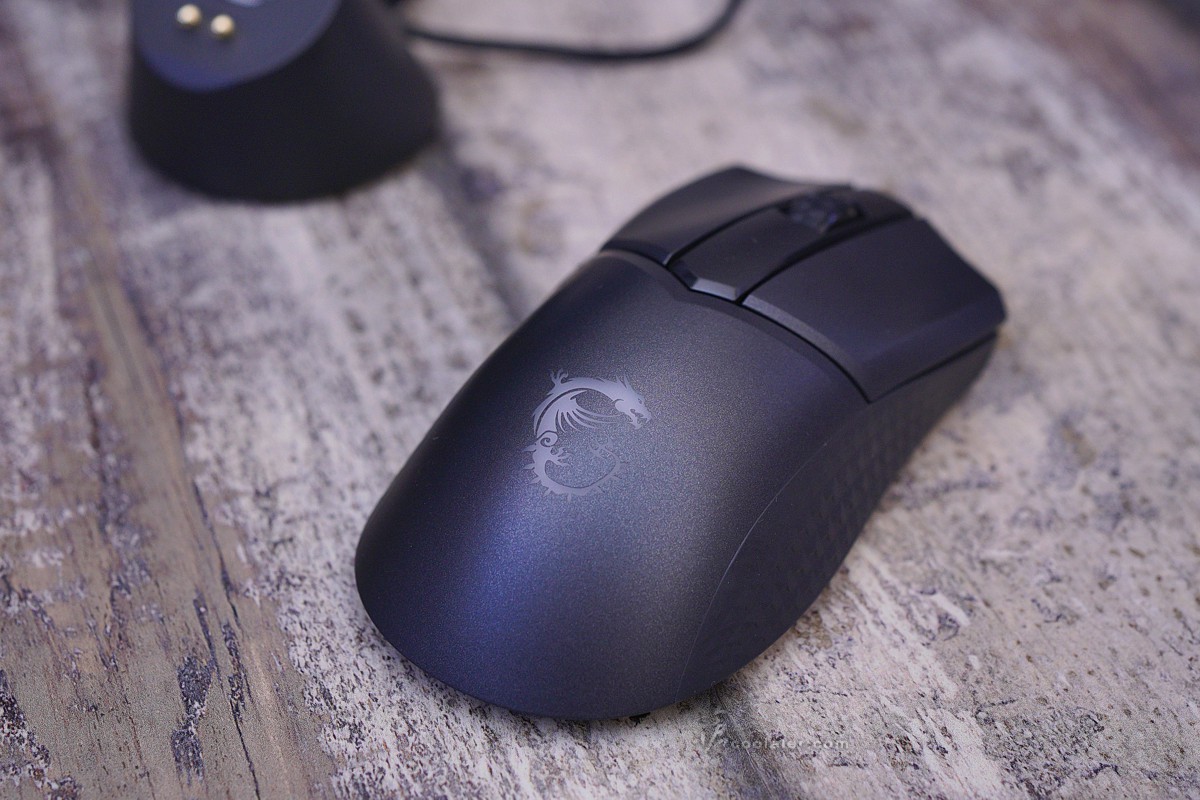
充電座的設計與 GM41 相同,這也可視為是接收器的延伸。畢竟接收器在桌面上也與滑鼠比較近,可避免遮蔽障礙影響接收。
上面凹槽處插有 2.4G 接收器。接收器也可以直接插在電腦或筆電上使用。
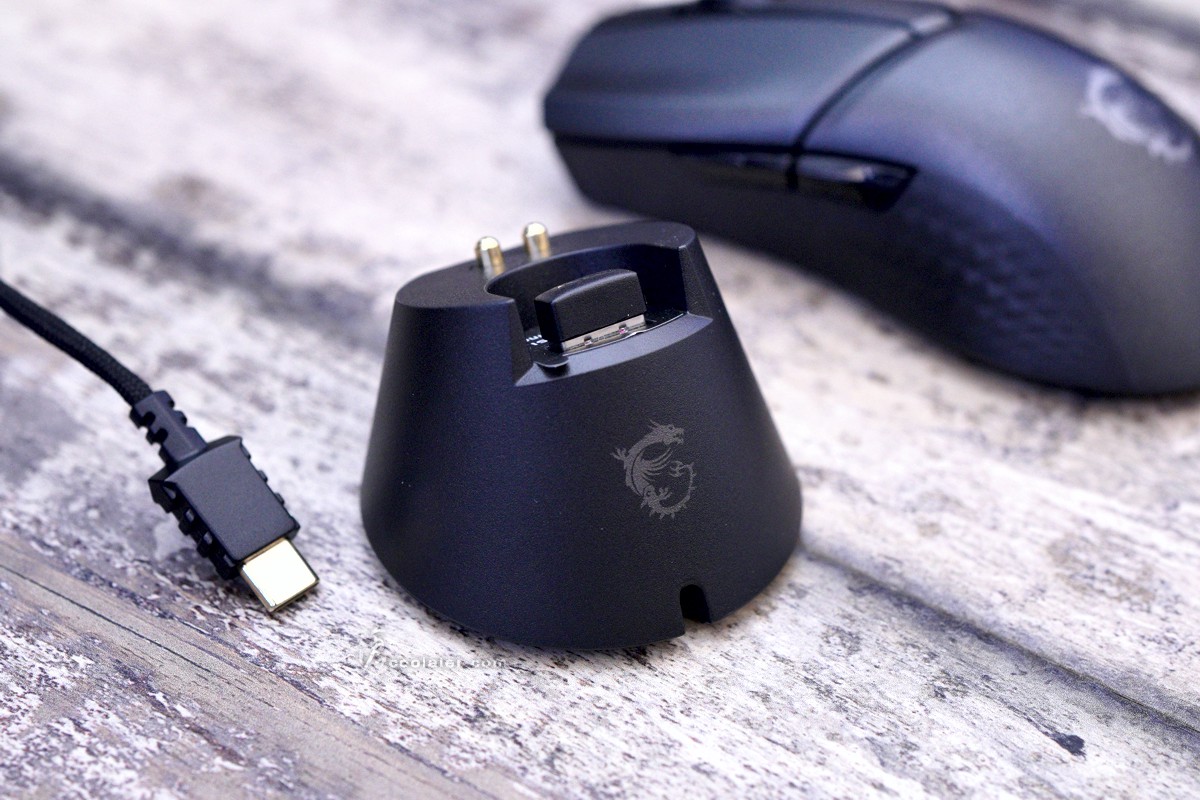
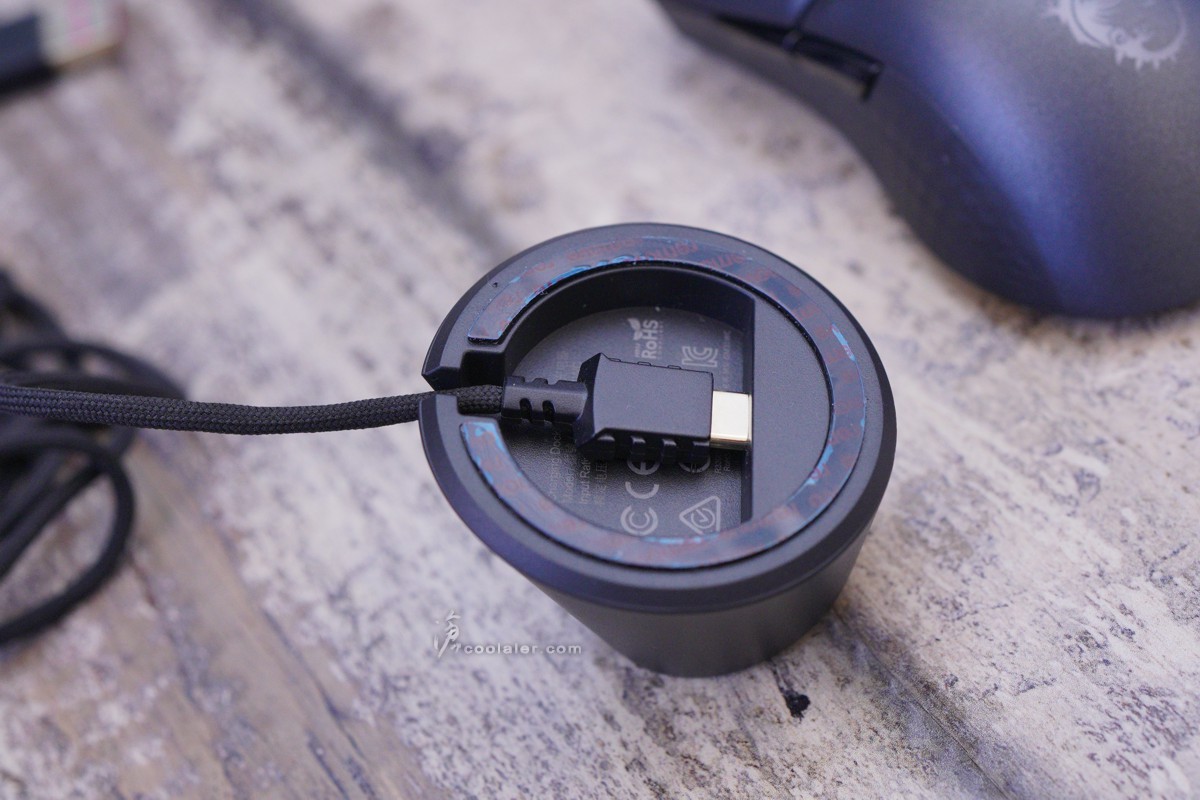
充電座底部為 USB Type-C 接口。
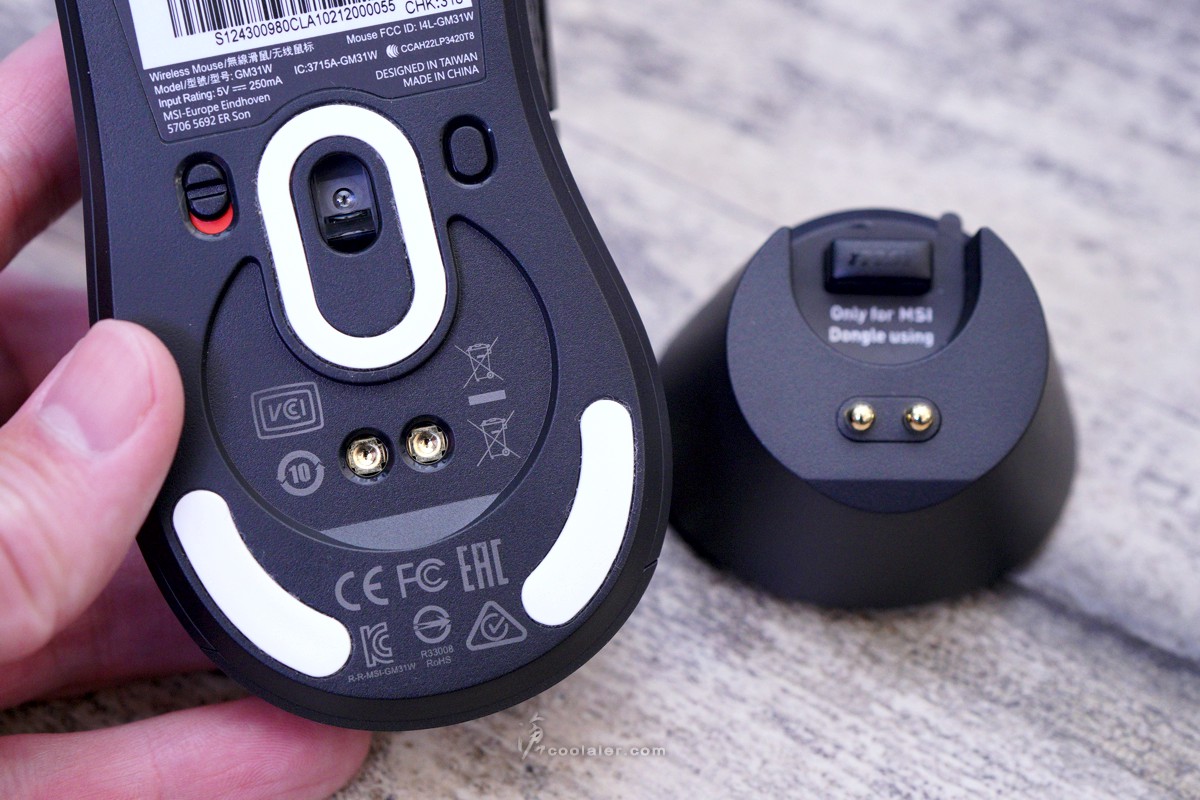
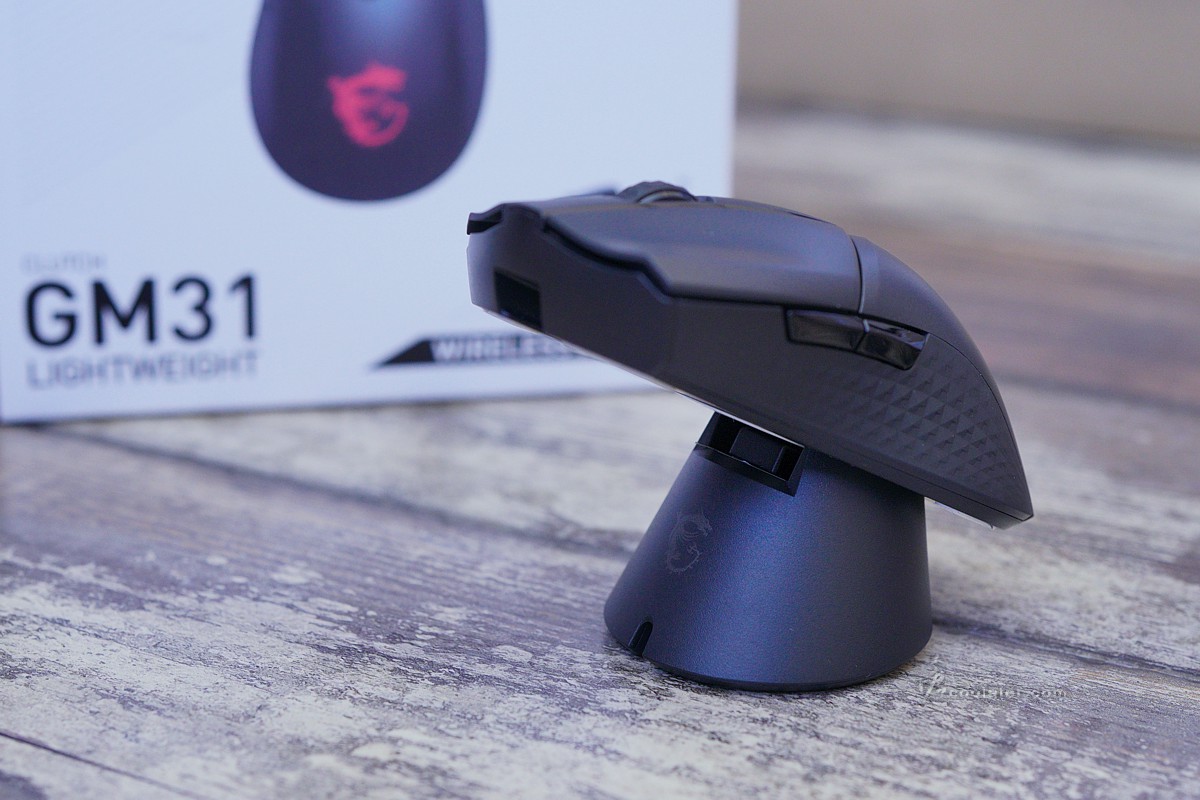
充電座設計是相當便利,對應滑鼠接電掛上去就可以為滑鼠進行充電。底部是採用磁吸式固定。
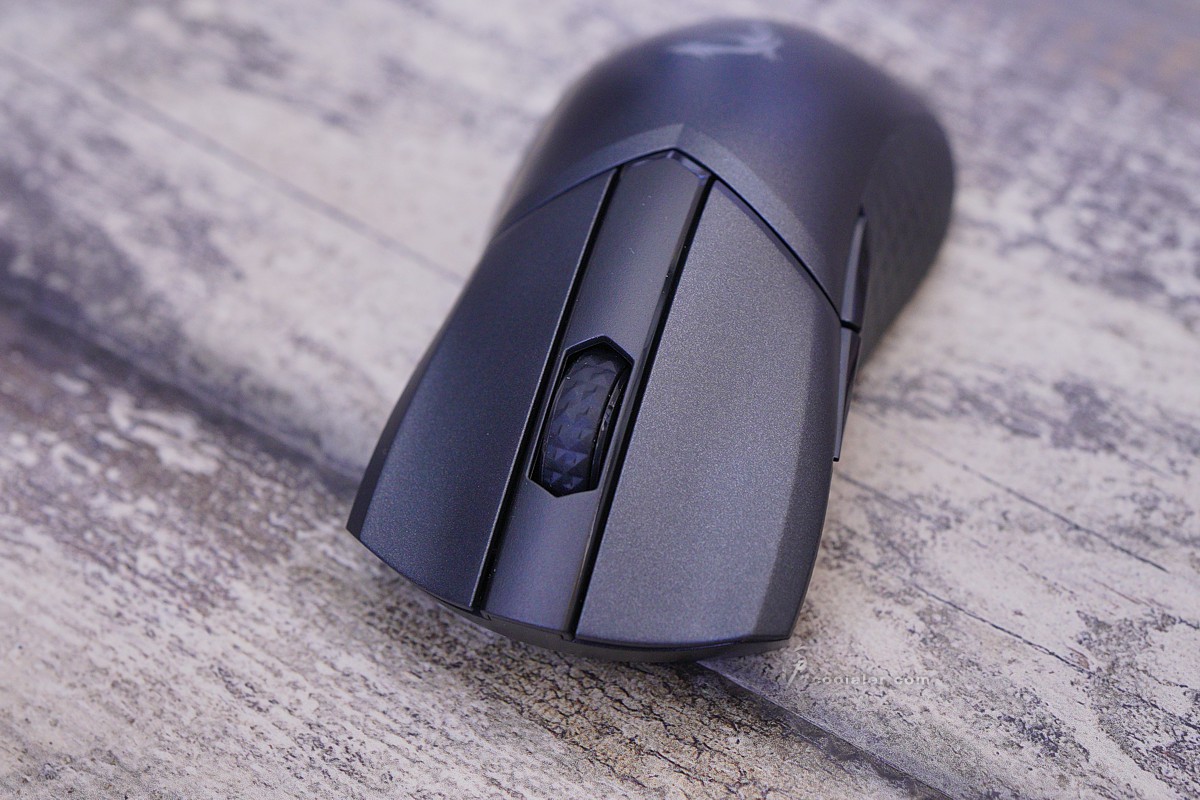
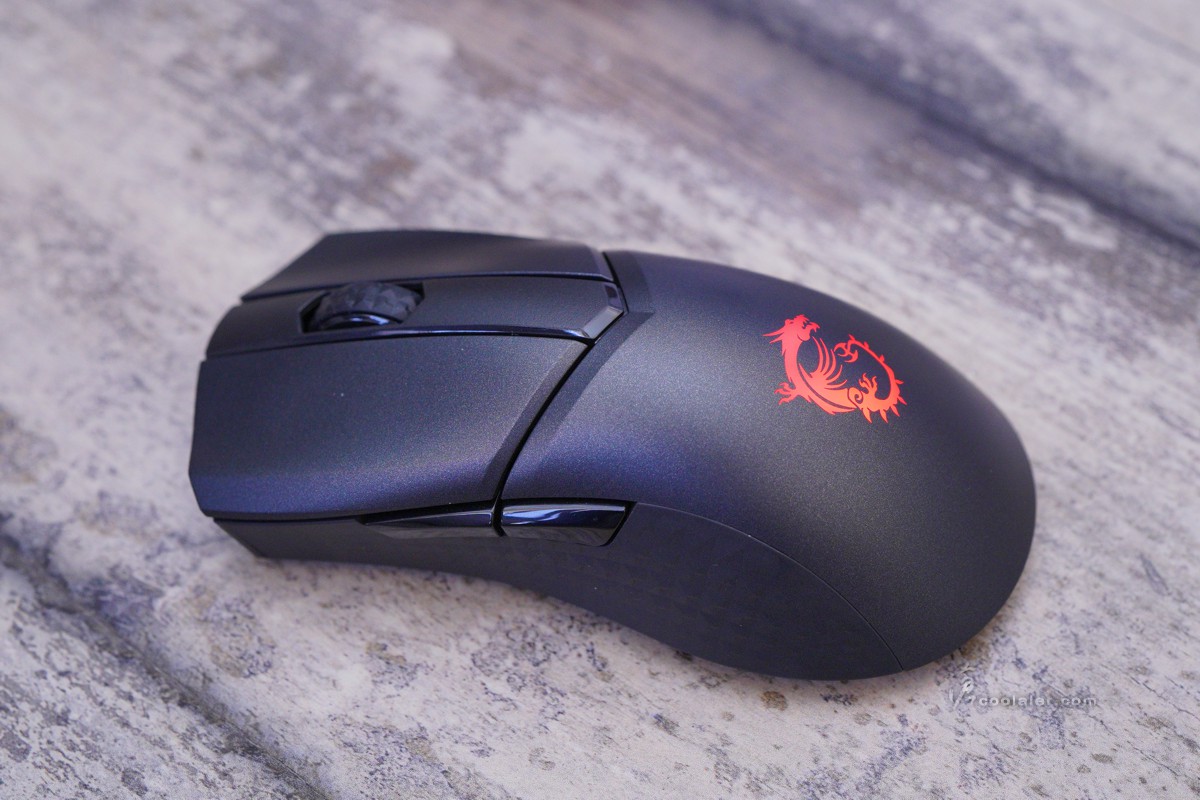
MSI Clutch GM31 的外觀相較於 GM41 是要小一點,基本風格差異不大,採用左右非對稱式設計,外觀簡潔,左右鍵比較細長一點,幾乎占用滑鼠一半長度。
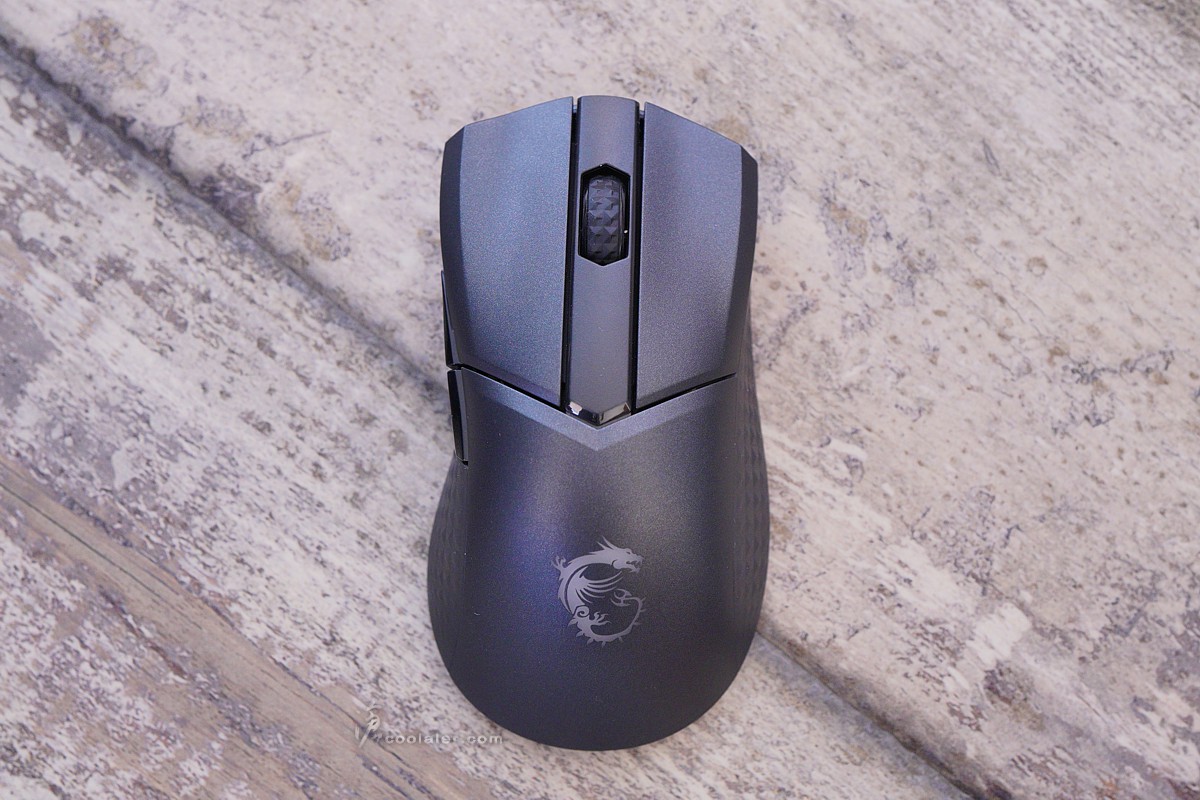
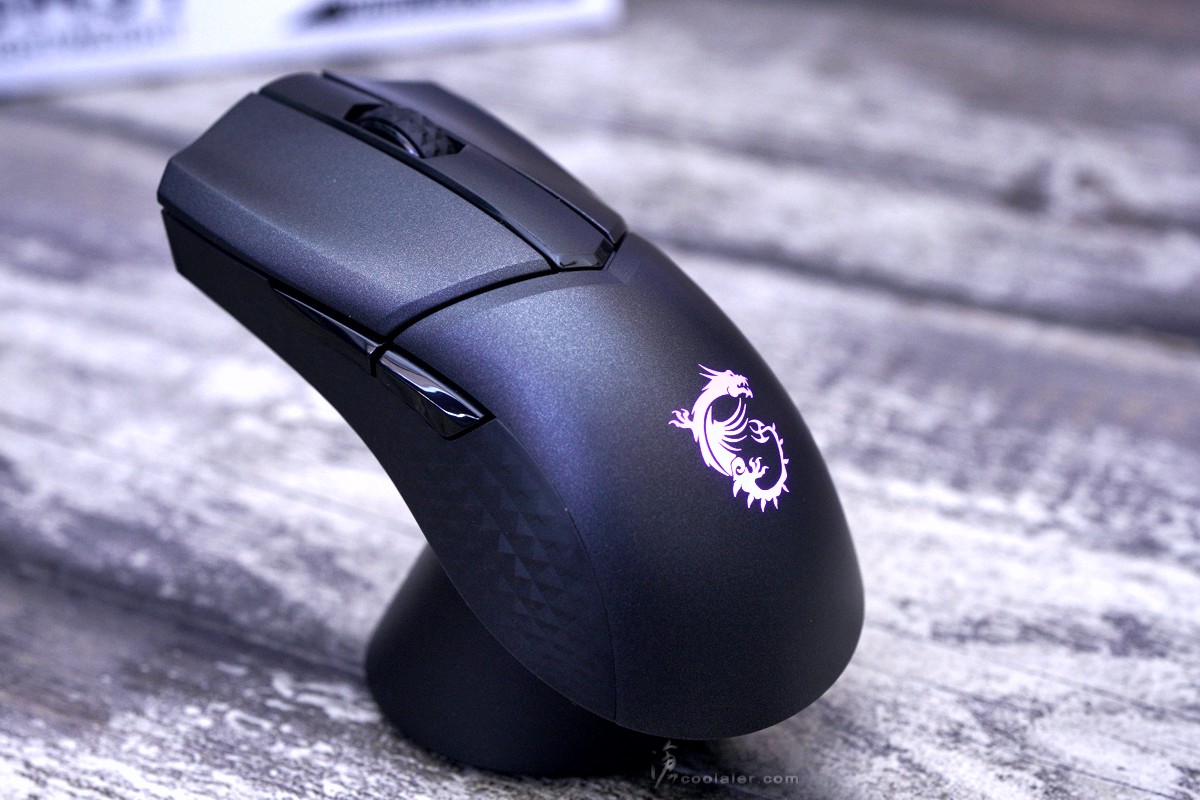
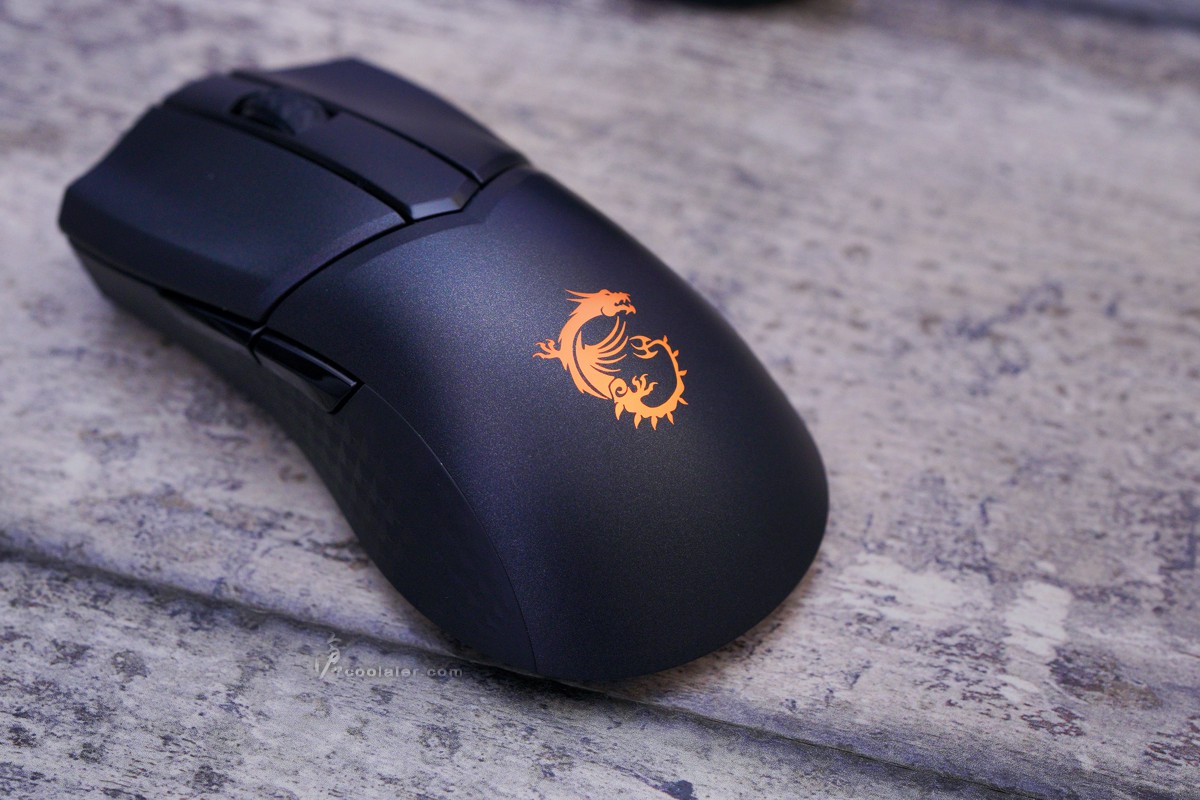
滑鼠背上一樣保有龍紋 Logo,支援 RGB 燈效。
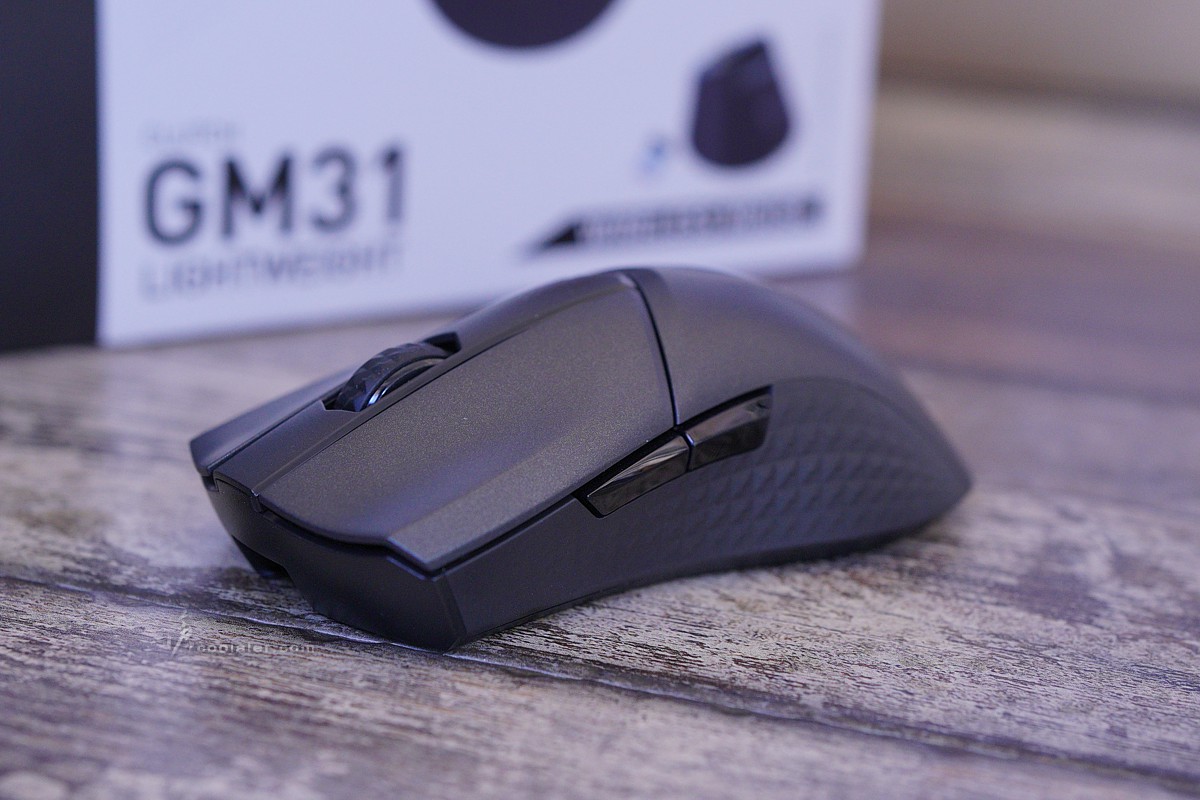
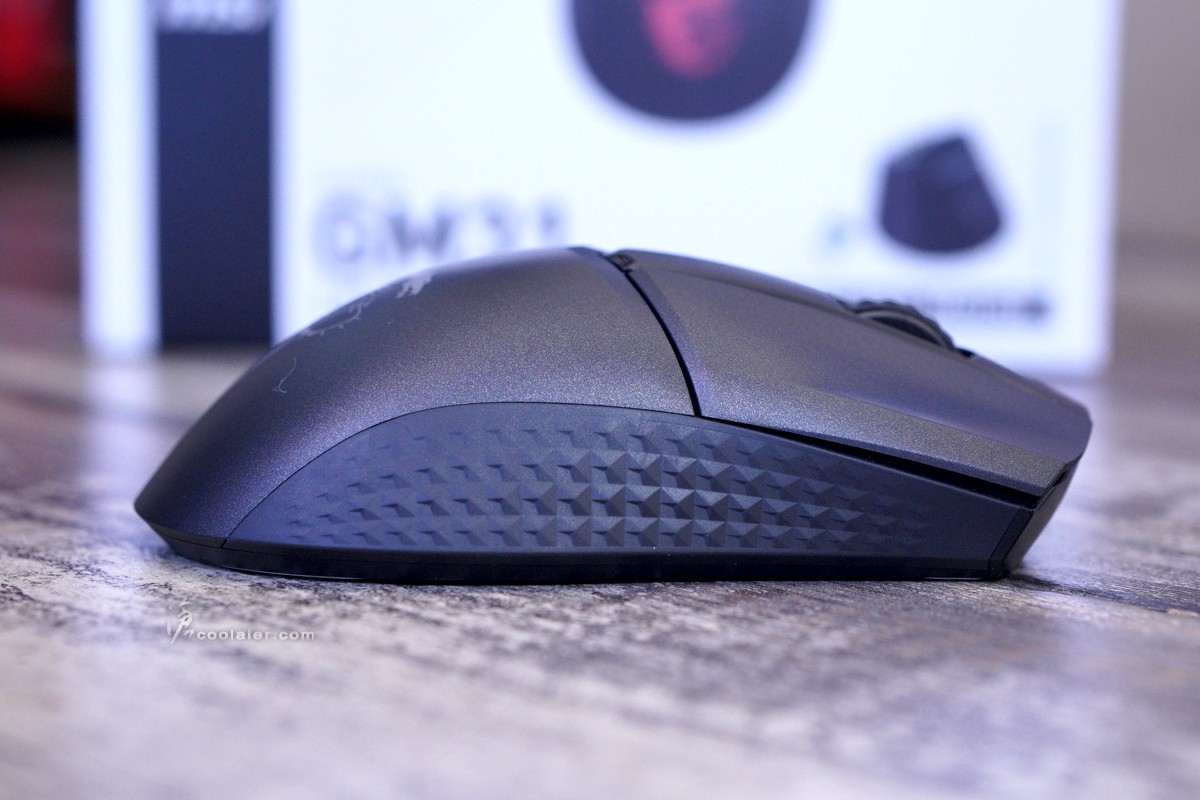
左右兩側都有立體菱格紋的止滑橡膠。
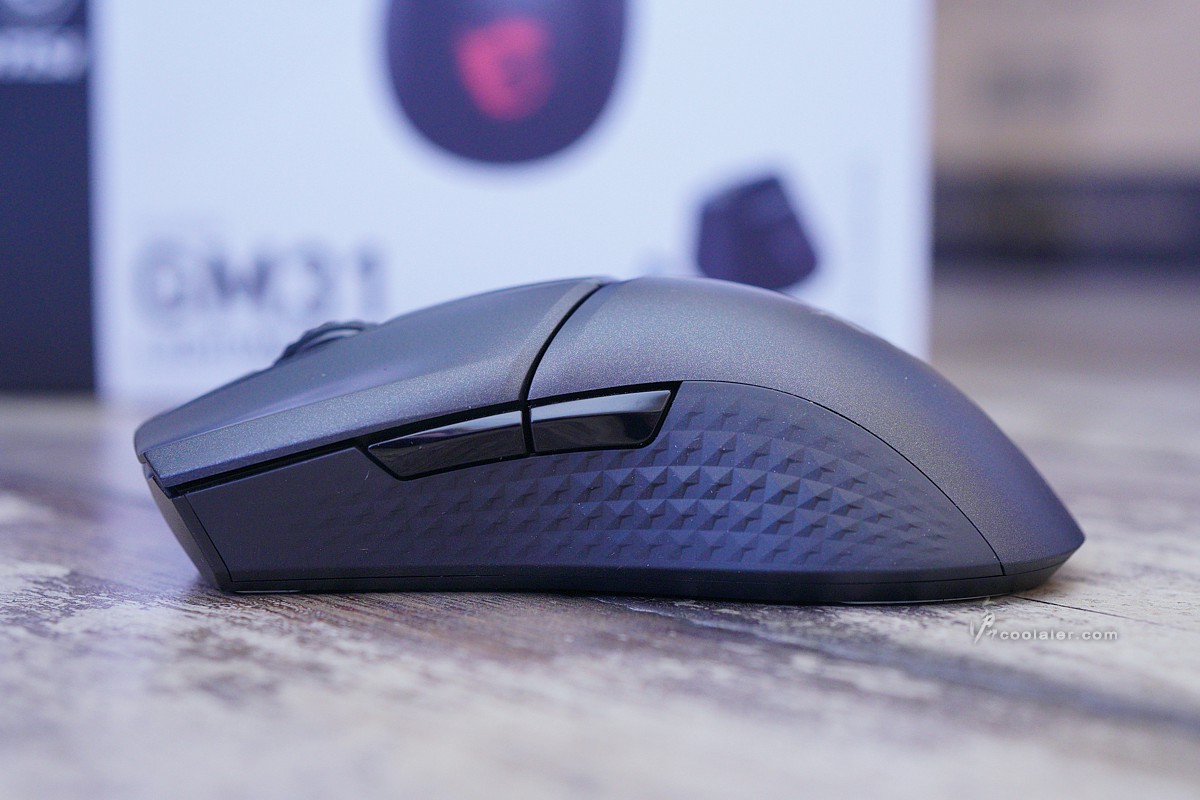
左側邊有兩個快速功能按鍵,預設為上下一頁,可透過軟體自定義滑鼠功能、巨集等。
連接線在中間下方凹槽處。電力不足時也可以當成有線使用。
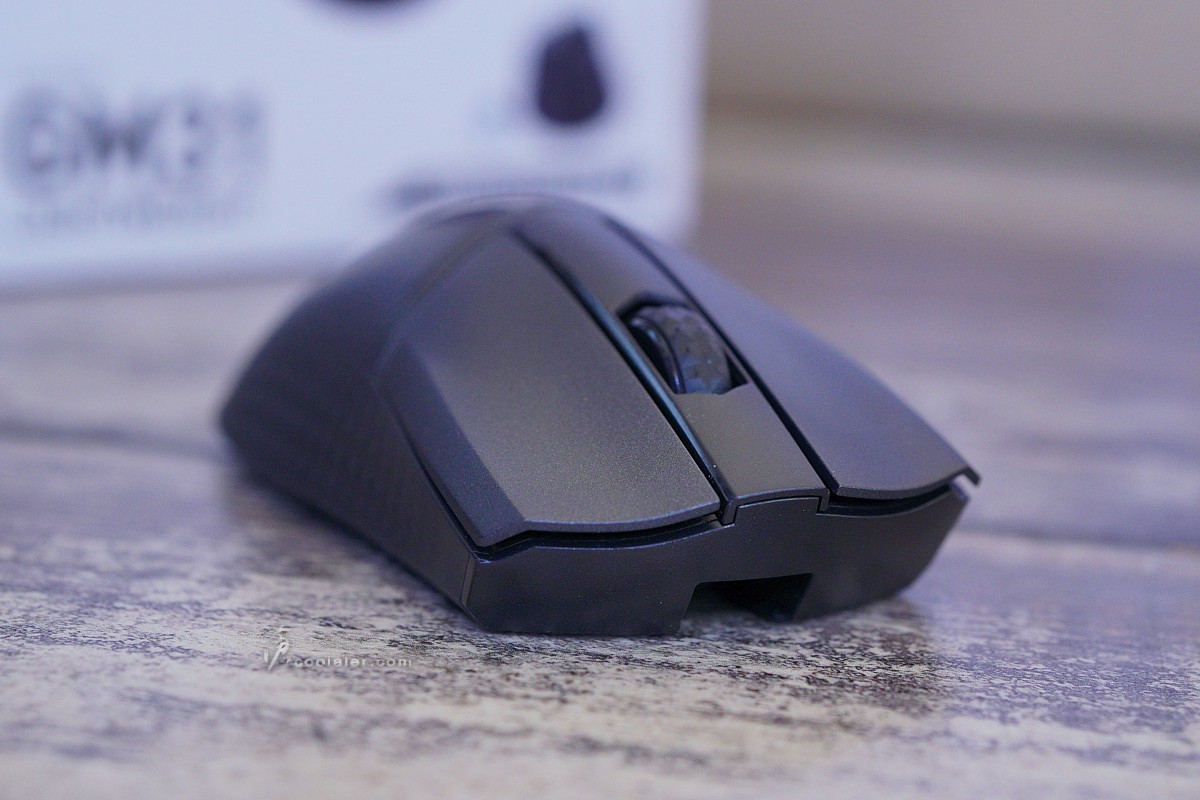
中間滾輪上方也有菱格紋止滑橡膠。
右側。
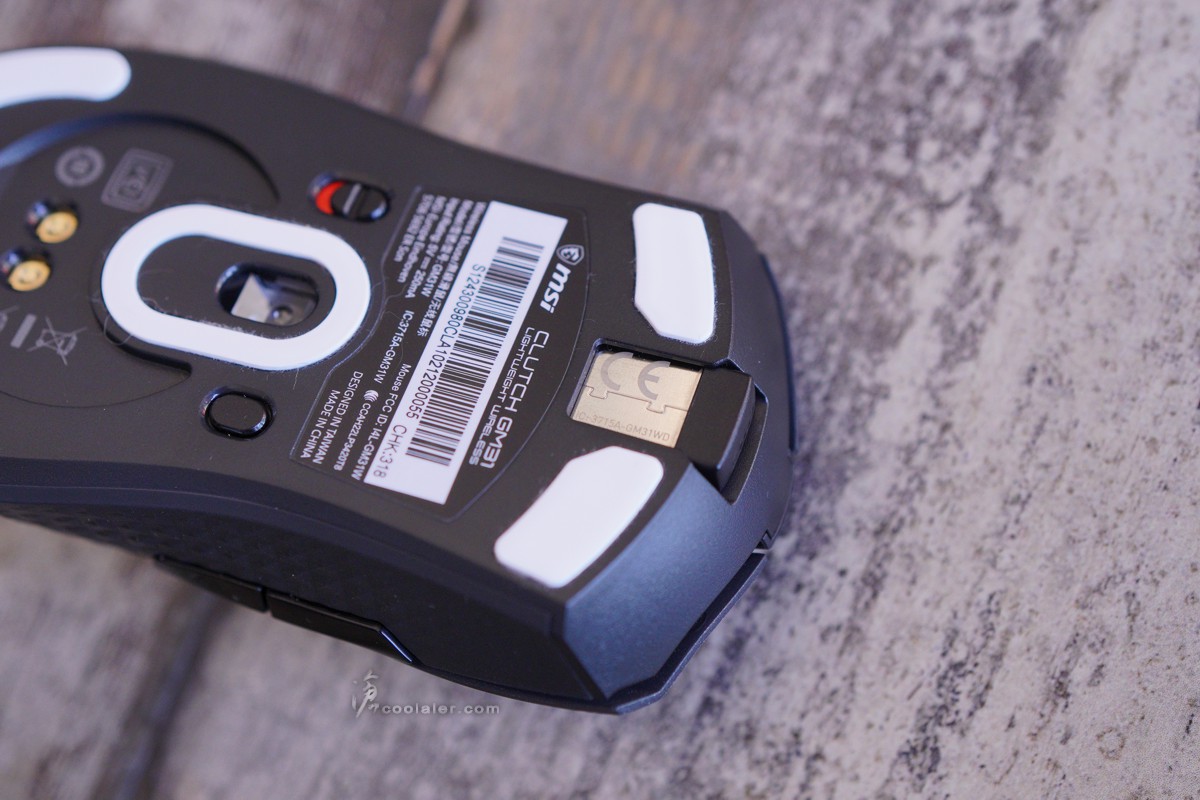
底部四邊與感應器周圍都貼有 PTFE 鼠貼,與鼠墊接觸可以有更滑順的移動。在感應器的左側為電源開關,右側是 DPI 的切換鍵,五段按壓循環,分別是400、800、1600、3200、6400 DPI,這部分透過軟體自定義。DPI 切換鍵做在滑鼠底部是真的有那麼點不便,畢竟還是得翻過來按,這對於有需要快速切換 DPI 的玩家而言應該會是困擾。

前段為 USB Type-C 接口,可連接線材當有線使用。
也可以用來放接收器,便於攜出使用。
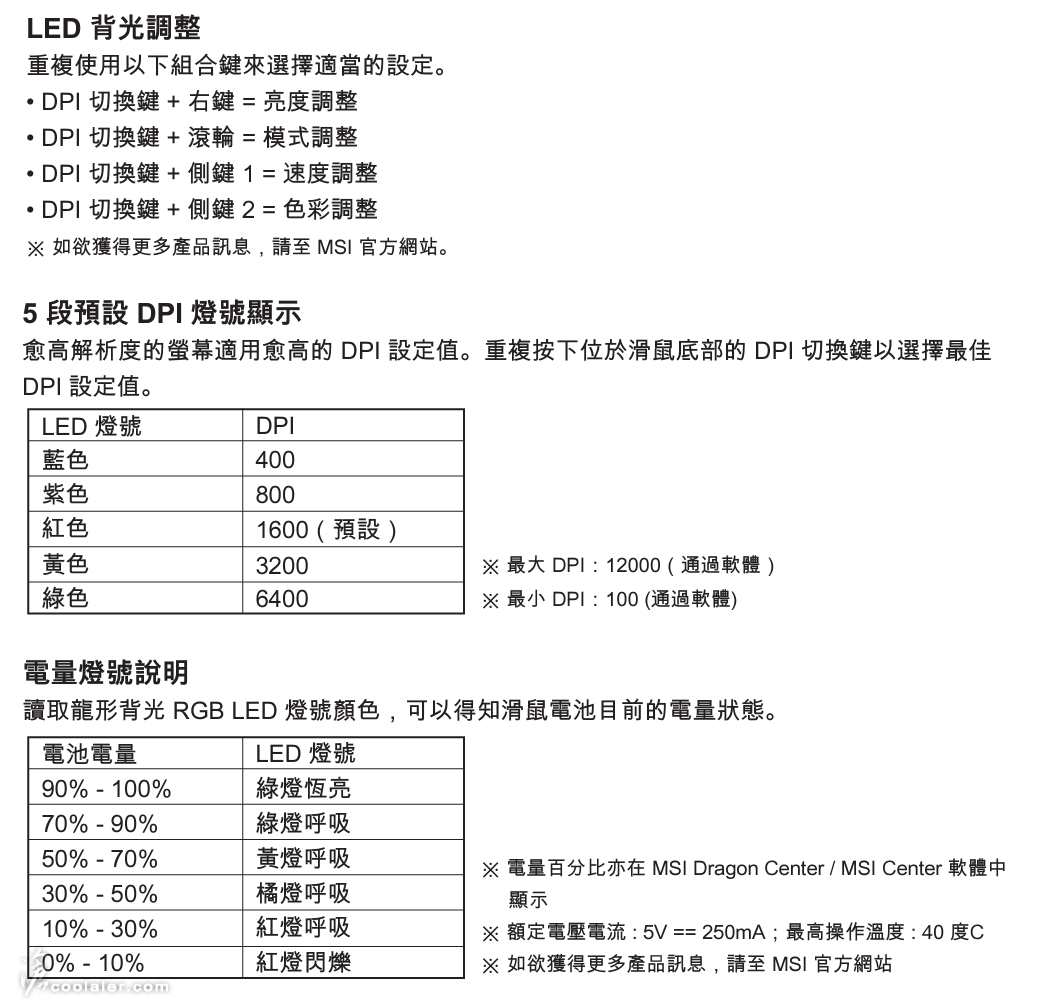
燈效的部分預設用於顯示 DPI 段數以及電池電量,也可以透過 MSI Center 軟體來自定義。
如果你不喜歡安裝一些有的沒的軟體,你也可以使用組合鍵來切換,這部分可參考說明書。

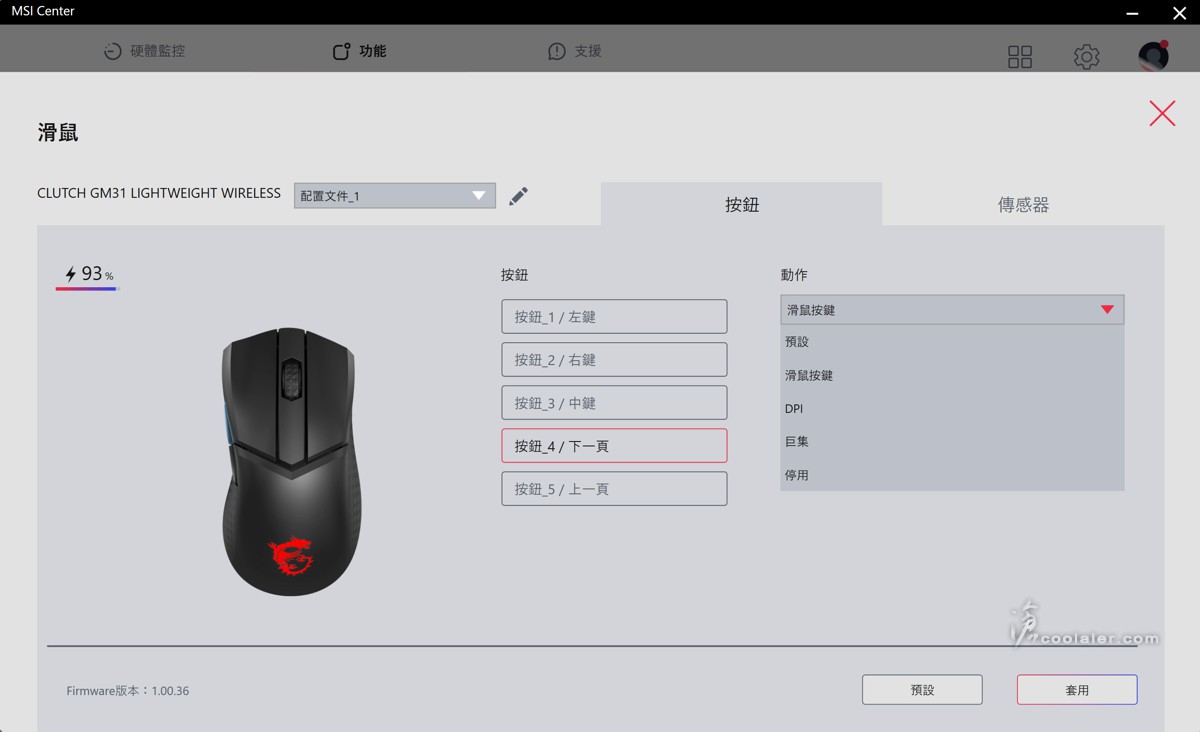
MSI 硬體與軟體整合的部分目前都是透過 MSI Center ,這部分可以選擇性安裝。滑鼠功能有五個按鍵能自定義,可設為滑鼠功能、調整 DPI、巨集或停用。
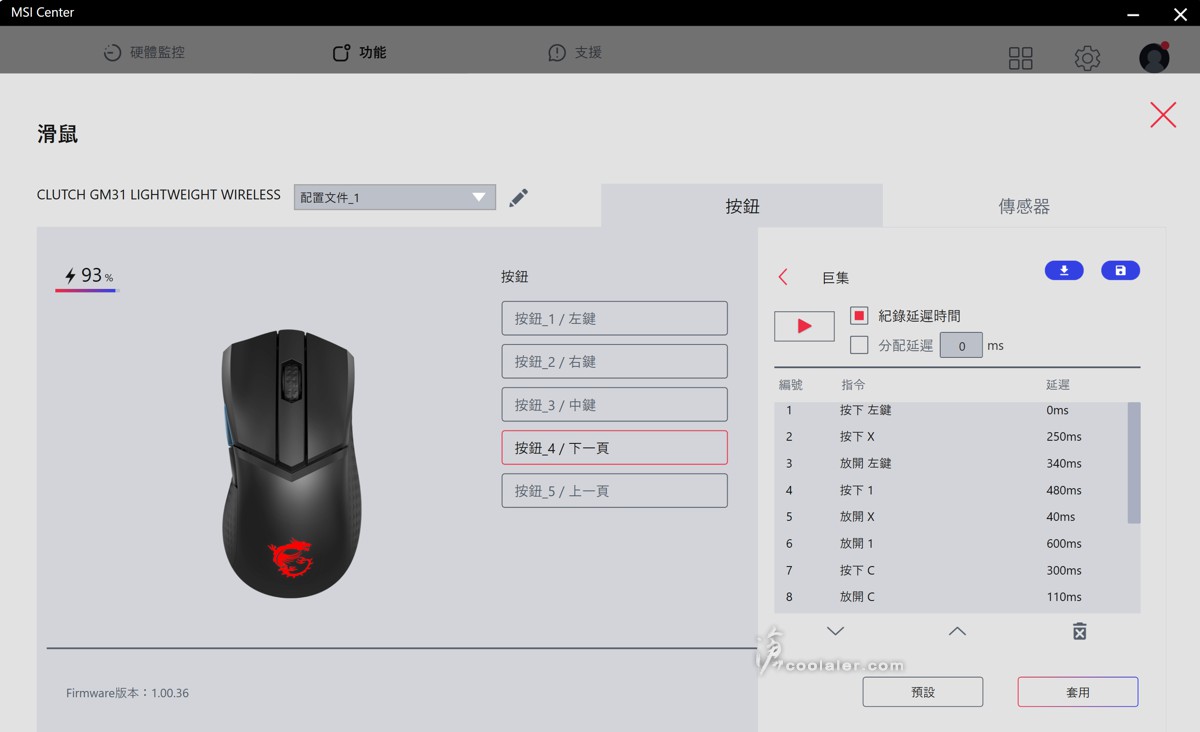
支援巨集錄製。
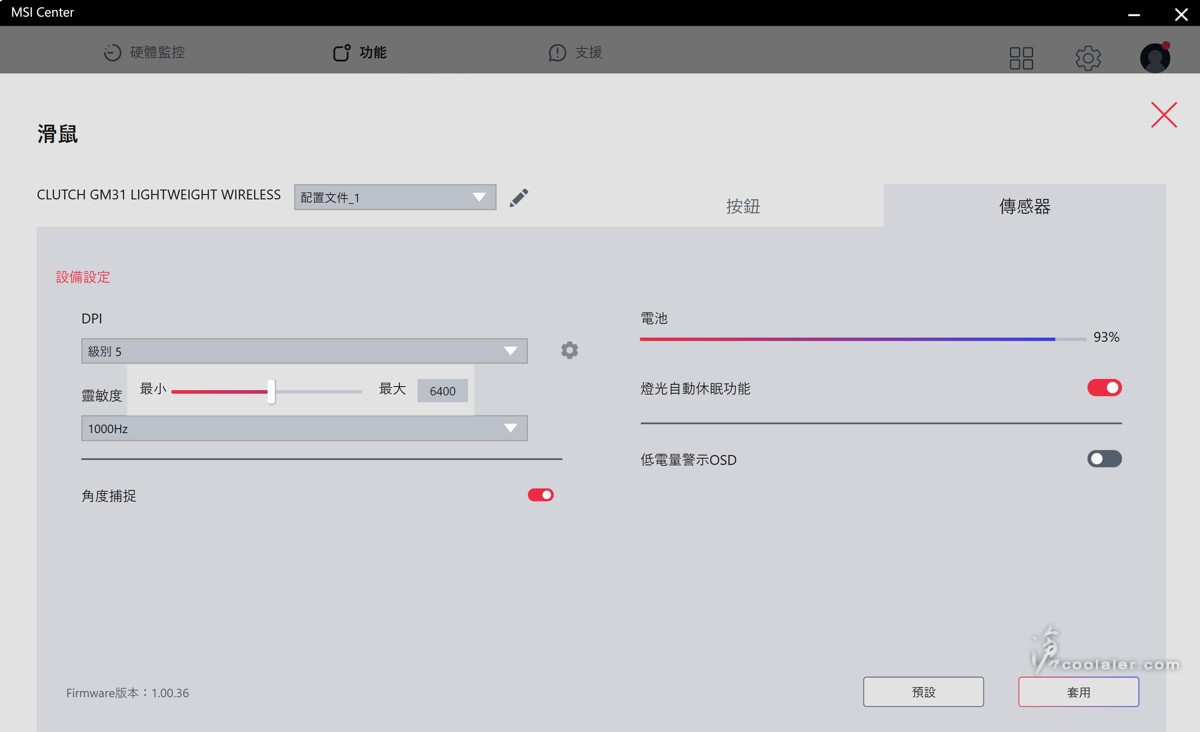
傳感器設定,DPI 快速調整是透過底部按鍵切換,有5個級別,預設為 400、800、1600、3200、6400 DPI,可自行定義5個等級對應 DPI ,最低 100DPI,最高 12000DPI。靈敏度可調 125、250、500、1000Hz,另外也可設定角度捕捉類似直線修正功能。這選項也可以看到電池使用程度,可設定燈光自動休眠功能、低電量警式 OSD。
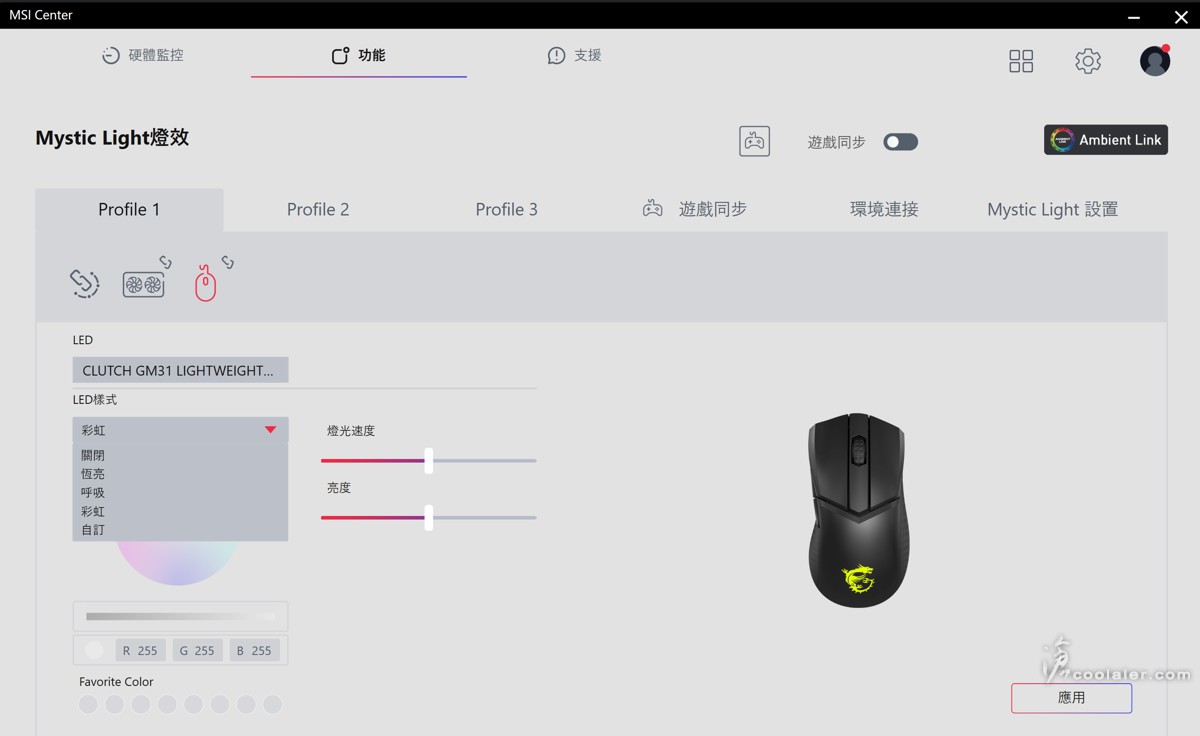
燈效的部分則是統一於 Mystic Light 調整,LED 樣式有關閉、恆亮、呼吸、彩虹、自訂,並支援調整速度與亮度。
小結
MSI Clutch GM31 Lightweight Wireless 在外型上一樣屬於低調,燈效只在背上的龍紋圖案,可透過燈效來判斷電池續航力,除了美觀也兼具了一點功能性,主要承襲先前 GM41 的優點,充電+2.4G座的設計是相當便利,不使用時滑鼠一秒掛上就可以進行充電,在續航力上也從原本80小時拉高到110小時,且充10分鐘就能用上7小時,另外在攜出使用上滑鼠也有接收器收納功能,雖然不是甚麼了不起的設計,但有實質用處。
手感的部分,GM31 尺寸是相對 GM41 比較小一點,但實際上大概與一般常見文書型滑鼠差不多,如果你是慣用這類一般或小尺寸滑鼠的來說,GM31 應該很容易上手,反之如果你是習慣大一點,或手比較大可能使用 GM41 會比較適合。
無線版 Clutch GM41 與 GM31 的重量並沒有甚麼差異,前者74g,後者73g,都是相當輕量化的設計,在尺寸上 GM41 為 130.1 x 67 x 38.3 mm,而 GM31 長寬高都減少了,為 120 x 64 x 37 mm,更適合東方人的中小手型。
入手開箱的這款為 Clutch GM31 Lightweight Wireless 無線版本。
主要特色,採用 73g 輕量化設計,搭配 PixArt PAW-3311 光學感應器,最高 12000 DPI,無線 2.4G RF 連接,充飽電續航力可達110小時,快充10分鐘也可以有7小時的續航力。
開箱。
內部有滑鼠、線材、充電座與接收器。另外應該會有一本說明書,不過因為拿到這個也不是新的,可能遺失了。
連接線材有2公尺長,一頭為 USB Type-A 連接於電腦,另一頭為 USB Type-C 連接於充電座或滑鼠。線材的部分有編織網包覆,質地柔軟易彎折。
充電座的設計與 GM41 相同,這也可視為是接收器的延伸。畢竟接收器在桌面上也與滑鼠比較近,可避免遮蔽障礙影響接收。
上面凹槽處插有 2.4G 接收器。接收器也可以直接插在電腦或筆電上使用。
充電座底部為 USB Type-C 接口。
充電座設計是相當便利,對應滑鼠接電掛上去就可以為滑鼠進行充電。底部是採用磁吸式固定。
MSI Clutch GM31 的外觀相較於 GM41 是要小一點,基本風格差異不大,採用左右非對稱式設計,外觀簡潔,左右鍵比較細長一點,幾乎占用滑鼠一半長度。
滑鼠背上一樣保有龍紋 Logo,支援 RGB 燈效。
左右兩側都有立體菱格紋的止滑橡膠。
左側邊有兩個快速功能按鍵,預設為上下一頁,可透過軟體自定義滑鼠功能、巨集等。
連接線在中間下方凹槽處。電力不足時也可以當成有線使用。
中間滾輪上方也有菱格紋止滑橡膠。
右側。
底部四邊與感應器周圍都貼有 PTFE 鼠貼,與鼠墊接觸可以有更滑順的移動。在感應器的左側為電源開關,右側是 DPI 的切換鍵,五段按壓循環,分別是400、800、1600、3200、6400 DPI,這部分透過軟體自定義。DPI 切換鍵做在滑鼠底部是真的有那麼點不便,畢竟還是得翻過來按,這對於有需要快速切換 DPI 的玩家而言應該會是困擾。
前段為 USB Type-C 接口,可連接線材當有線使用。
也可以用來放接收器,便於攜出使用。
燈效的部分預設用於顯示 DPI 段數以及電池電量,也可以透過 MSI Center 軟體來自定義。
如果你不喜歡安裝一些有的沒的軟體,你也可以使用組合鍵來切換,這部分可參考說明書。
MSI 硬體與軟體整合的部分目前都是透過 MSI Center ,這部分可以選擇性安裝。滑鼠功能有五個按鍵能自定義,可設為滑鼠功能、調整 DPI、巨集或停用。
支援巨集錄製。
傳感器設定,DPI 快速調整是透過底部按鍵切換,有5個級別,預設為 400、800、1600、3200、6400 DPI,可自行定義5個等級對應 DPI ,最低 100DPI,最高 12000DPI。靈敏度可調 125、250、500、1000Hz,另外也可設定角度捕捉類似直線修正功能。這選項也可以看到電池使用程度,可設定燈光自動休眠功能、低電量警式 OSD。
燈效的部分則是統一於 Mystic Light 調整,LED 樣式有關閉、恆亮、呼吸、彩虹、自訂,並支援調整速度與亮度。
小結
MSI Clutch GM31 Lightweight Wireless 在外型上一樣屬於低調,燈效只在背上的龍紋圖案,可透過燈效來判斷電池續航力,除了美觀也兼具了一點功能性,主要承襲先前 GM41 的優點,充電+2.4G座的設計是相當便利,不使用時滑鼠一秒掛上就可以進行充電,在續航力上也從原本80小時拉高到110小時,且充10分鐘就能用上7小時,另外在攜出使用上滑鼠也有接收器收納功能,雖然不是甚麼了不起的設計,但有實質用處。
手感的部分,GM31 尺寸是相對 GM41 比較小一點,但實際上大概與一般常見文書型滑鼠差不多,如果你是慣用這類一般或小尺寸滑鼠的來說,GM31 應該很容易上手,反之如果你是習慣大一點,或手比較大可能使用 GM41 會比較適合。