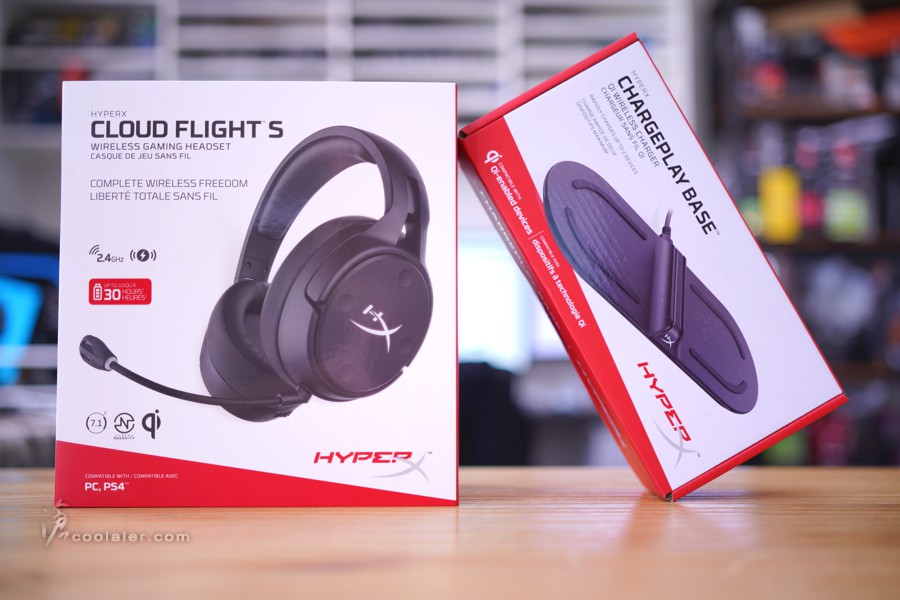
Kingston 旗下電競品牌 HyperX 在今天(24)推出了新的無線電競耳機 Cloud Flight S,這款耳機在稍早前有於 CES 上展出,命名同已推出一段時間的 Cloud Flight ,但多了"S",當然就是其厲害之處,主要這把 Cloud Flight S 是採用7.1虛擬環繞音效,一樣是無線的版本,除了連線充電之外,也可支援 Qi 無線充電,提到 Qi 也是另外一個要開箱的主角 HyperX ChargePlay Base 無線充電板,可以同時充兩台裝置,除了自家的 Qi 產品,如 Pulsefire Dart、Cloud Flight S ,也支援所有 Qi 規範的手機或其他裝置。
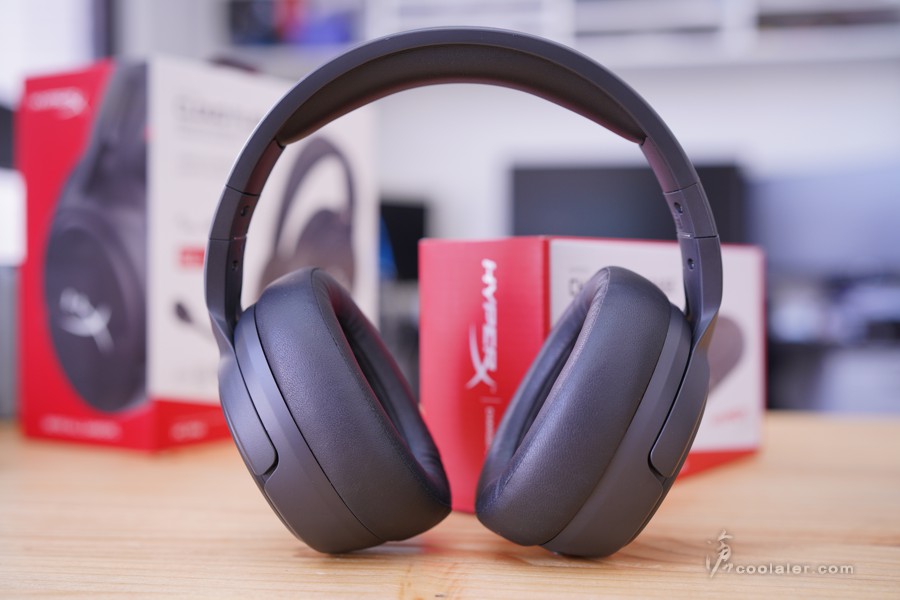
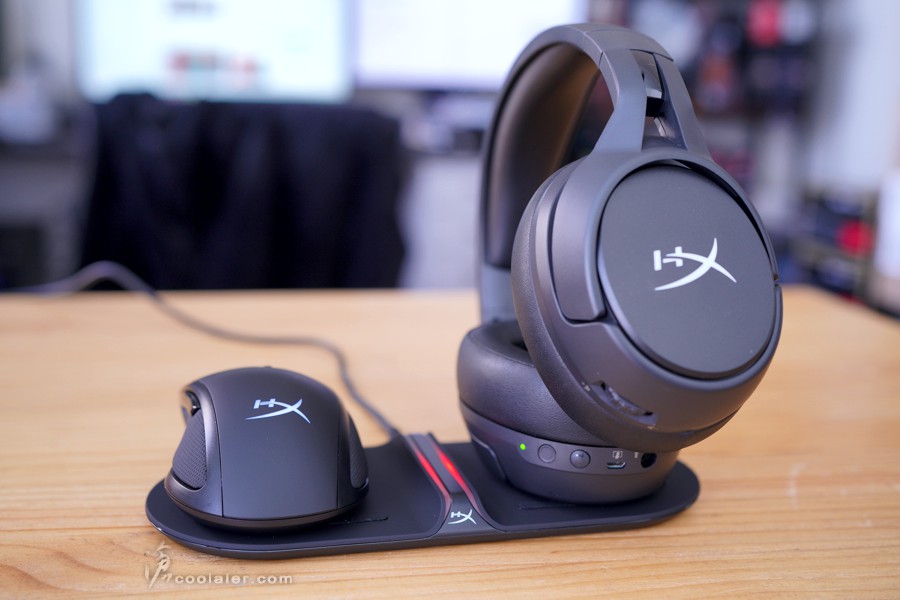
HyperX Cloud Flight S 無線7.1電競耳機 + ChargePlay Base Qi 充電板
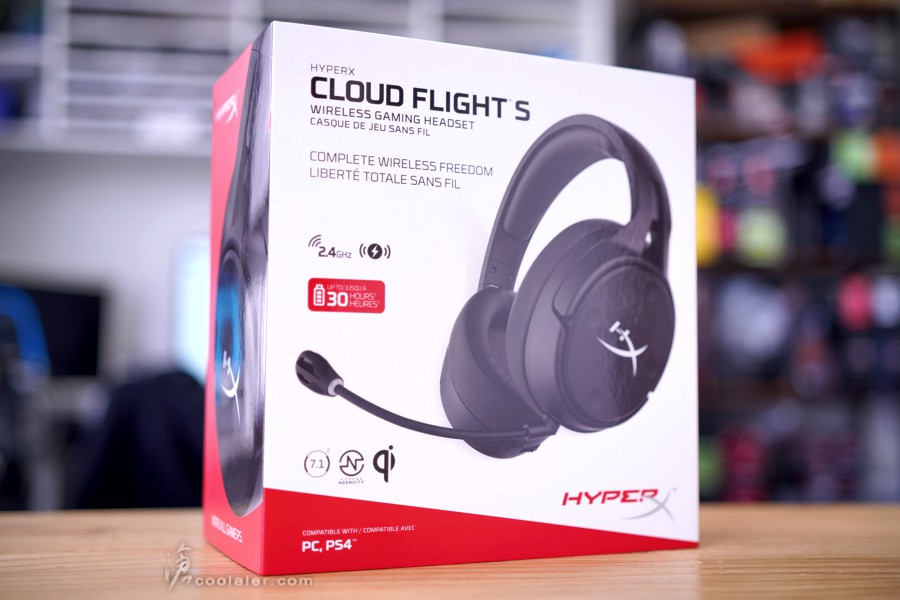
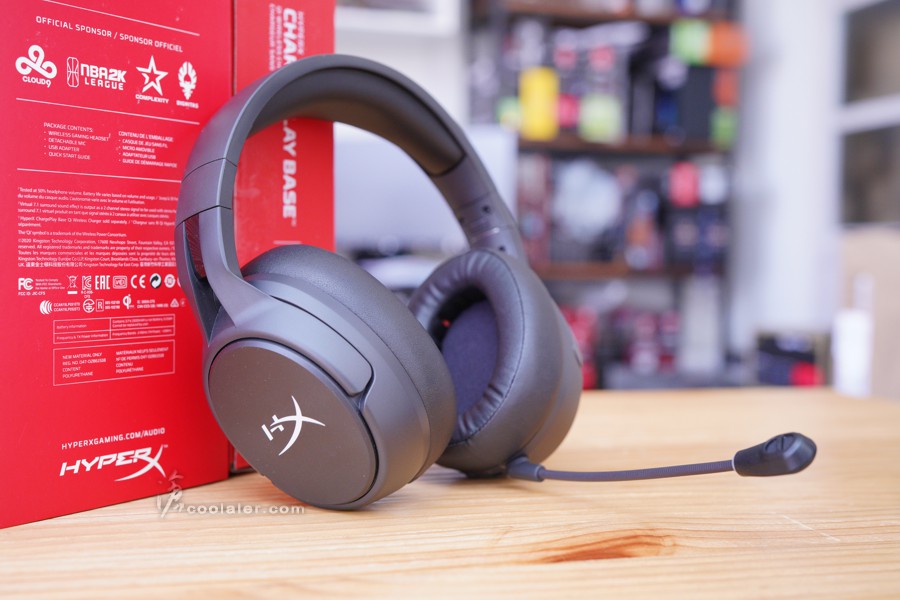
先來看看 Cloud Flight S 無線電競耳機,為50mm的驅動單體,採2.4GHz無線傳輸,有虛擬7.1聲道,支援 Qi 無線充電,充飽電可有長達30小時續航力(50%音量)。除了 PC 可用也支援 PS4。
Cloud Flight S 採用可拆卸式麥克風,支援快速關閉,麥克風上面有開關燈效指示,用戶可以快速的知道目前麥克風狀態,避免以為關閉卻講出了不該講的XD,另外在耳機上有四個快速按鍵可以用透過軟體指派多媒體功能使用。
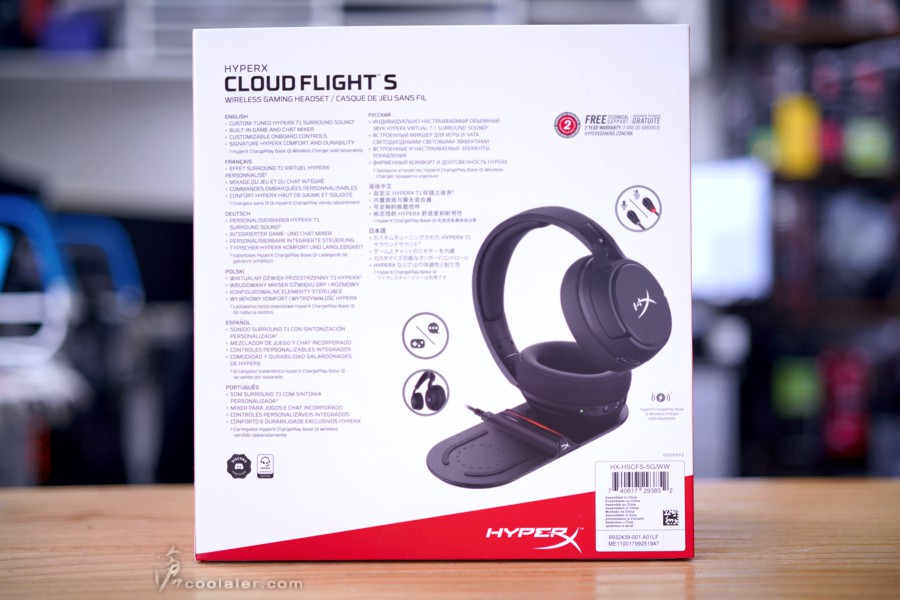
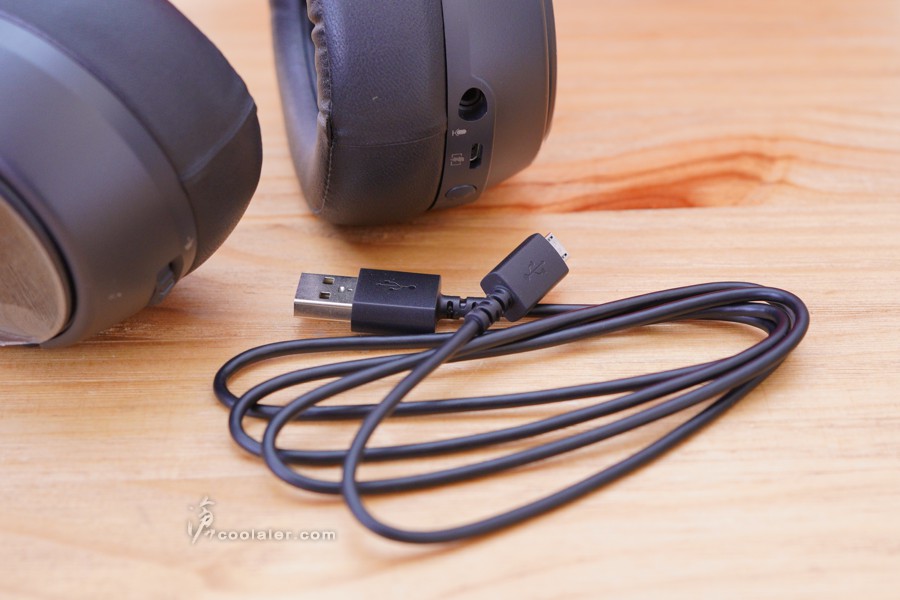
配件有說明書、充電線、無線接收器、麥克風。

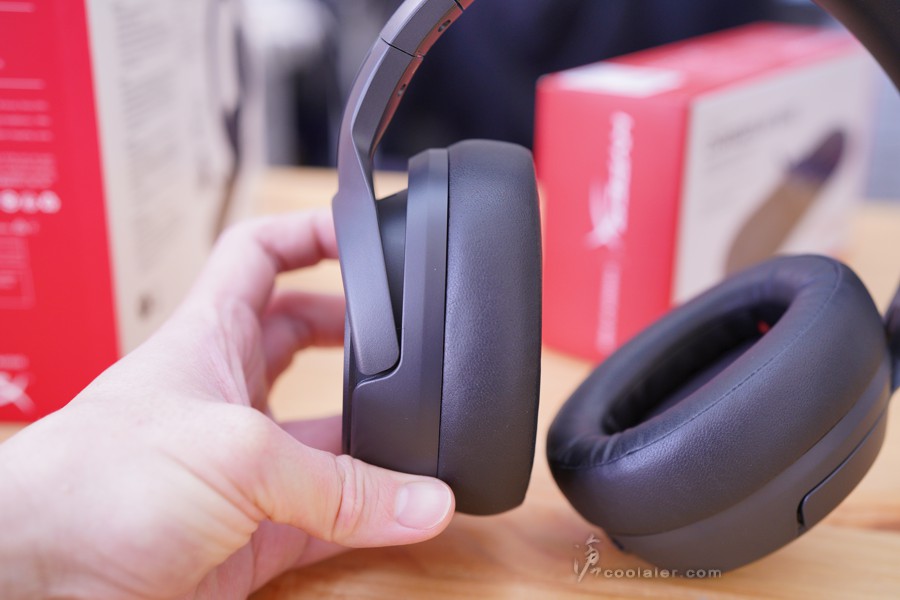
Cloud Flight S 雖然歸類電競型,但外觀屬於中規中矩,與先前所推出的 Cloud Flight 風格近似,不過 Cloud Flight S 似乎更低調一些,側邊 Logo 取消了 LED 燈效,可能是為了較長的續航力以及成本考量。
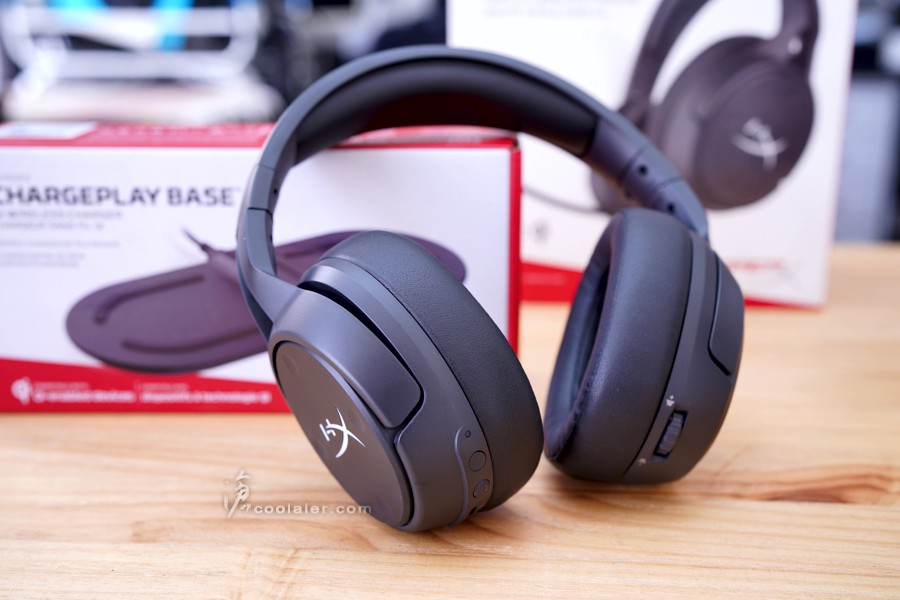
從側邊可以看到耳罩與頭架是有點角度設計,符合人體工學,配戴舒適考量。在左側上面可以看到上下左右有四個凹槽,這是四顆快速鍵,預設上為麥克風監聽(Sidetone測音)開關,左右為快速調整遊戲、語音音量,下為麥克風靜音鍵。
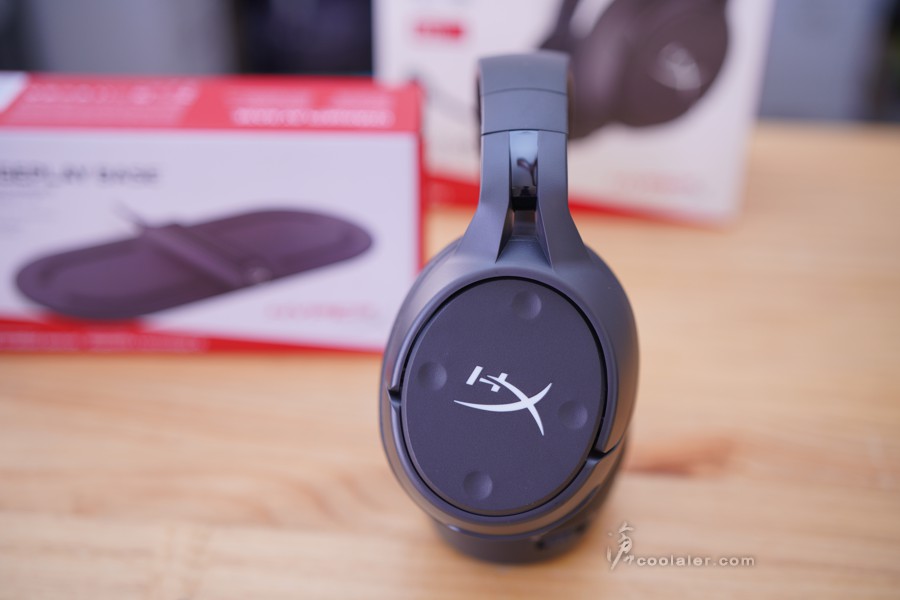
左右兩側都有 HyperX 的 Logo 標誌,不過這部分並沒 LED 燈效,反正戴在頭上自己也看不到燈效就是。

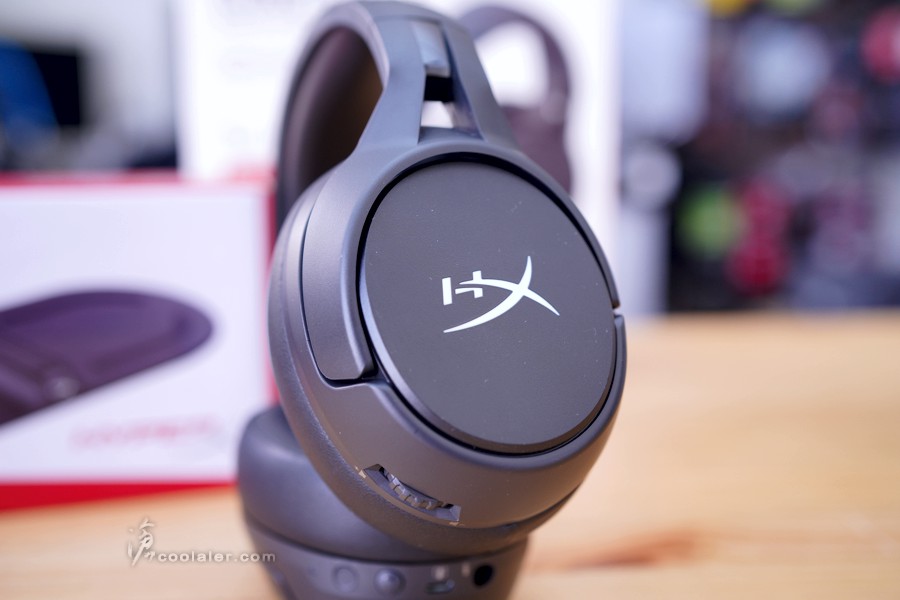
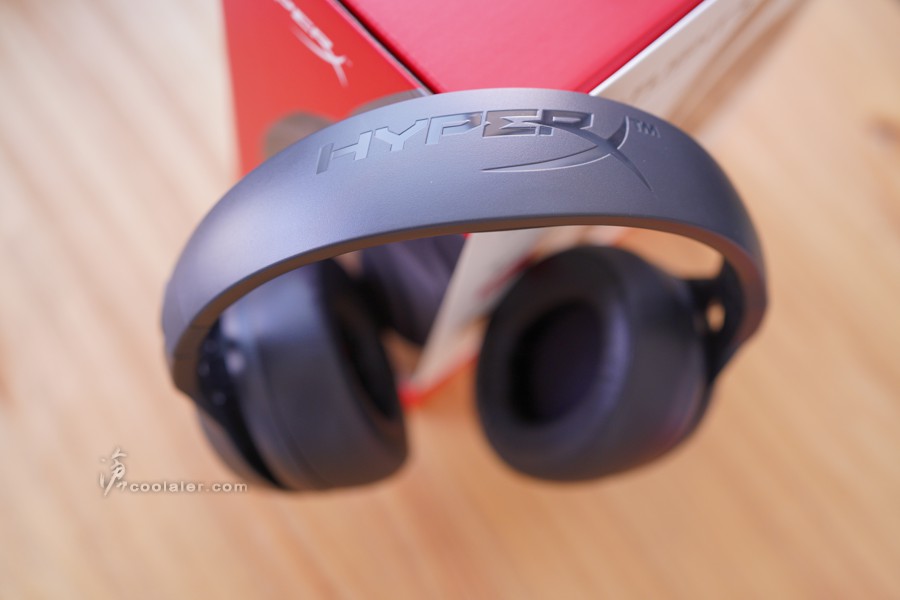
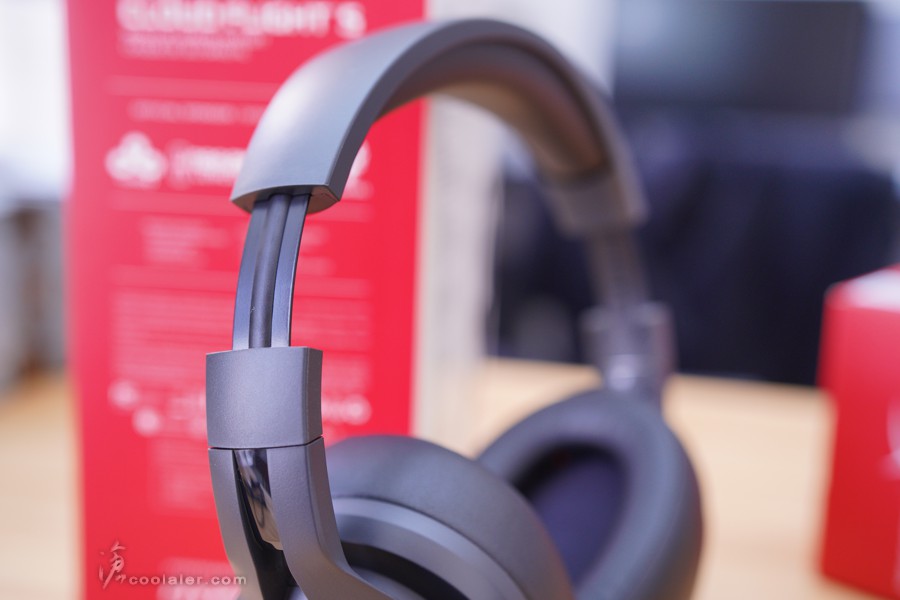
頂部有 HyperX 刻字,內底採用鏡面與外框異材質設計。
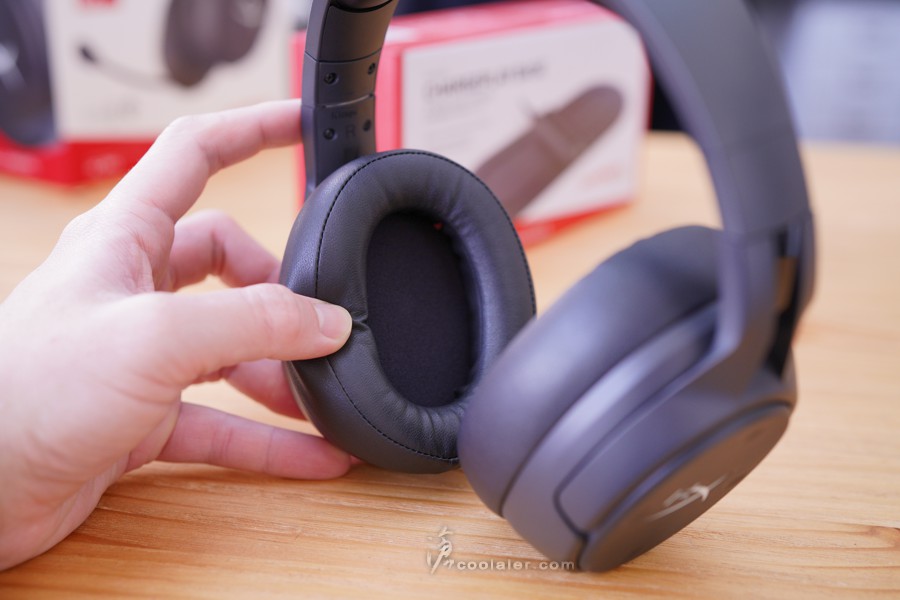
頂部內側有紓壓記憶泡棉和透氣人造皮革。
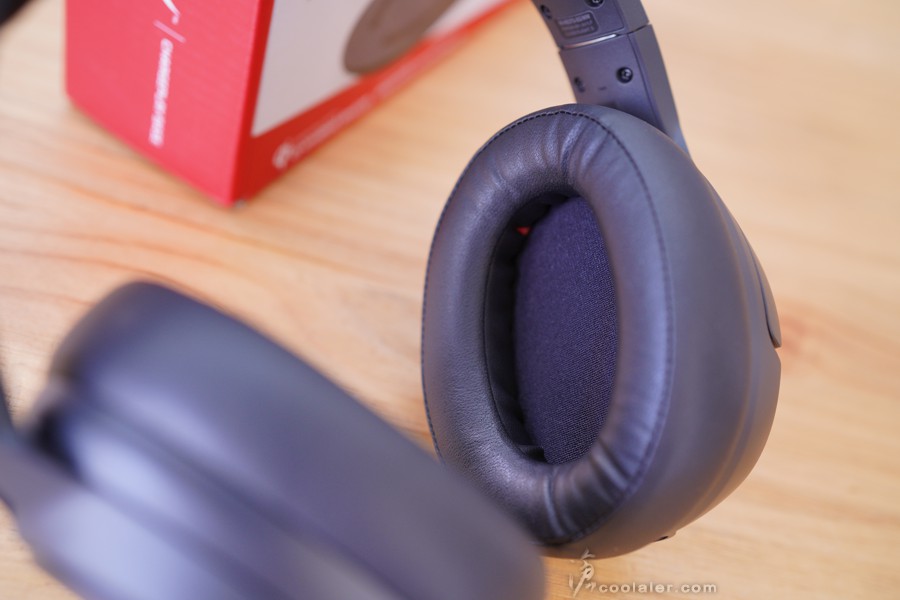
兩側耳罩也是一樣有泡棉與皮革包覆,按壓觸感柔軟。
耳罩可以翻轉90度,可以方便收納或是掛於頸部較為舒適。

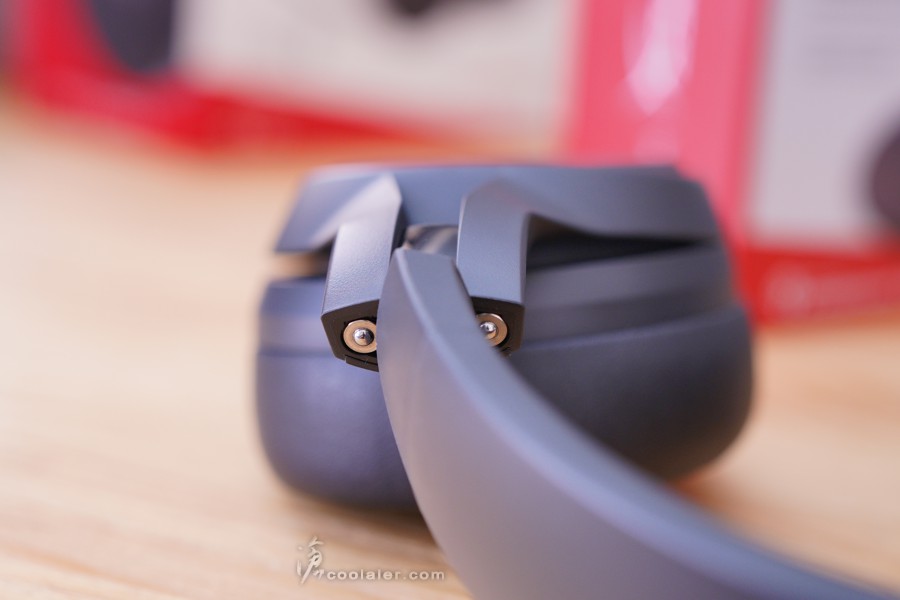
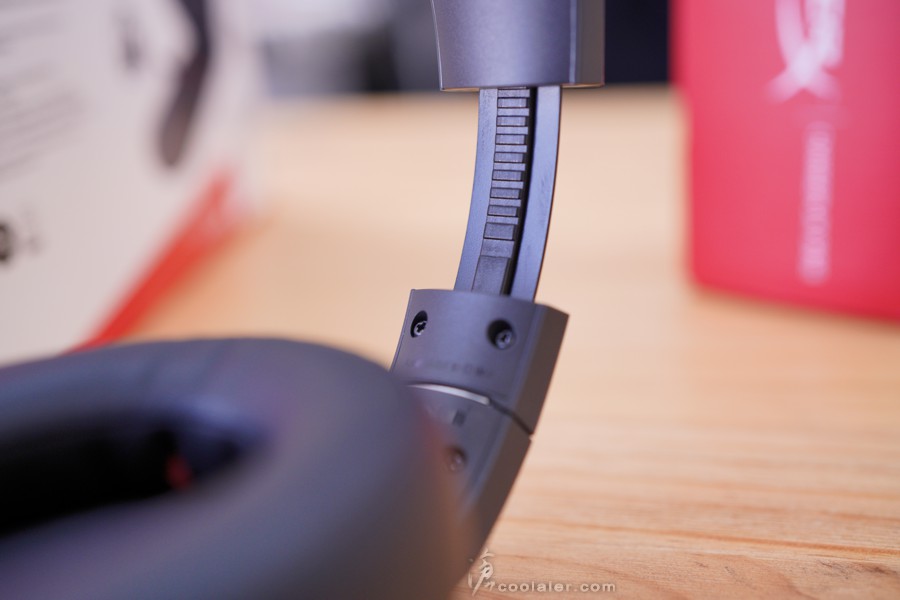
在旋轉關節的部分有點小巧思,下圖可以看到兩側有突起金屬,對應的另一側就是內凹,旋轉復位時會有明顯聲音,個人覺得相較於無段這是比較有質感的設計。
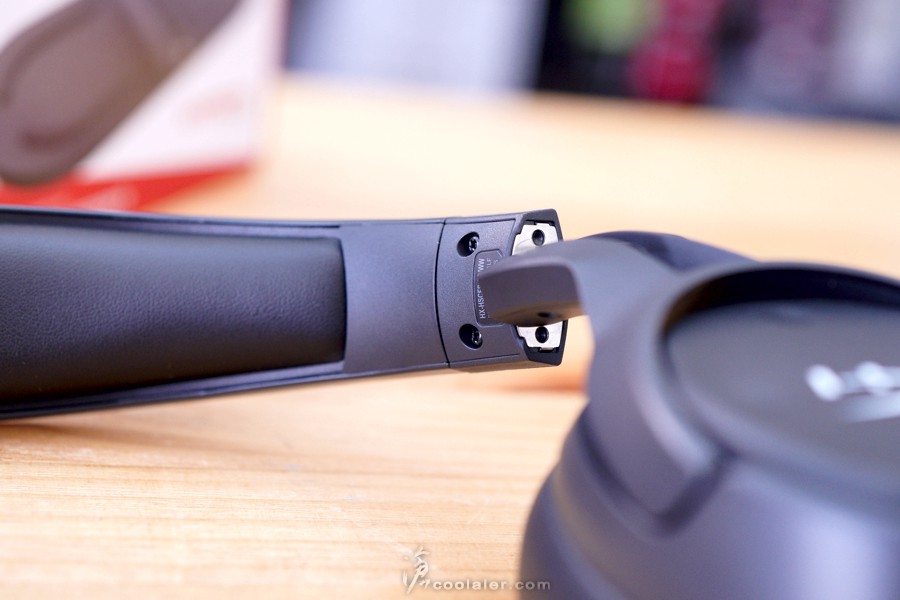
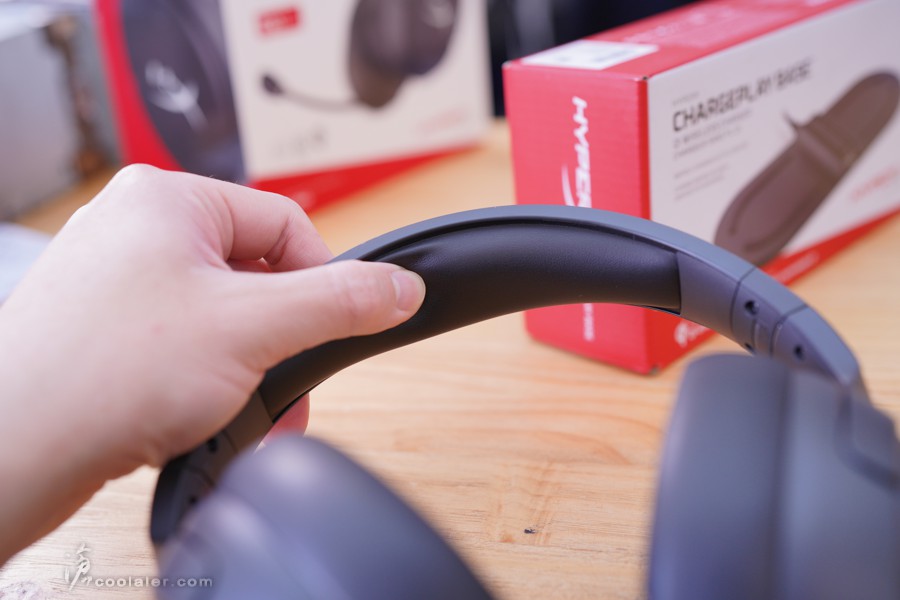
頭戴兩側可以調整高低以配合自己的頭型。內側的骨架是採用金屬材質。
約有12段可調。
左右內側有標示 L / R 側。

耳罩關節是可以稍微傾斜,這也是用於配戴時的舒適度設計。
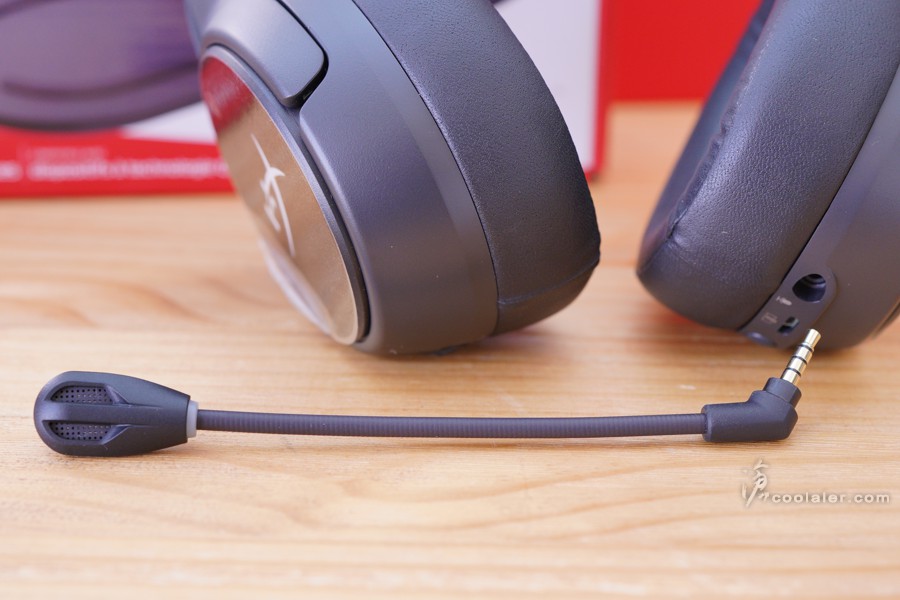
耳罩底部,左側有指示燈、電源鍵、7.1聲道開關、充電孔、麥克風接口,右側則是音量旋鈕。
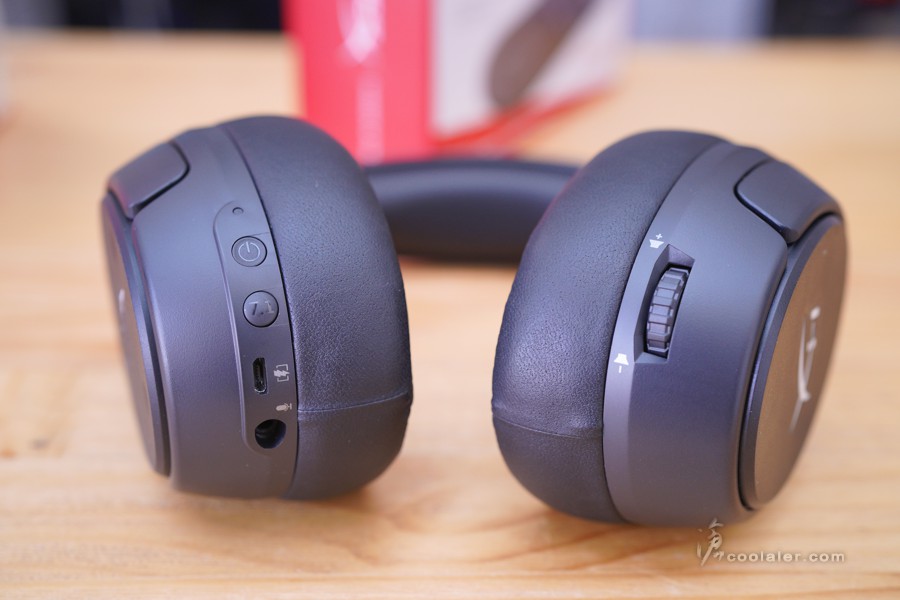
支援 Qi 無線充電,也可以連接 USB 充電。
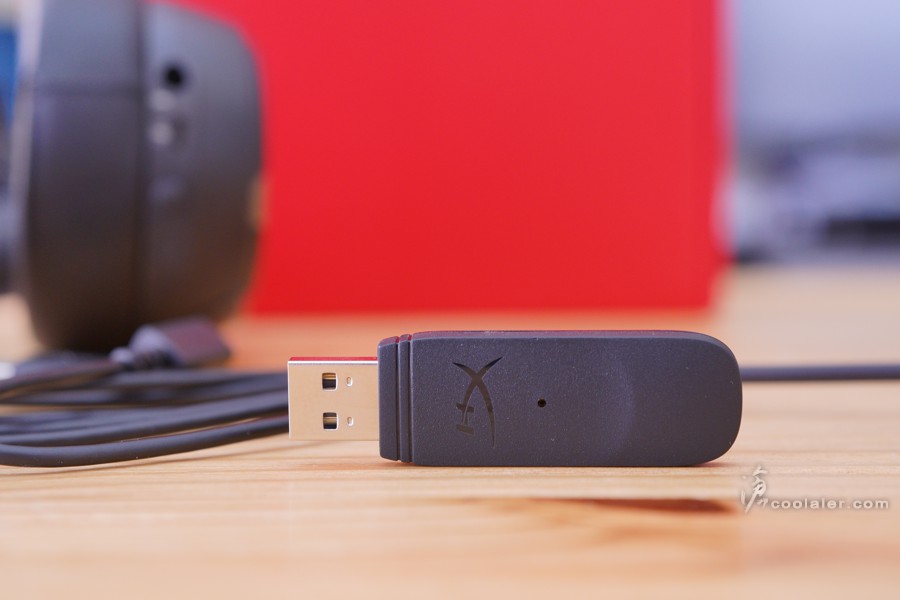
無線接收器,中間有個小孔,可以用來重置無線配對。
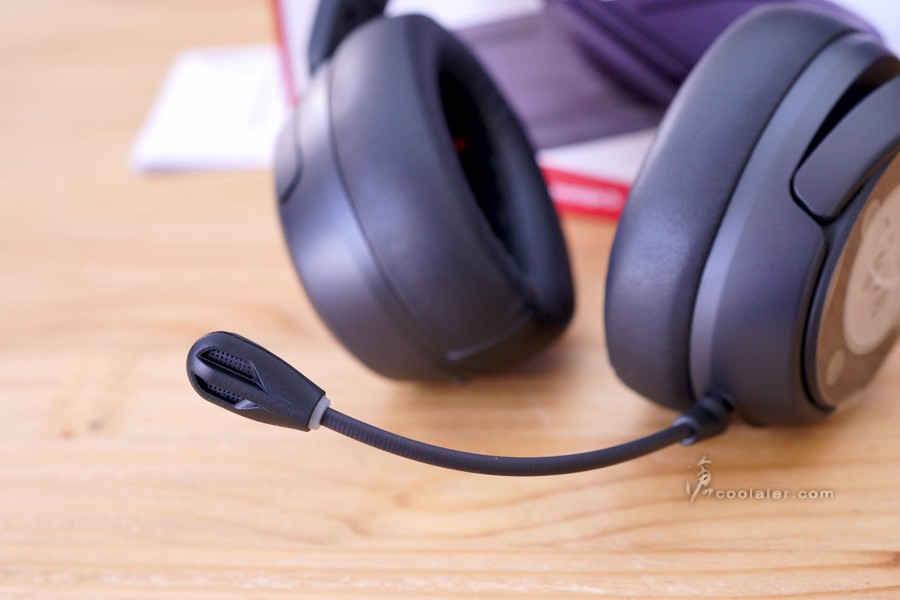
拆卸式麥克風。如果只是聽音樂、看電影就可以不用裝上去。
麥克風的骨架是軟的,可以稍微調整收音位置。麥克風前頭與骨架連接有一圈白色,這部分有指示燈,是用來顯示麥克風開或關的狀態,無亮燈是開啟狀態,反之關閉是顯示紅色。
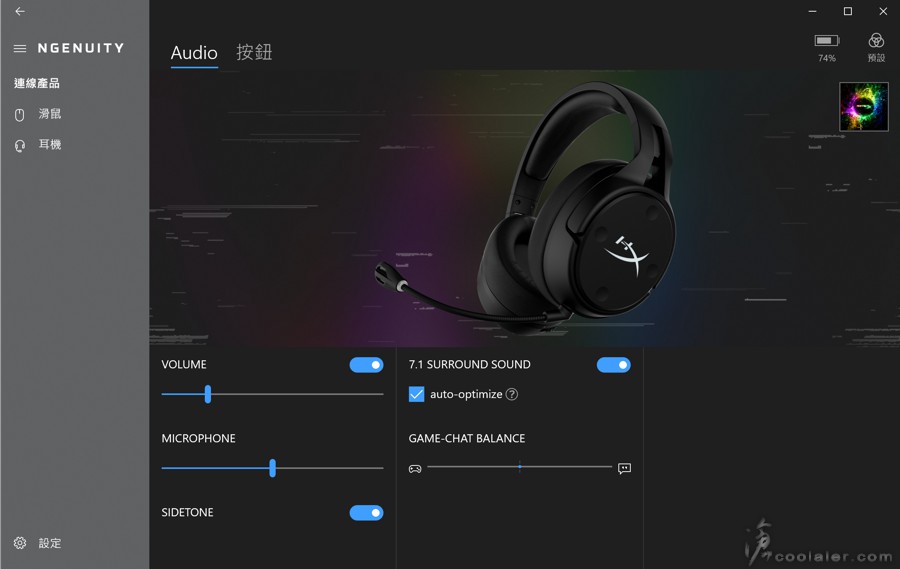
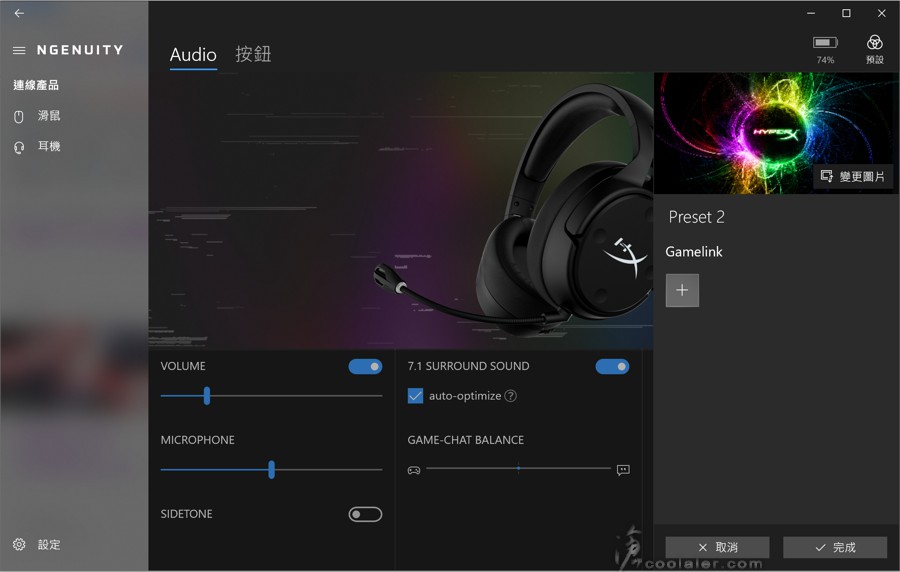
Cloud Flight S 有支援軟體設定,一樣是使用自家統一的 NGENUITY,開啟的時候如果有新的韌體就會自動更新,相當方便。在軟體設定頁面可以用來調整音效、麥克風音量、Sidetone測音開關、7.1聲道開關、遊戲-語音音量。
與滑鼠一樣支援組別設定,因為 Cloud Flight S 有快速鍵定義的功能,所以也可以針對開啟軟體而有不同的按鍵設定。
左側耳罩上有四顆按鍵可以自定義功能,當然主要就是用於多媒體功能,而不是巨集阿XD。

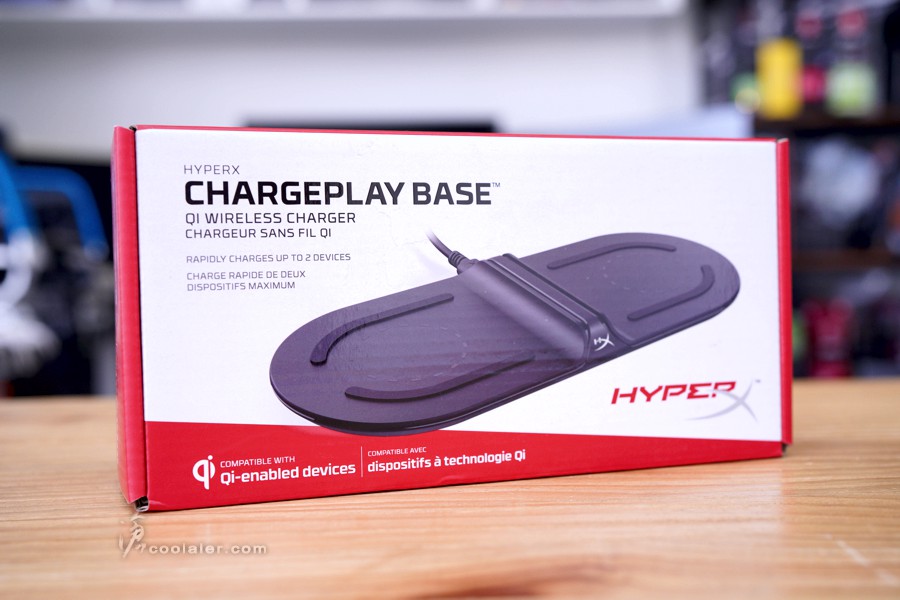
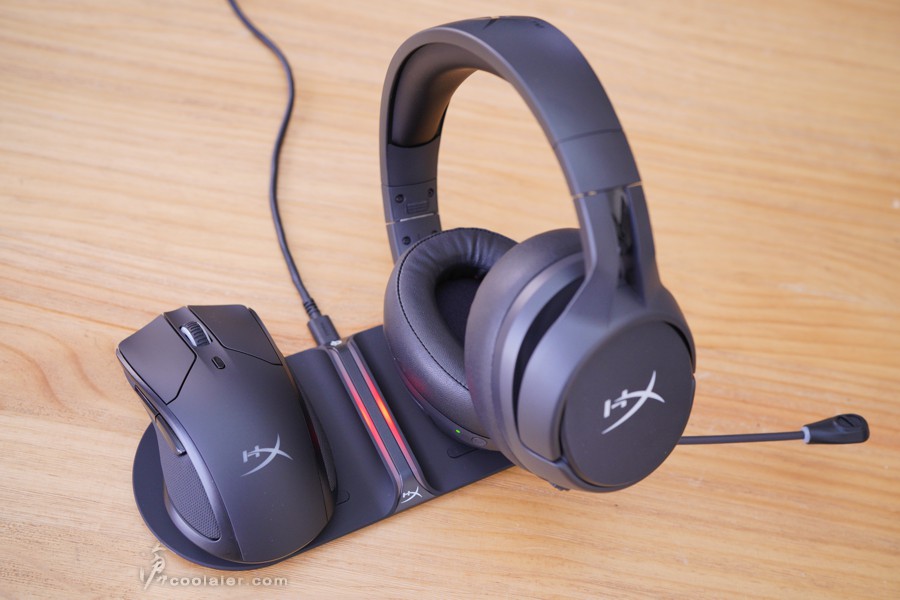
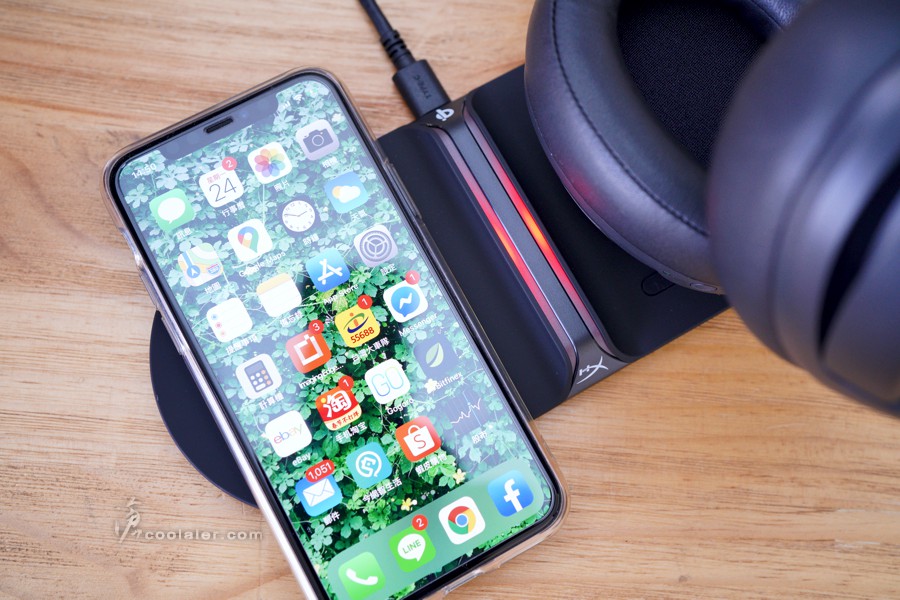
接著來看看 ChargePlay Base Qi 充電板,目前 HyperX 有 Pulsefire Dart 無線滑鼠以及上面這把 Cloud Flight S 無線耳機,可支援 Qi 無線充電,如果這兩裝置都有,買台 ChargePlay Base 是理所當然,這可以支援兩個裝置同時充電。
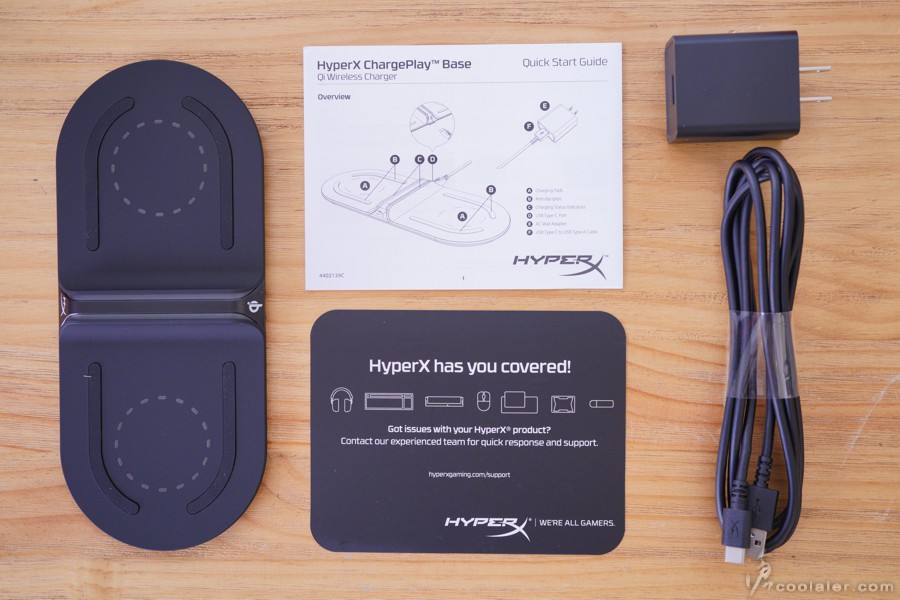
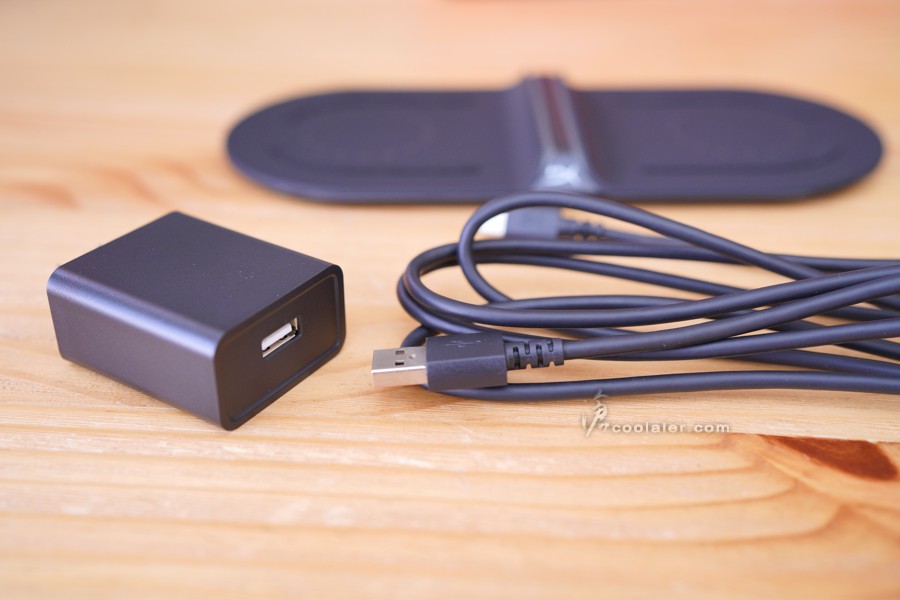
配件有說明書、變壓器、充電線。
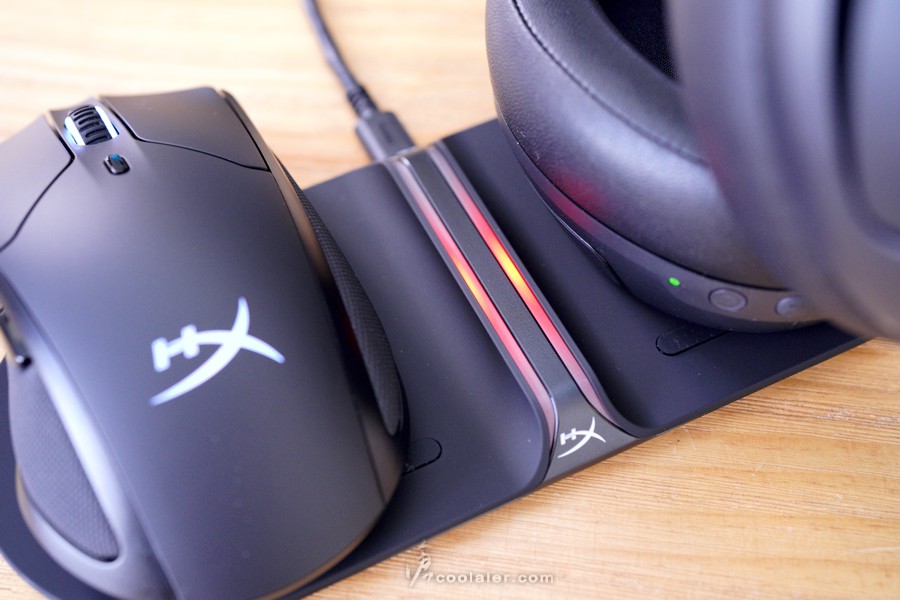
ChargePlay Base Qi 充電板分為左右兩區,支援兩個裝置,左右對稱,中間是兩側有個別的指示燈。
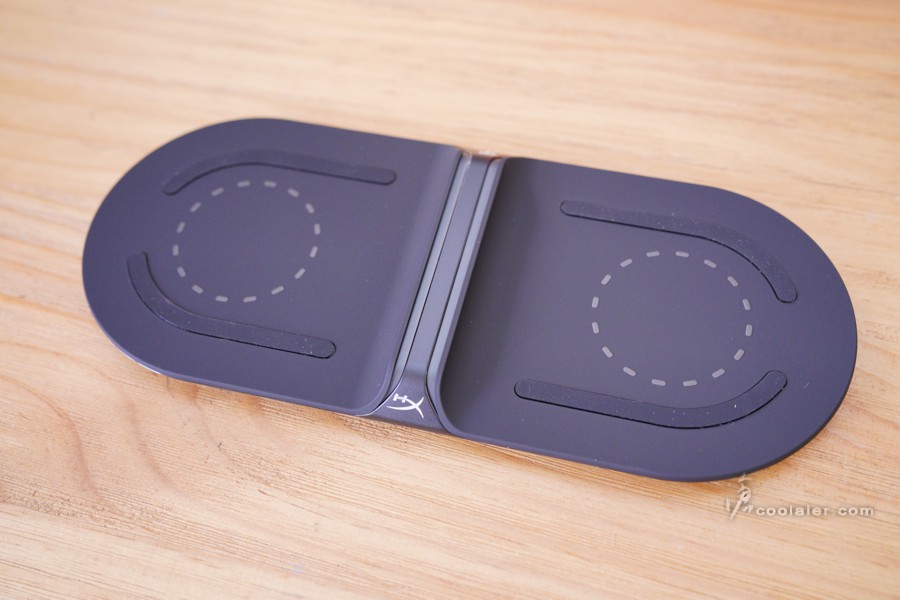
中間圓圈就是對應充電位置,上下則有止滑墊設計。
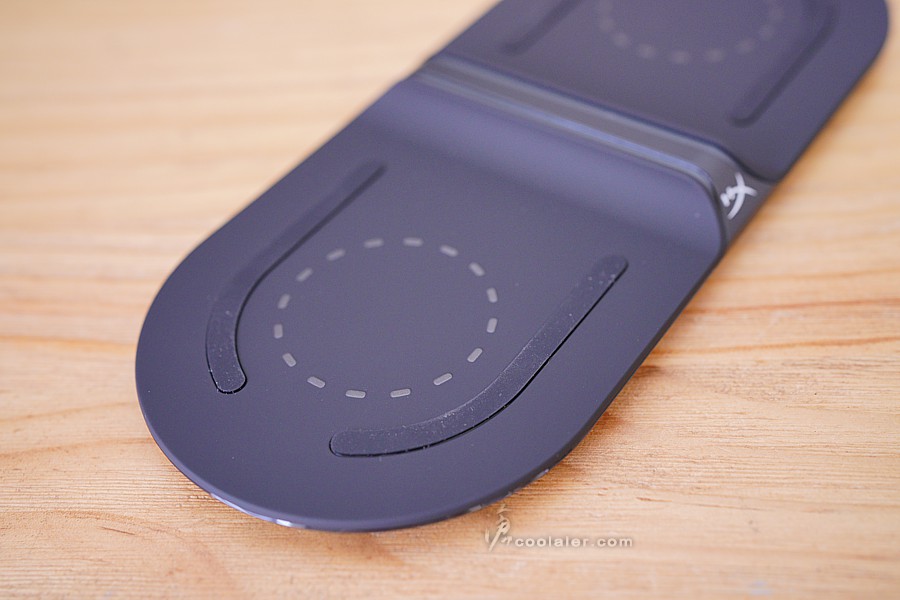
中間有 HyperX 的 Logo。
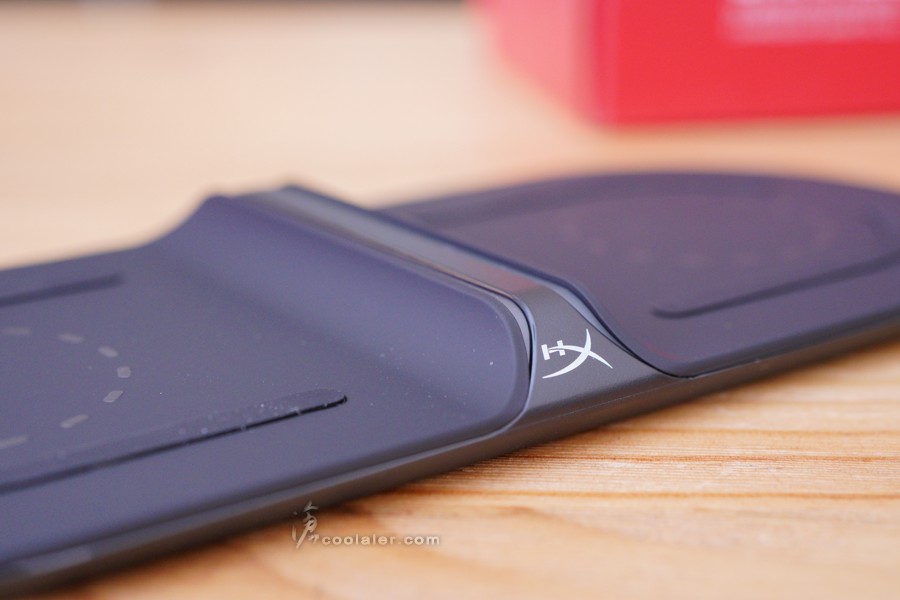
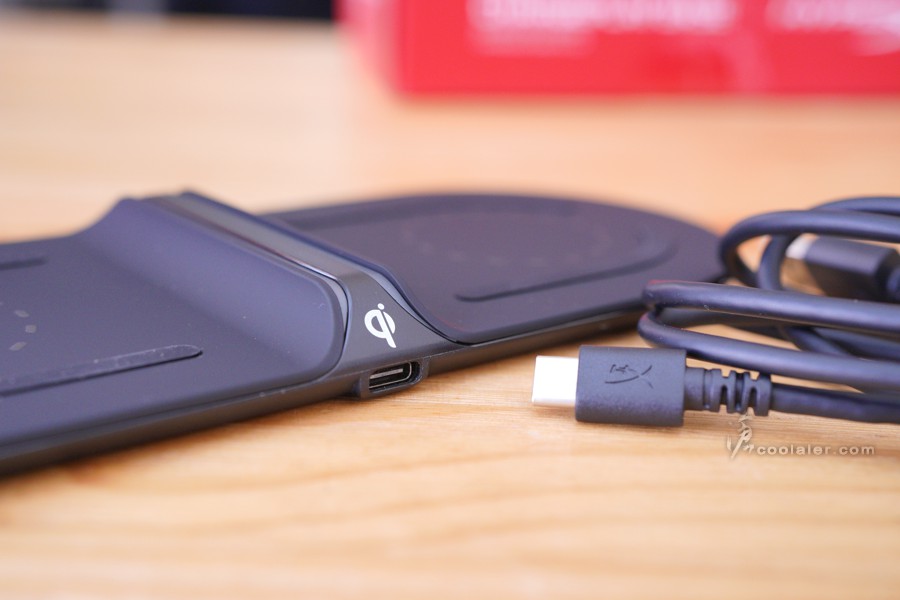
另一側是用來插充電線,採 USB-C 接口。
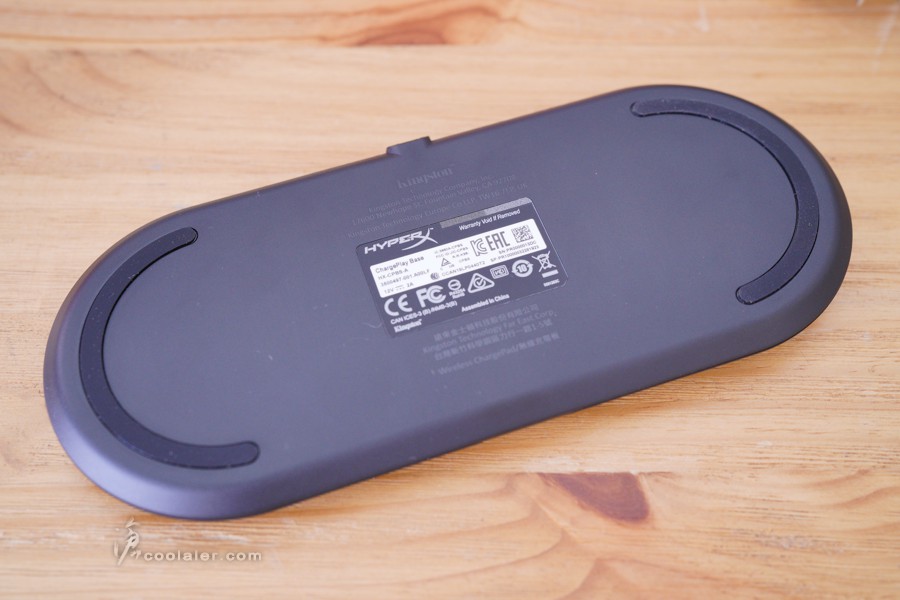
背面兩側也有止滑墊,放在桌上不易滑動。
可以直接插電腦 USB 來進行充電,也可以使用變壓器來充電,AC 充電為24W(5V/3A; 9V/2A; 12V/2A)。Qi 的輸出為15W(兩台同時充),單側最高10W。
無線充電真的很方便,離開電腦前隨手一個動作就可以開始充電。
左右兩側各有單獨指示燈,充電中會顯示紅色,如果充完則會熄滅,沒對應到充電位置也不會亮燈。
桌面上有個這樣的充電板算是實用,有支援的手機也可以放上去充。
小結
HyperX Cloud Flight S 耳機主要是針對電競所設計,虛擬的7.1聲道對於敵方位置判別相當有用,尤其是打競技型 FPS,如《絕地求生》、《決勝時刻》、《絕對武力》、《全境封鎖》這類的遊戲,聽聲辨位就跟雷達顯示一樣是決勝關鍵。7.1聲道雖然是使用虛擬,但音場效果不差,在開啟7.1之後可以感覺到音場空間明顯寬了許多。Cloud Flight S 無線且支援 Qi 充電也是主要優點,續航力倒不用太擔心,與前作 Cloud Flight 一樣在50%音量下能撐到30小時,當然能搭配 Qi 是最好不過,隨手一放就充電了,比起接線來得方便、美觀許多。至於配戴感個人覺得是舒適的,兩邊耳側包覆性不錯,頂部與側邊的舒壓記憶泡棉相當柔軟,不會有過多的壓迫感。左側耳罩上有四顆按鍵可以自定義多媒體功能很方便,不過在按壓感上略為不明顯。
HyperX Cloud Flight S 無線7.1電競耳機 + ChargePlay Base Qi 充電板
先來看看 Cloud Flight S 無線電競耳機,為50mm的驅動單體,採2.4GHz無線傳輸,有虛擬7.1聲道,支援 Qi 無線充電,充飽電可有長達30小時續航力(50%音量)。除了 PC 可用也支援 PS4。
Cloud Flight S 採用可拆卸式麥克風,支援快速關閉,麥克風上面有開關燈效指示,用戶可以快速的知道目前麥克風狀態,避免以為關閉卻講出了不該講的XD,另外在耳機上有四個快速按鍵可以用透過軟體指派多媒體功能使用。
配件有說明書、充電線、無線接收器、麥克風。
Cloud Flight S 雖然歸類電競型,但外觀屬於中規中矩,與先前所推出的 Cloud Flight 風格近似,不過 Cloud Flight S 似乎更低調一些,側邊 Logo 取消了 LED 燈效,可能是為了較長的續航力以及成本考量。
從側邊可以看到耳罩與頭架是有點角度設計,符合人體工學,配戴舒適考量。在左側上面可以看到上下左右有四個凹槽,這是四顆快速鍵,預設上為麥克風監聽(Sidetone測音)開關,左右為快速調整遊戲、語音音量,下為麥克風靜音鍵。
左右兩側都有 HyperX 的 Logo 標誌,不過這部分並沒 LED 燈效,反正戴在頭上自己也看不到燈效就是。
頂部有 HyperX 刻字,內底採用鏡面與外框異材質設計。
頂部內側有紓壓記憶泡棉和透氣人造皮革。
兩側耳罩也是一樣有泡棉與皮革包覆,按壓觸感柔軟。
耳罩可以翻轉90度,可以方便收納或是掛於頸部較為舒適。
在旋轉關節的部分有點小巧思,下圖可以看到兩側有突起金屬,對應的另一側就是內凹,旋轉復位時會有明顯聲音,個人覺得相較於無段這是比較有質感的設計。
頭戴兩側可以調整高低以配合自己的頭型。內側的骨架是採用金屬材質。
約有12段可調。
左右內側有標示 L / R 側。
耳罩關節是可以稍微傾斜,這也是用於配戴時的舒適度設計。
耳罩底部,左側有指示燈、電源鍵、7.1聲道開關、充電孔、麥克風接口,右側則是音量旋鈕。
支援 Qi 無線充電,也可以連接 USB 充電。
無線接收器,中間有個小孔,可以用來重置無線配對。
拆卸式麥克風。如果只是聽音樂、看電影就可以不用裝上去。
麥克風的骨架是軟的,可以稍微調整收音位置。麥克風前頭與骨架連接有一圈白色,這部分有指示燈,是用來顯示麥克風開或關的狀態,無亮燈是開啟狀態,反之關閉是顯示紅色。
Cloud Flight S 有支援軟體設定,一樣是使用自家統一的 NGENUITY,開啟的時候如果有新的韌體就會自動更新,相當方便。在軟體設定頁面可以用來調整音效、麥克風音量、Sidetone測音開關、7.1聲道開關、遊戲-語音音量。
與滑鼠一樣支援組別設定,因為 Cloud Flight S 有快速鍵定義的功能,所以也可以針對開啟軟體而有不同的按鍵設定。
左側耳罩上有四顆按鍵可以自定義功能,當然主要就是用於多媒體功能,而不是巨集阿XD。
接著來看看 ChargePlay Base Qi 充電板,目前 HyperX 有 Pulsefire Dart 無線滑鼠以及上面這把 Cloud Flight S 無線耳機,可支援 Qi 無線充電,如果這兩裝置都有,買台 ChargePlay Base 是理所當然,這可以支援兩個裝置同時充電。
配件有說明書、變壓器、充電線。
ChargePlay Base Qi 充電板分為左右兩區,支援兩個裝置,左右對稱,中間是兩側有個別的指示燈。
中間圓圈就是對應充電位置,上下則有止滑墊設計。
中間有 HyperX 的 Logo。
另一側是用來插充電線,採 USB-C 接口。
背面兩側也有止滑墊,放在桌上不易滑動。
可以直接插電腦 USB 來進行充電,也可以使用變壓器來充電,AC 充電為24W(5V/3A; 9V/2A; 12V/2A)。Qi 的輸出為15W(兩台同時充),單側最高10W。
無線充電真的很方便,離開電腦前隨手一個動作就可以開始充電。
左右兩側各有單獨指示燈,充電中會顯示紅色,如果充完則會熄滅,沒對應到充電位置也不會亮燈。
桌面上有個這樣的充電板算是實用,有支援的手機也可以放上去充。
小結
HyperX Cloud Flight S 耳機主要是針對電競所設計,虛擬的7.1聲道對於敵方位置判別相當有用,尤其是打競技型 FPS,如《絕地求生》、《決勝時刻》、《絕對武力》、《全境封鎖》這類的遊戲,聽聲辨位就跟雷達顯示一樣是決勝關鍵。7.1聲道雖然是使用虛擬,但音場效果不差,在開啟7.1之後可以感覺到音場空間明顯寬了許多。Cloud Flight S 無線且支援 Qi 充電也是主要優點,續航力倒不用太擔心,與前作 Cloud Flight 一樣在50%音量下能撐到30小時,當然能搭配 Qi 是最好不過,隨手一放就充電了,比起接線來得方便、美觀許多。至於配戴感個人覺得是舒適的,兩邊耳側包覆性不錯,頂部與側邊的舒壓記憶泡棉相當柔軟,不會有過多的壓迫感。左側耳罩上有四顆按鍵可以自定義多媒體功能很方便,不過在按壓感上略為不明顯。