雖然目前 QD-OLED 高階螢幕盡出,但 SS IPS 算是平價預算型的好選擇,尤其是現在顯卡可能就佔掉組機預算一半超過。
GIGABYTE 最近推出了新款電競螢幕 GS27U ,主要採用 SS IPS 27吋面板,有 4K (3840×2160)解析度, 160Hz 的更新率,最快反應速度為 1ms(MPRT),並且符合 VESA Display HDR400 認證以及 95% DCI-P3 / 127% sRGB 的色域表現。
另外在電競的部分也加入 OSD Sidekick 軟體使用鍵盤滑鼠快速來調整螢幕設置,以及支援 Game Assist 電競輔助功能與 Black Equalizer 黑平衡技術,來提升整體遊戲體驗。
GS27U 規格
面板尺寸:27 吋
面板:SS IPS
解析度:3840 x 2160
色彩飽和度:95% DCI-P3 / 127% sRGB
亮度:350 cd/m2
對比率:1,000 : 1
可視角度 :178° ( H) / 178° ( V )
色深:10 bit
反應時間:1ms ( MPRT )
更新速度:160Hz
HDR: VESA Display HDR400
訊號輸入:HDMI 2.1 x 2、DisplayPort 1.4 x 1
音效:3.5mm 耳麥
傾斜角度:-5°~+20°
尺寸含支架:613.7 x 447.4 x 172 mm
重量含支架:5.32 kg
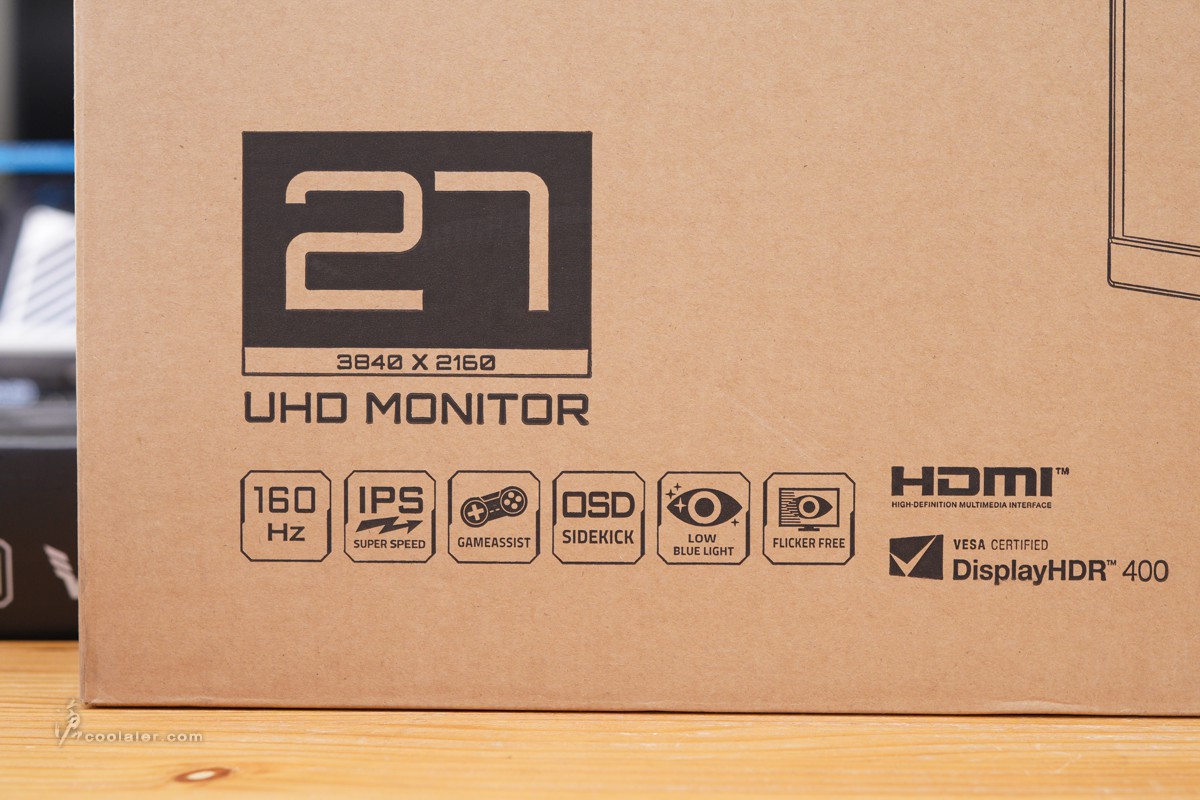
GIGABYTE GS27U
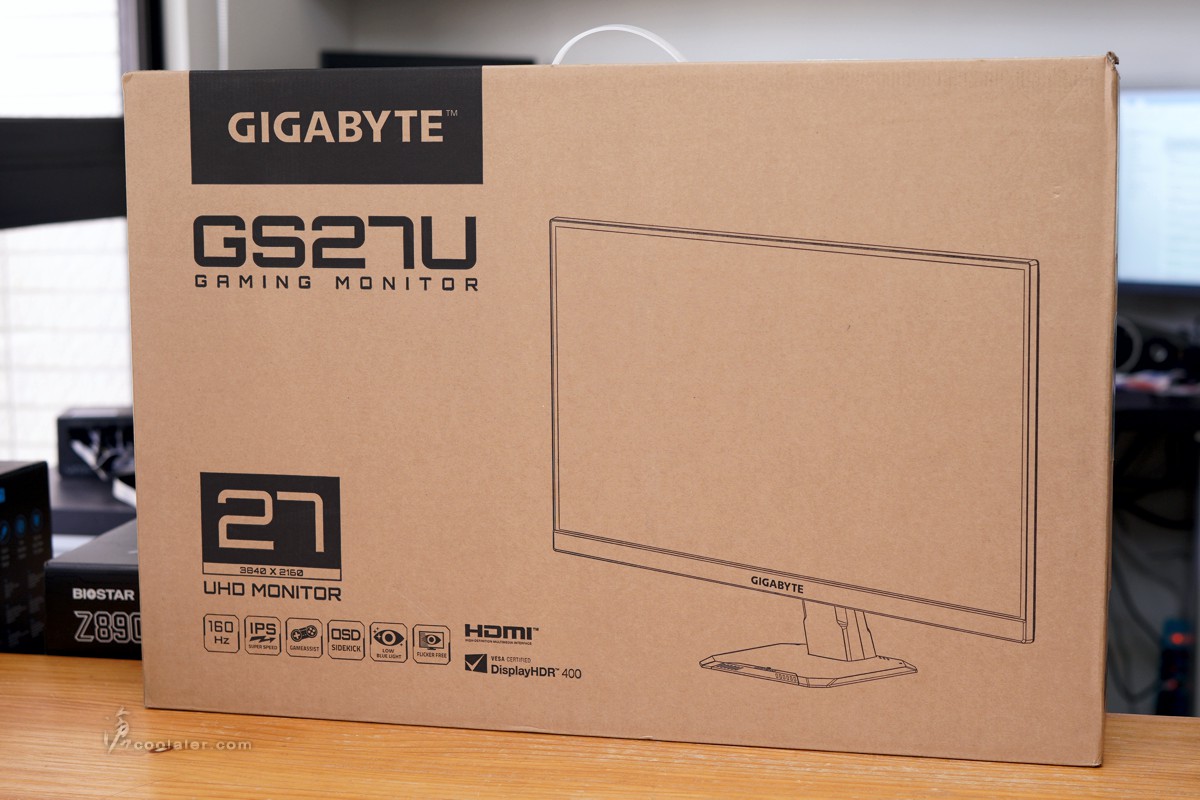
主要規格與特色,27吋4K,160Hz、SS IPS 面板、GAME ASSIST 遊戲輔助、OSD SIDEKICK 功能、低藍光、無閃爍、VESA Display HDR400 。
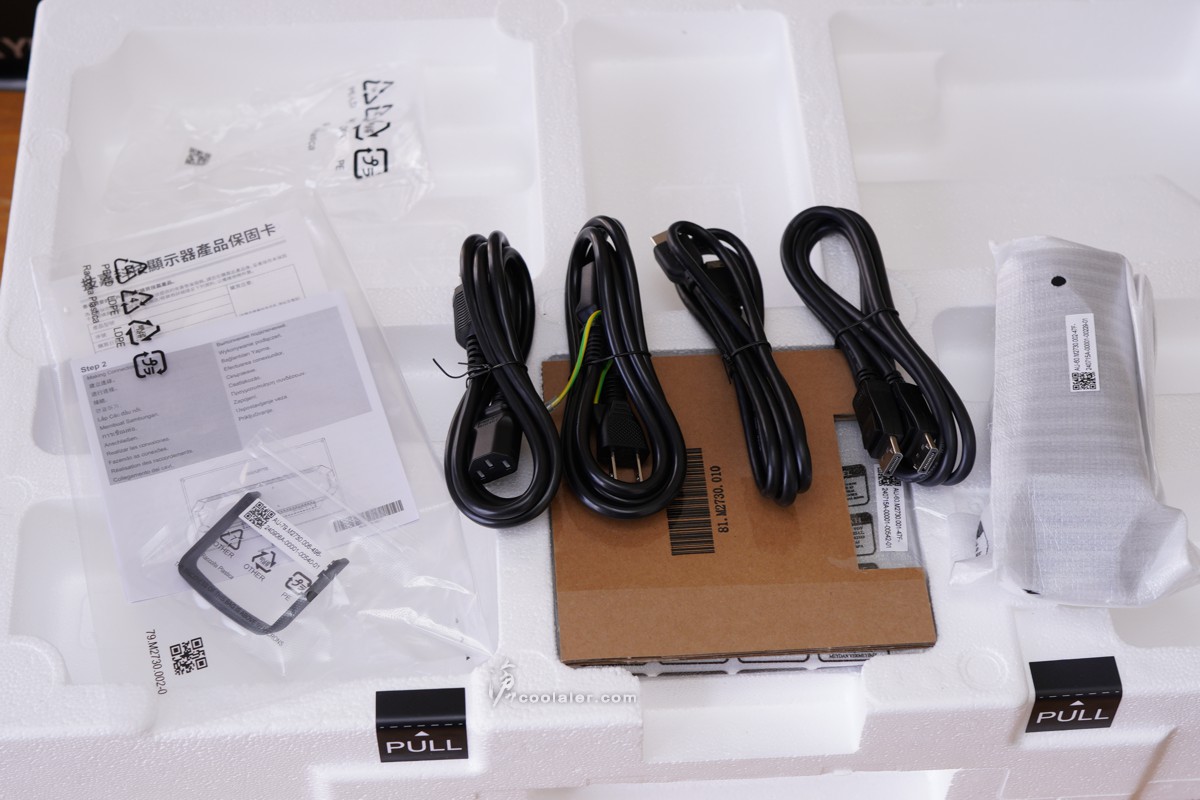
配件有說明書、保固卡、電源線、HDMI 線、DP 線、螢幕支架。
螢幕支架一樣是底座與支柱分開。
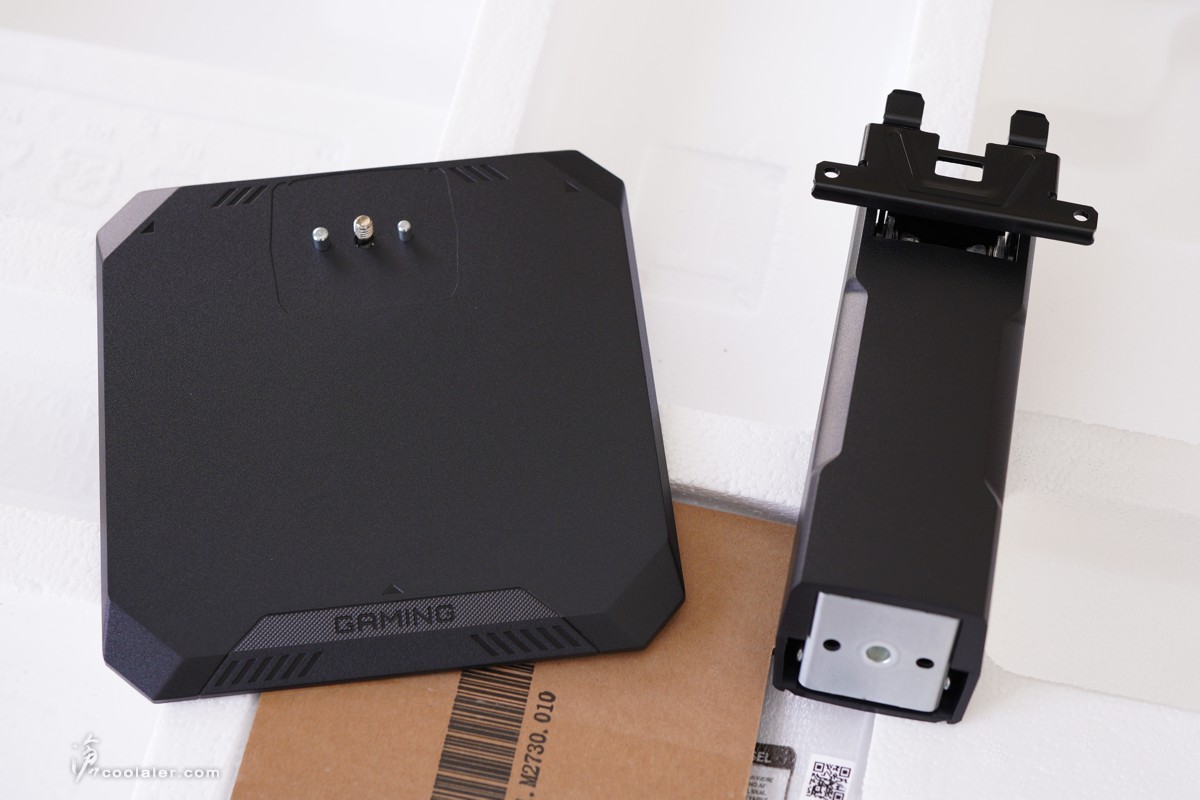
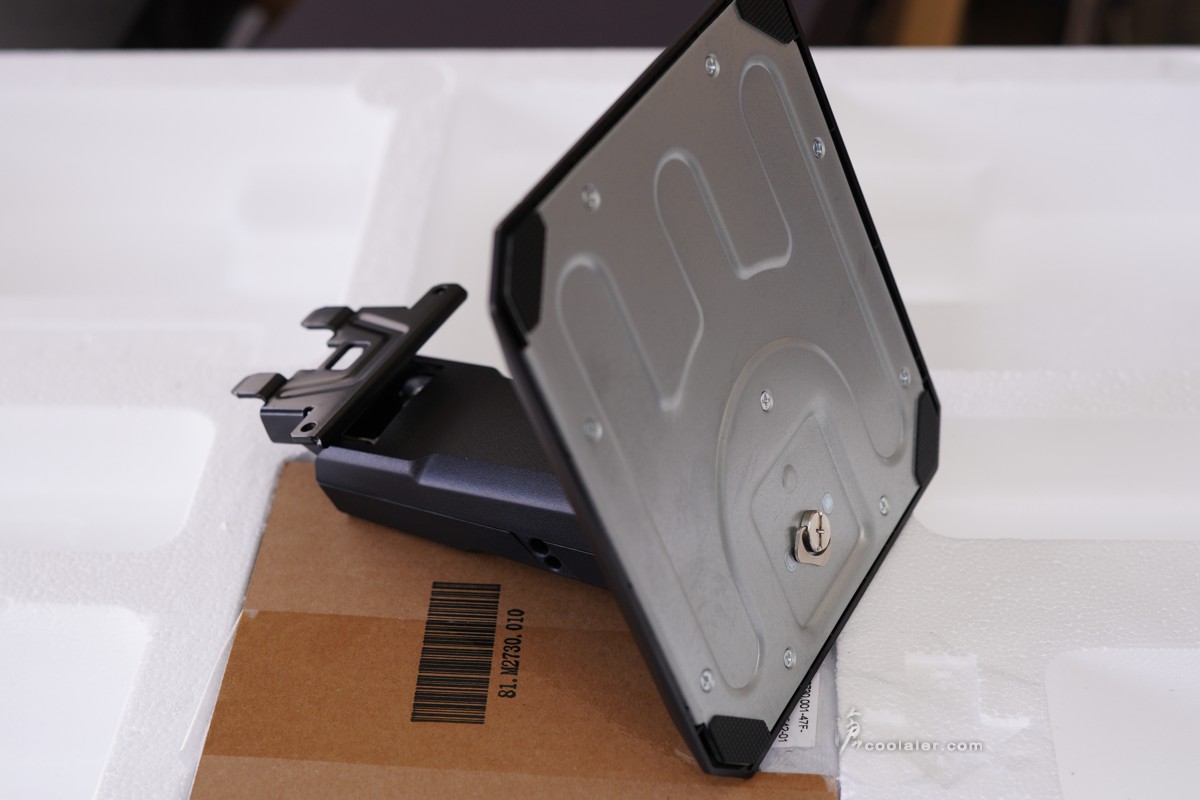
支柱底部有孔位對應底座,底座有螺絲可手轉固定。
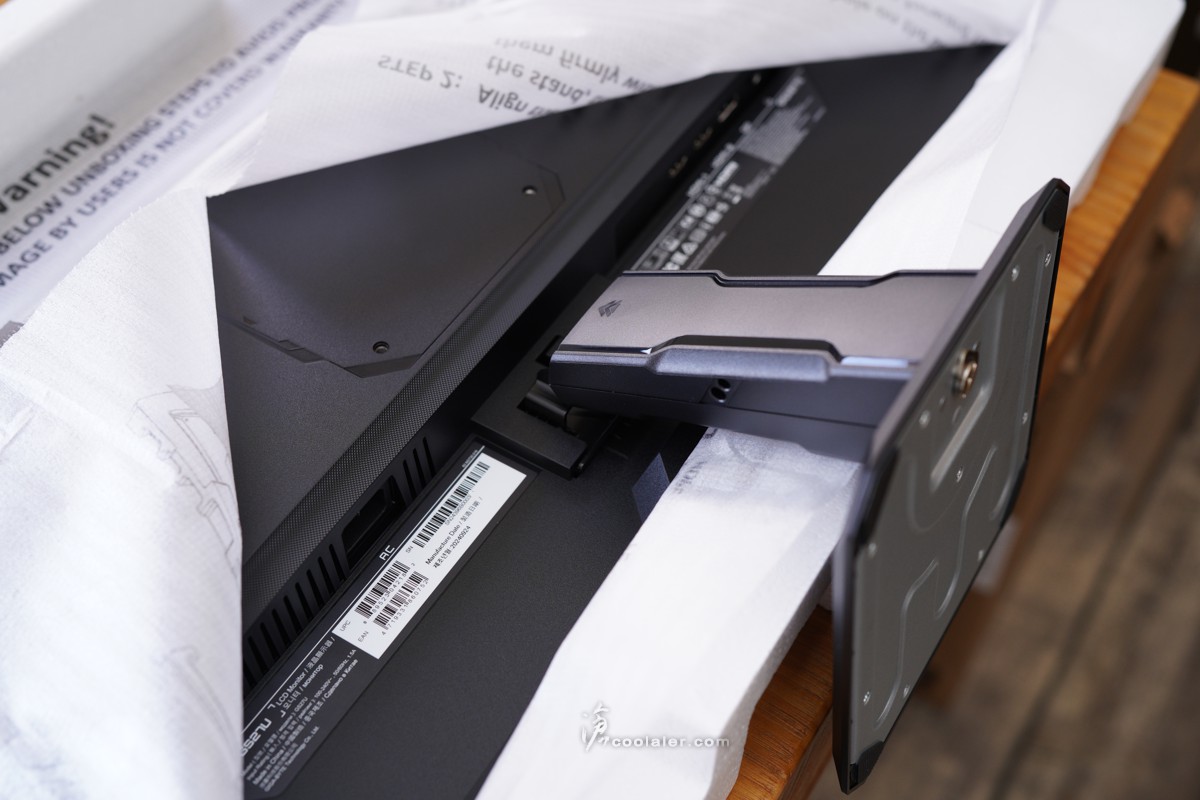
螢幕的部分先不急著拿出來,裝好支架再取出會比較安全。
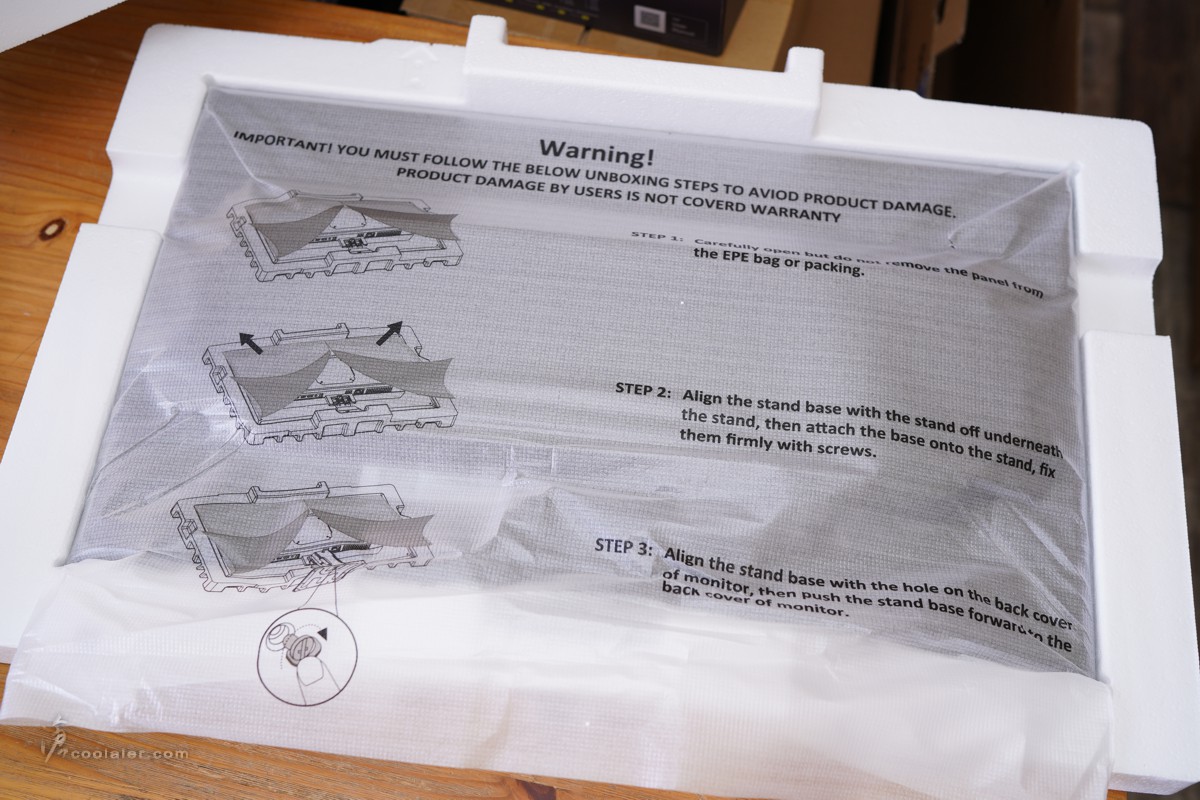
掀開保護套可以看到螢幕背部的支架固定位。
將支架對應插入卡住定位即固定。
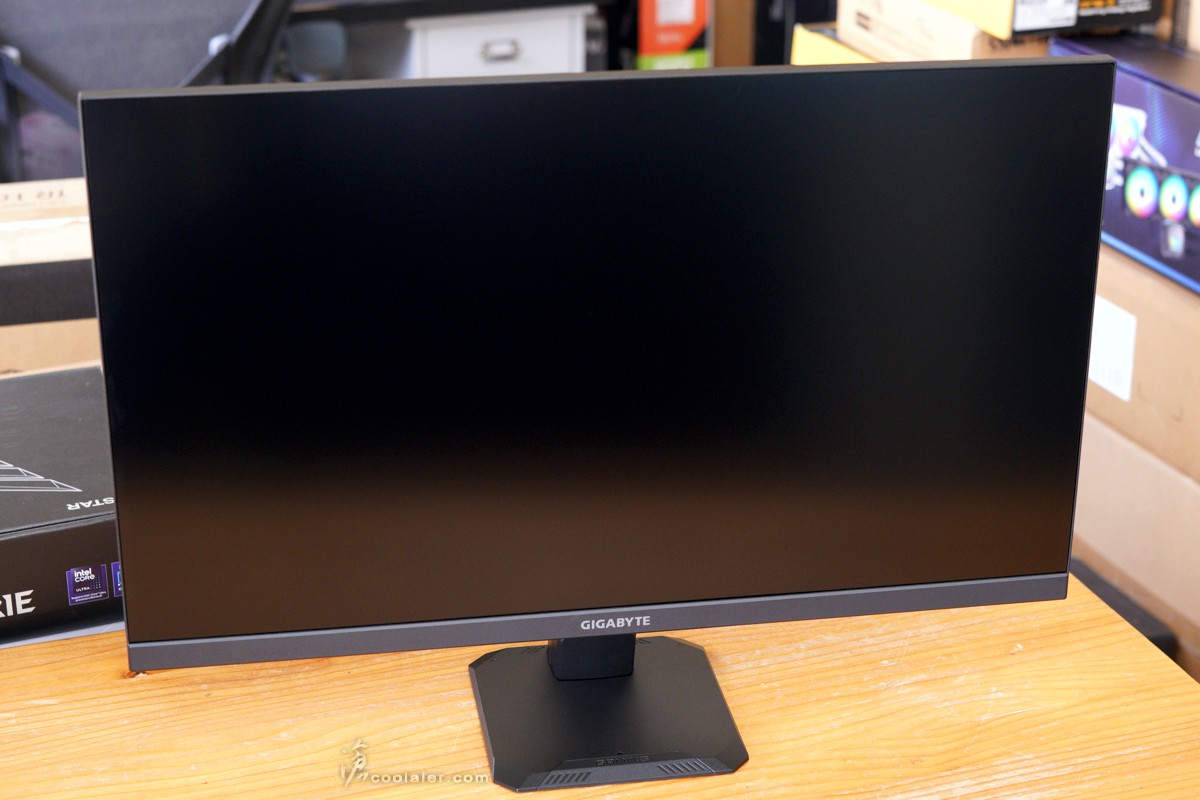
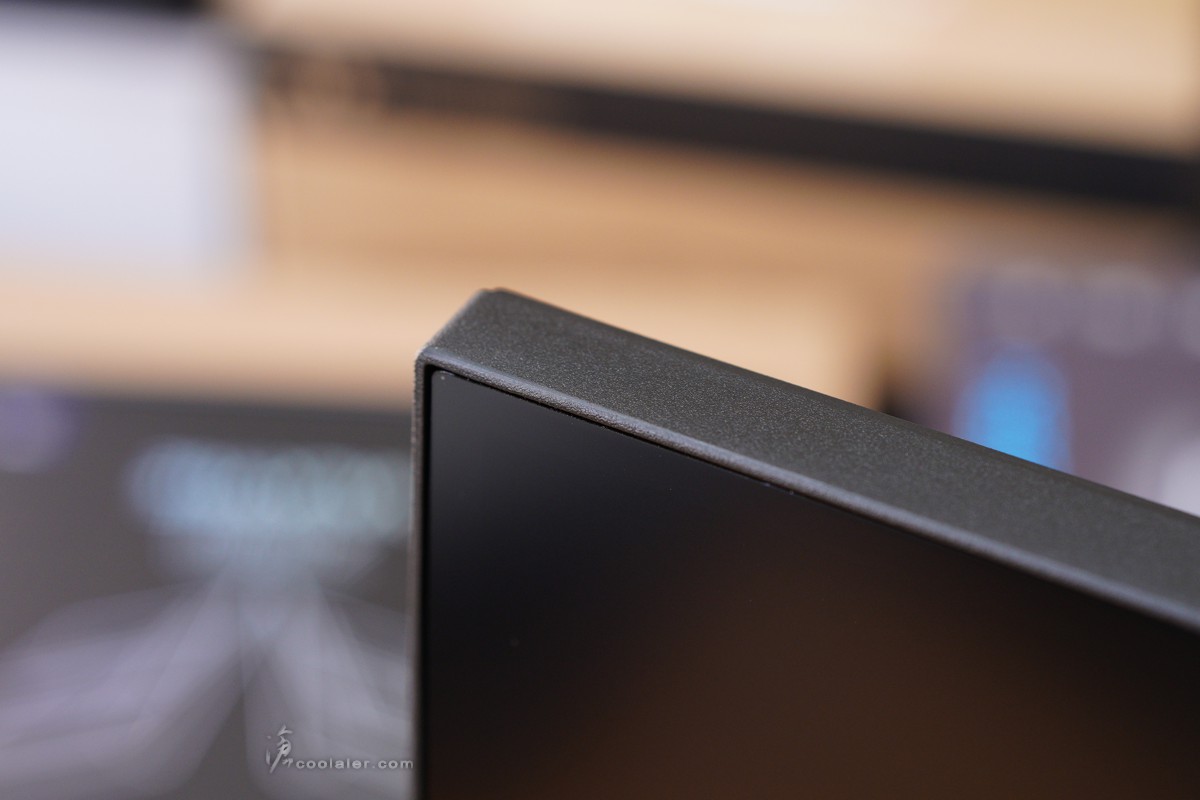
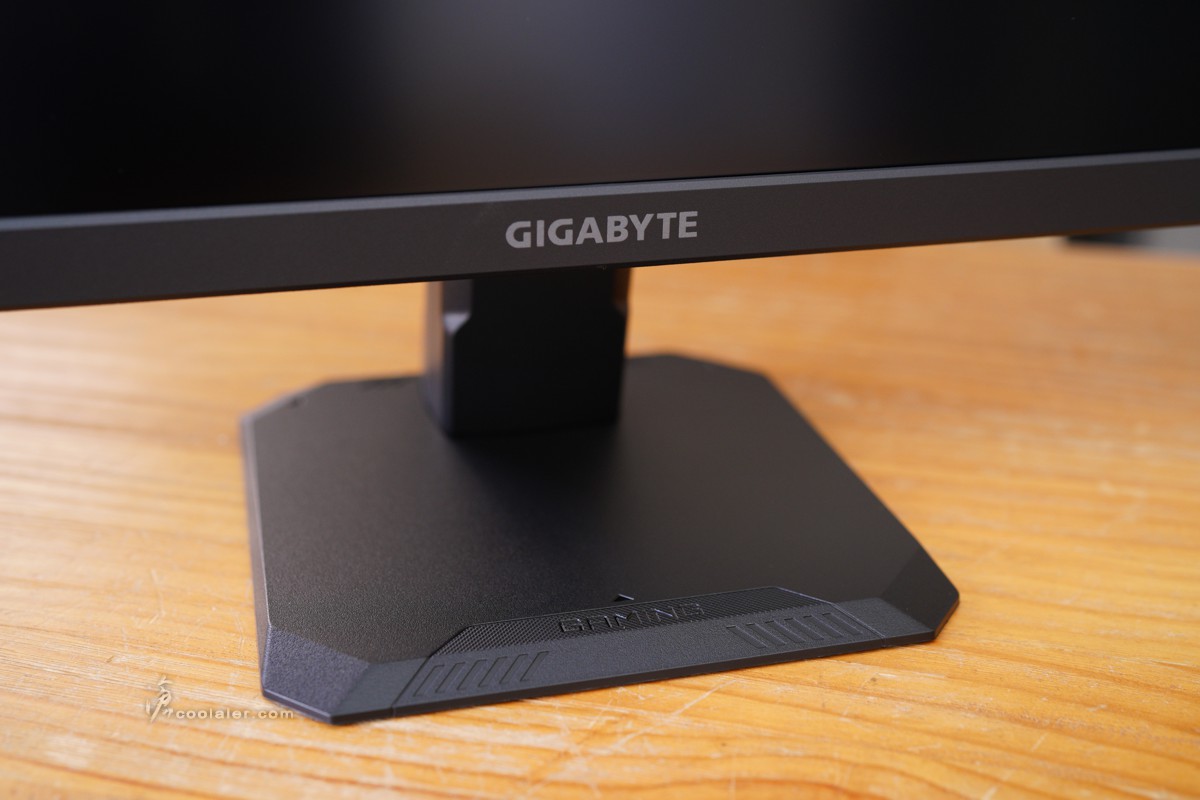
GIGABYTE GS27U 的外觀是中規中矩,窄邊框設計,下方邊框比較寬一點,上方有 GIGABYTE 字樣。

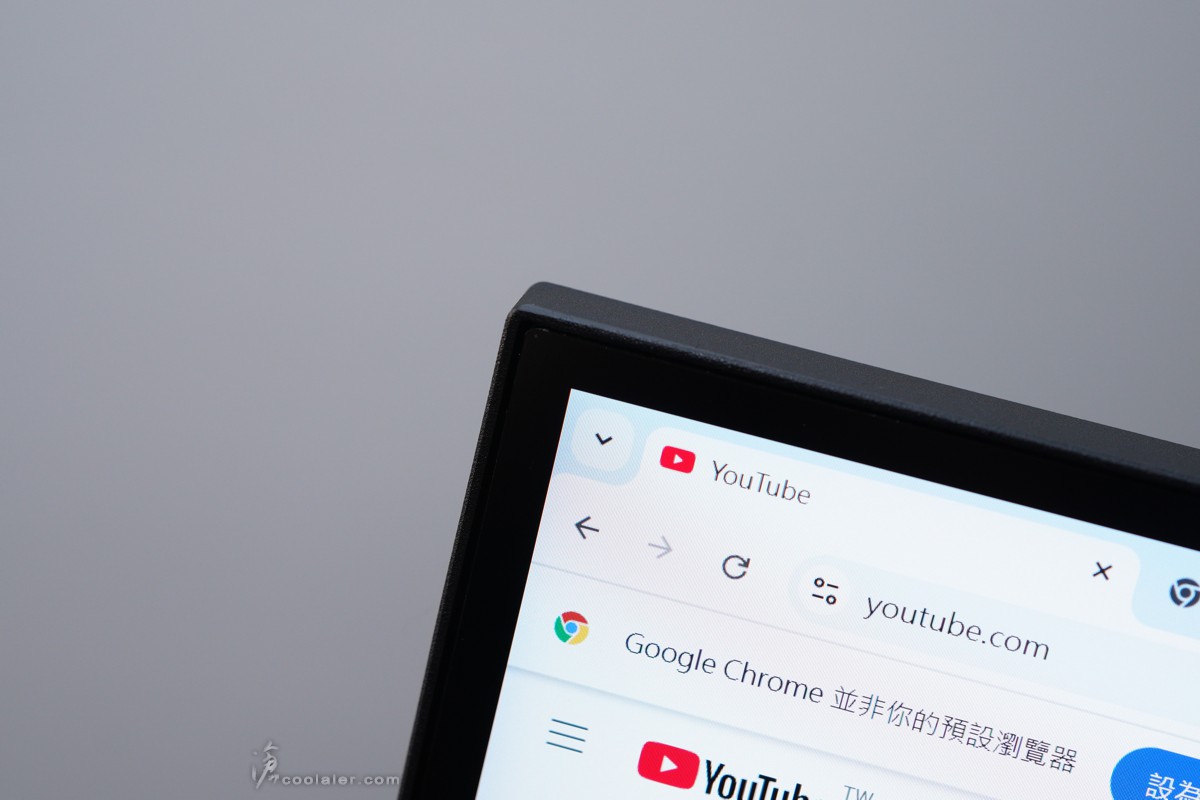
實際點亮的邊緣距離。
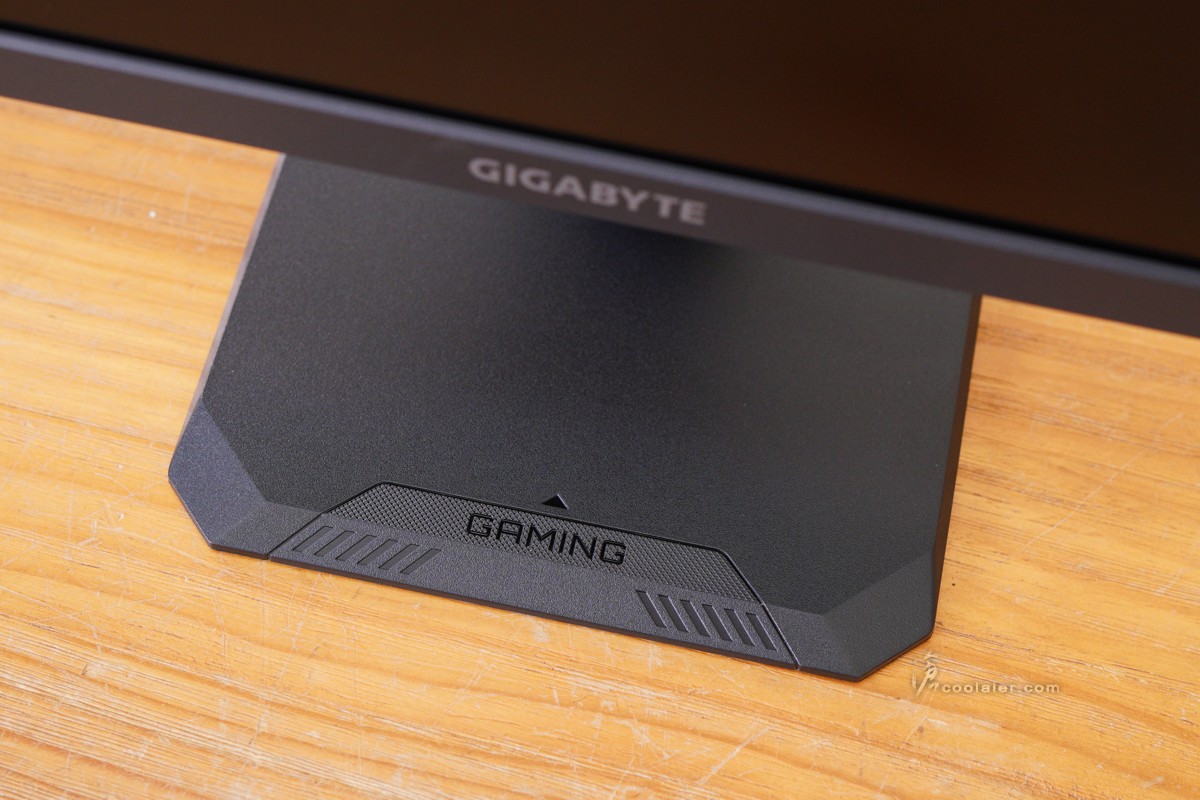
底座四邊角有斜切立體造型,搭配前緣 GAMING 字樣。
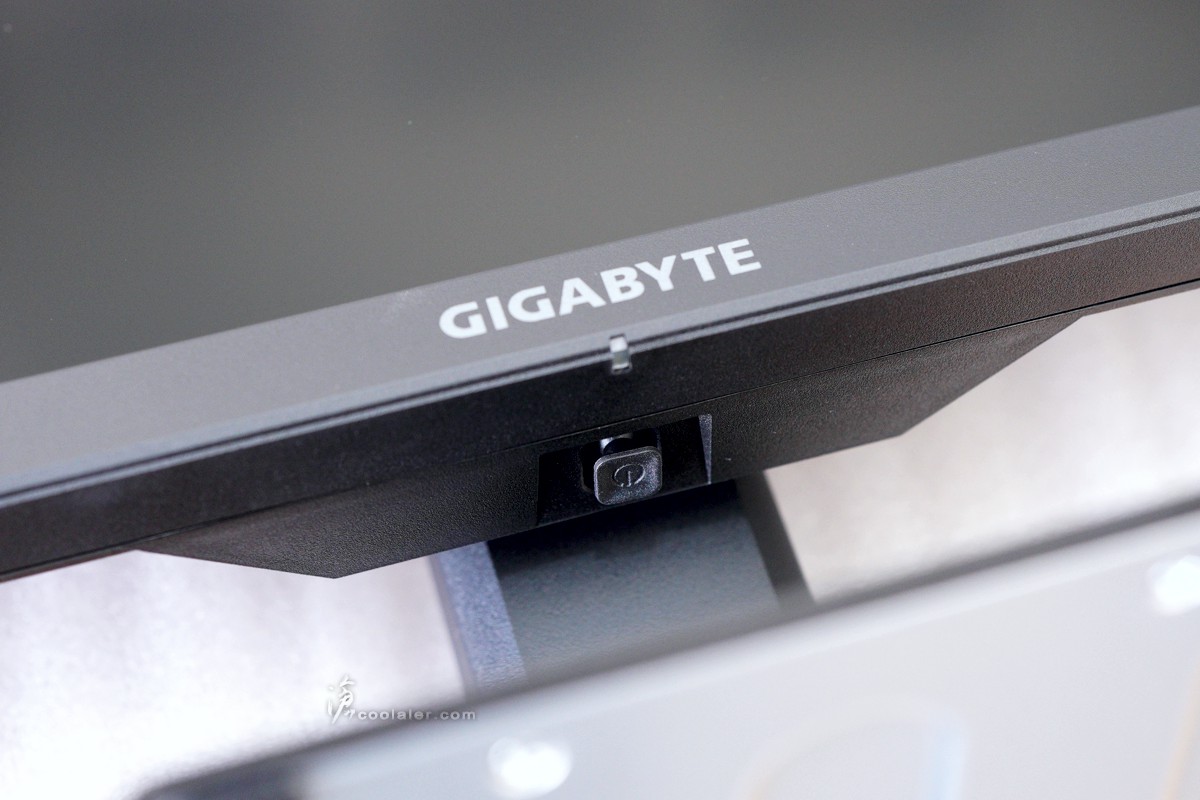
功能鍵的部分設計在中間下方,另外訊號燈也是在 GIGABYTE 字樣下方。功能鍵是單一顆5軸 OSD 功能撥桿設計,可以下壓、上、下、左、右來快速調整切換功能。
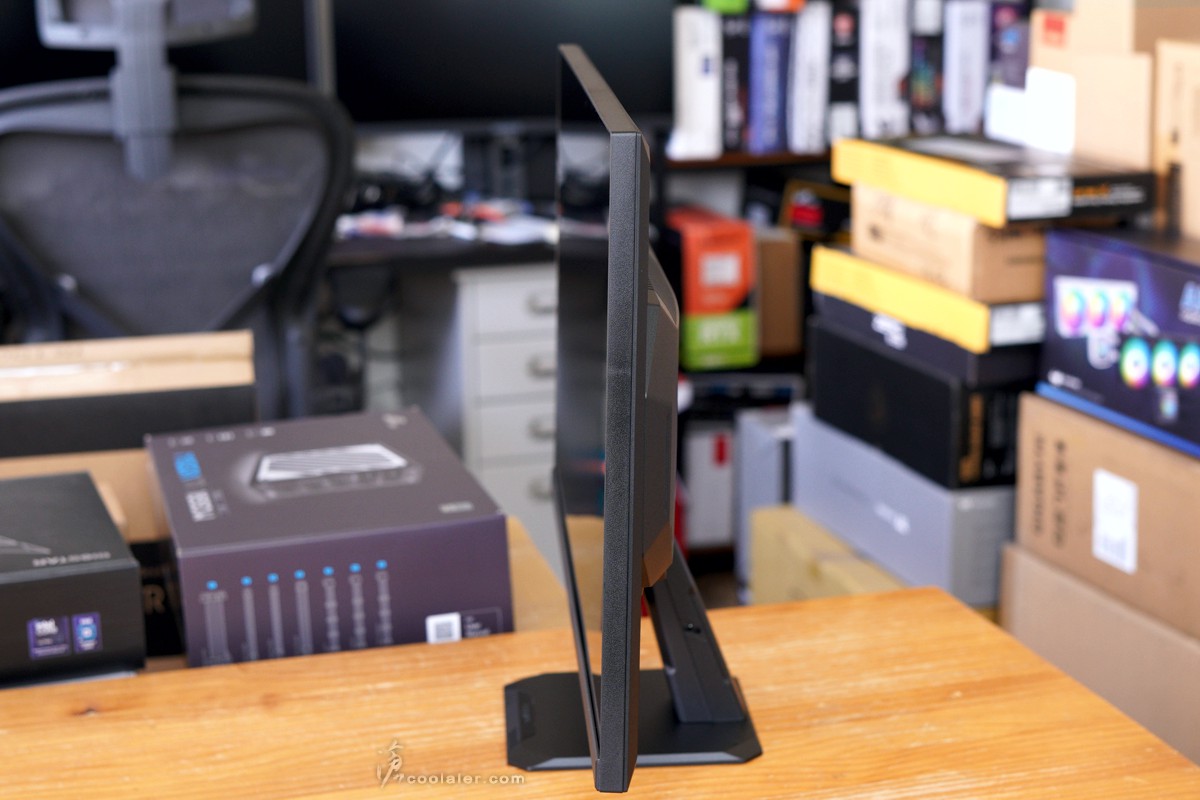
GS27U 並無法調整高低或旋轉,但可以前後傾斜 -5°~+20°。
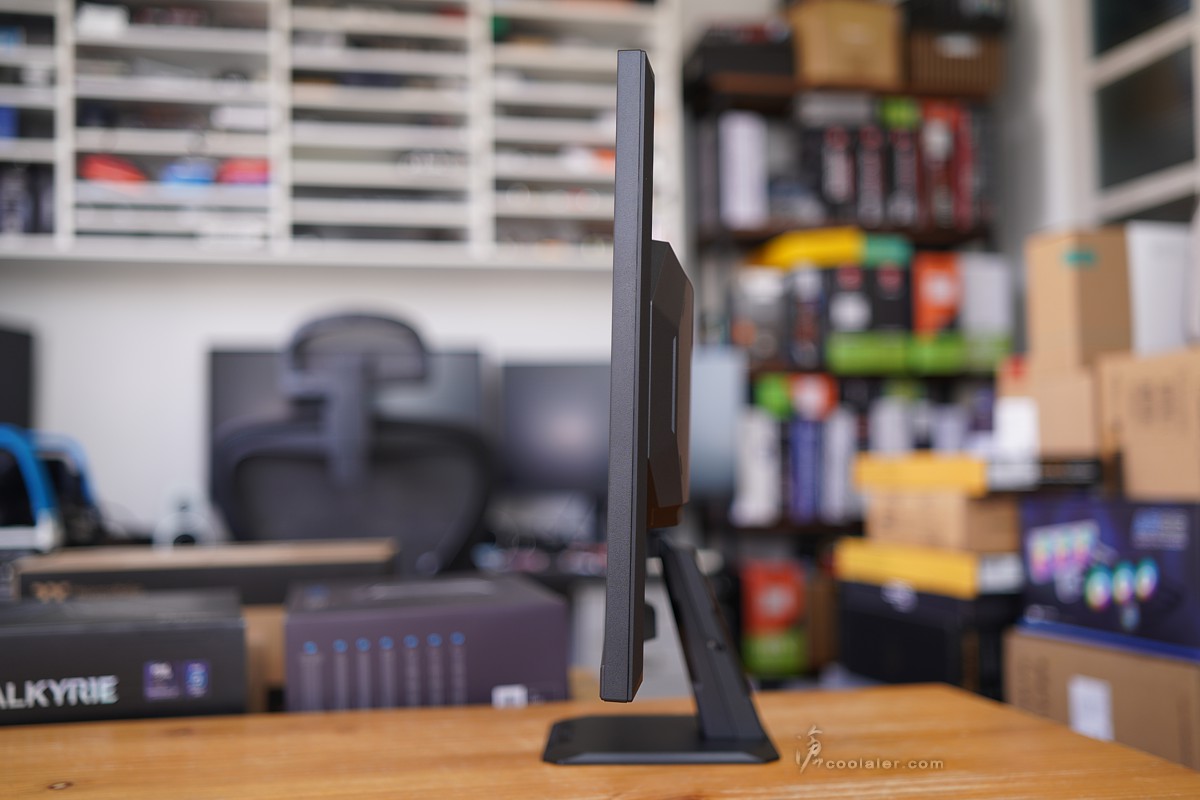
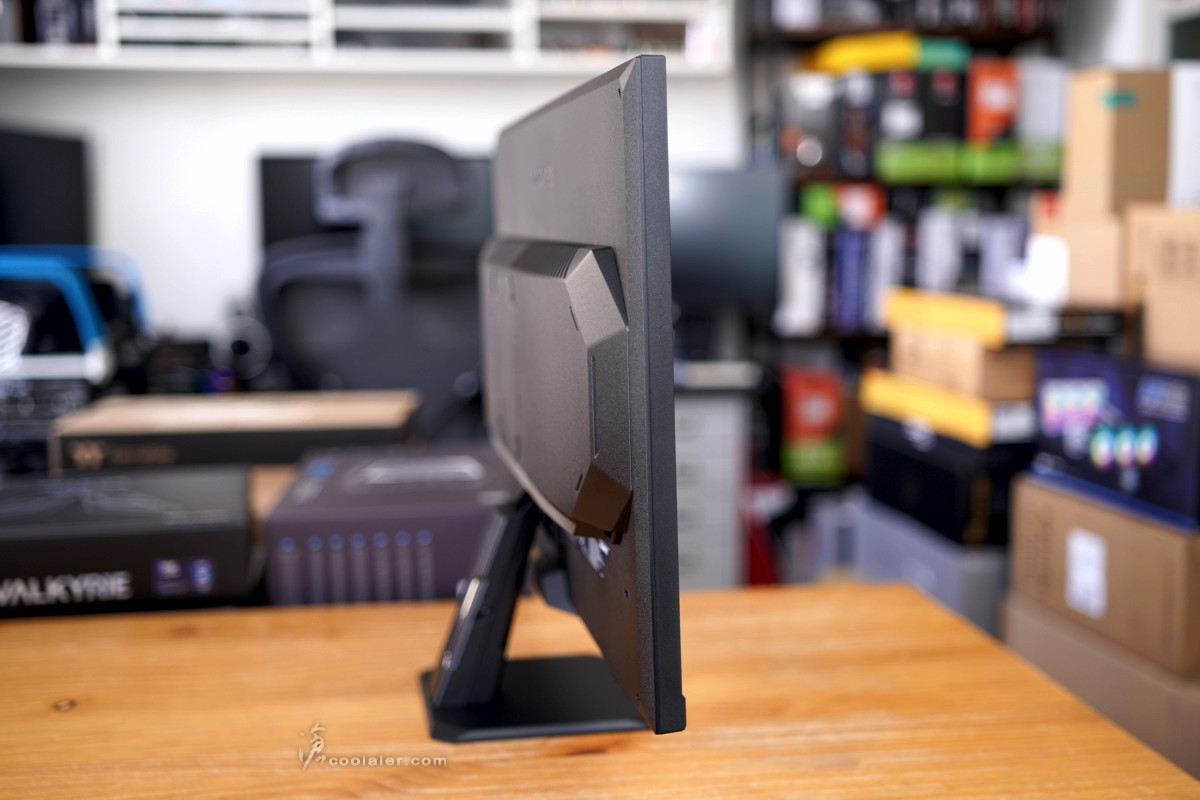
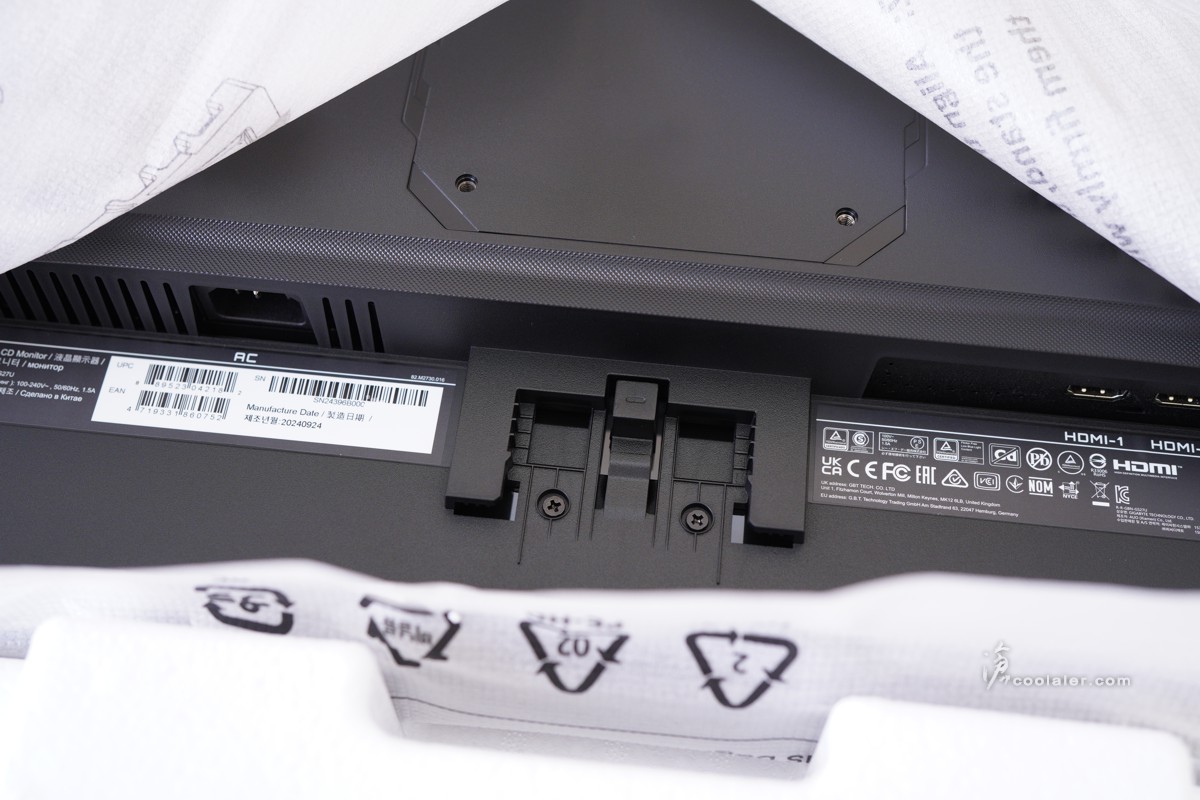
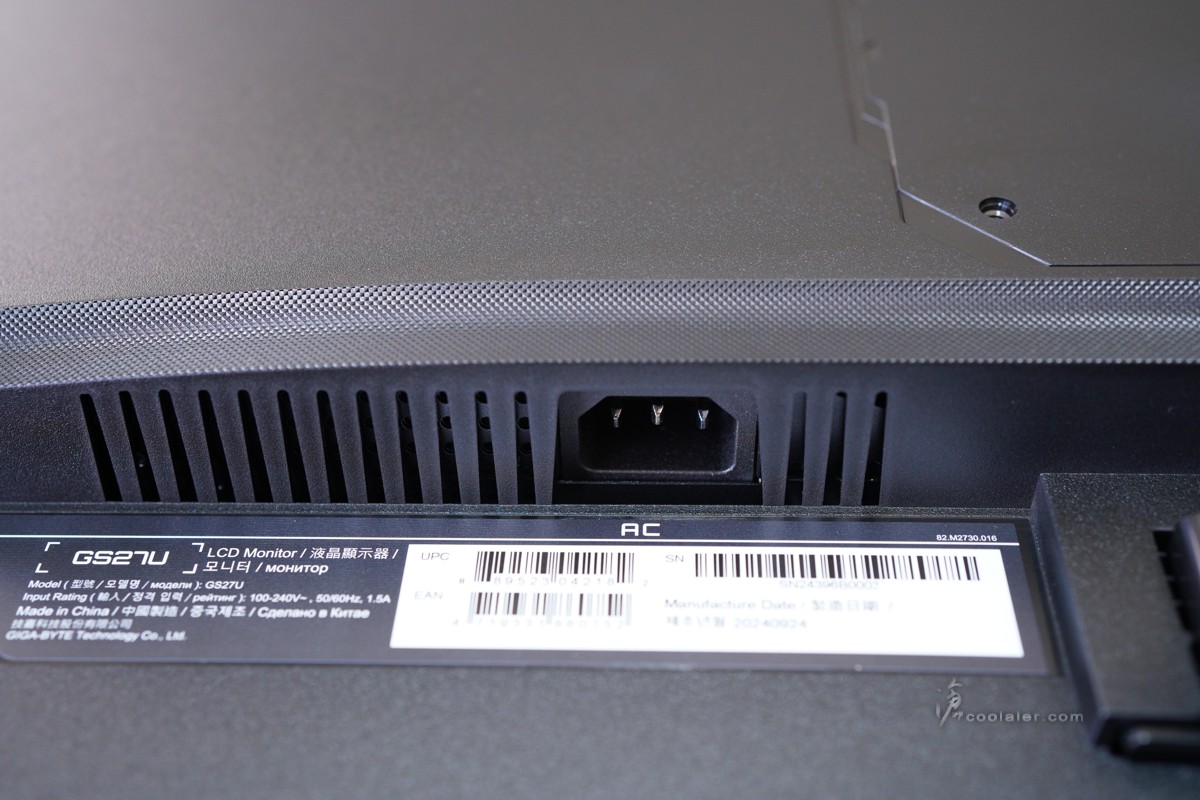
背部,因為有內含電源供應器,所以中間是比較厚實一點。
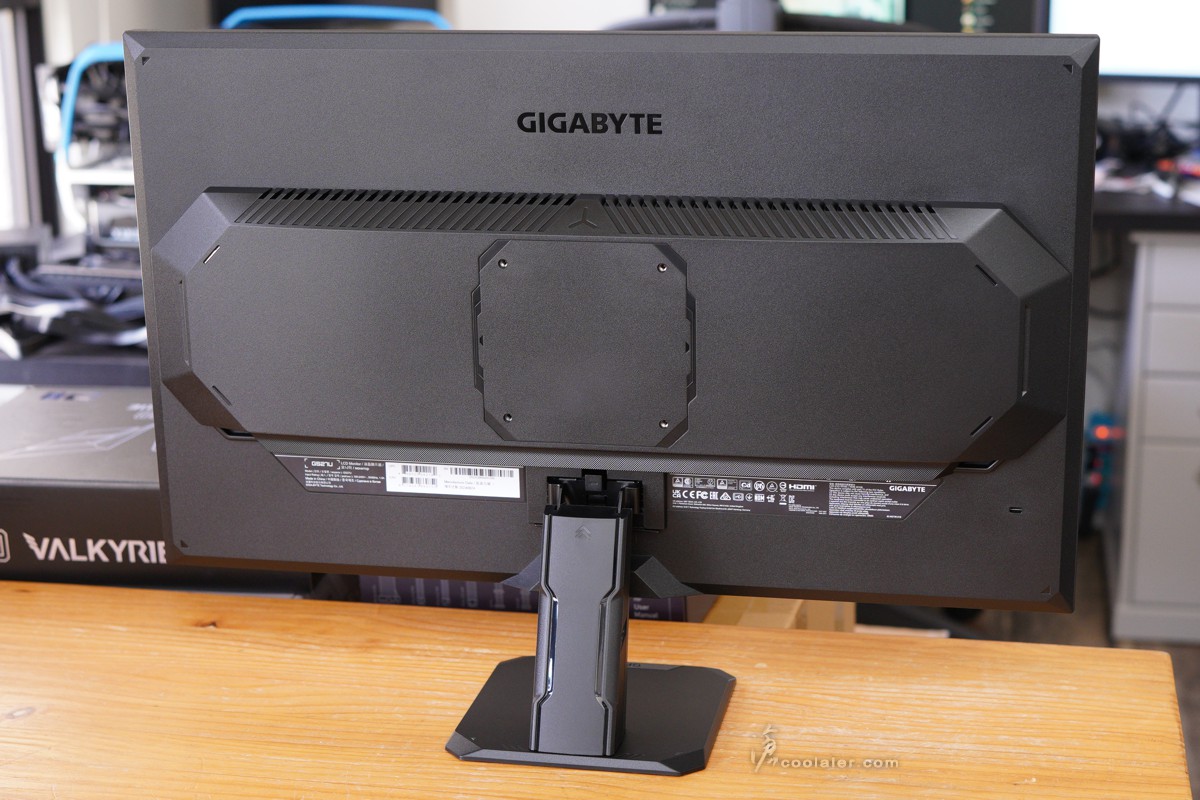
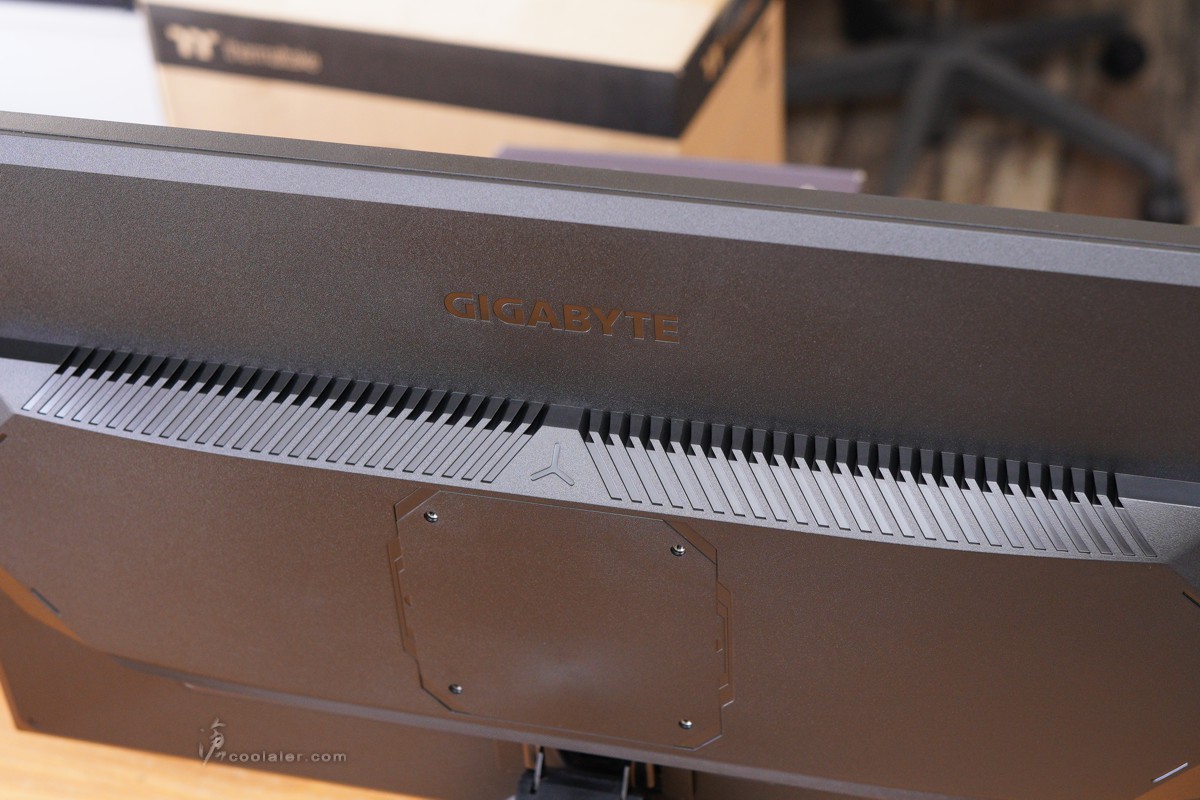
可支援壁掛安裝。
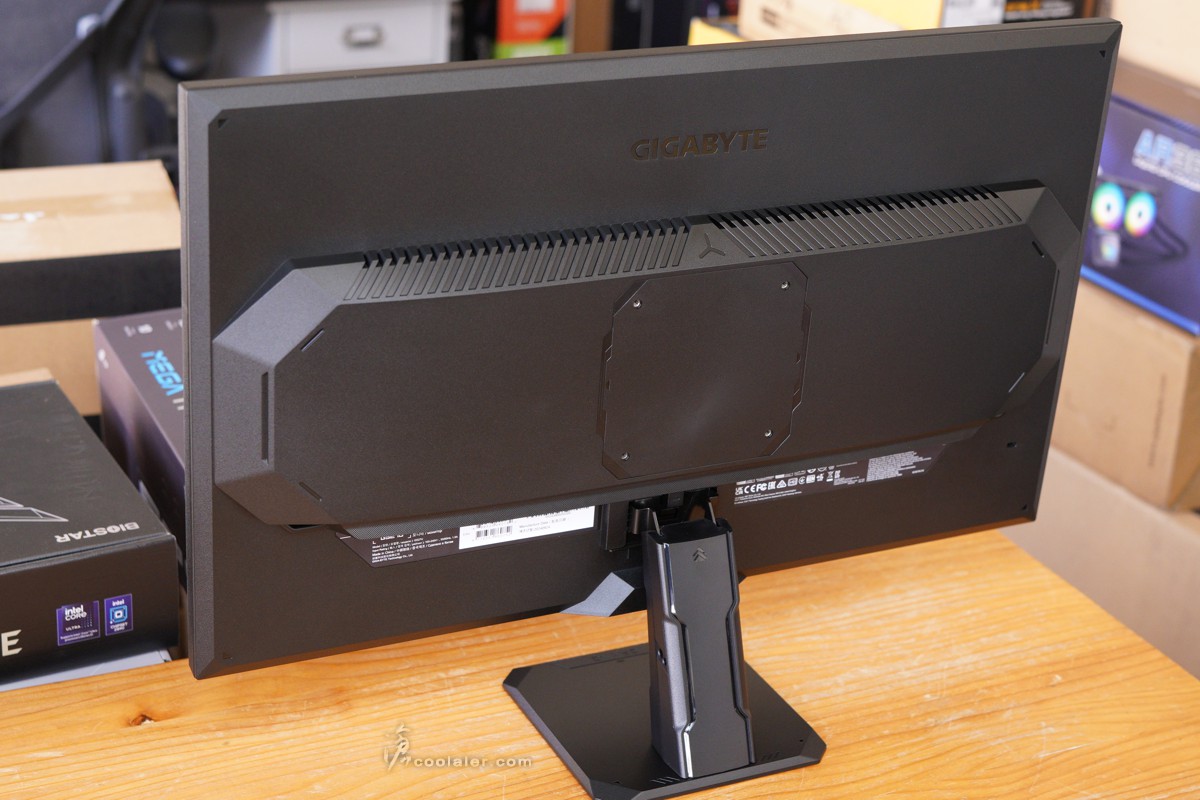
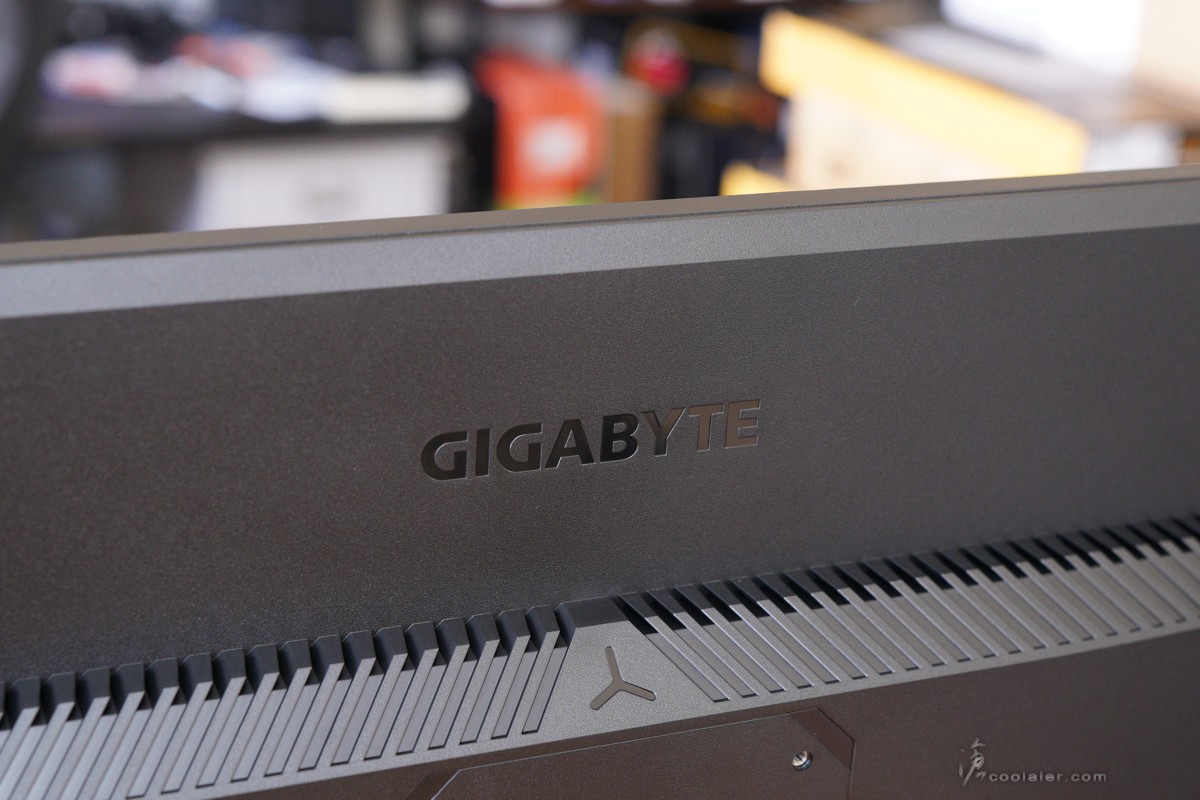
背面上方中間位置有 GIGABYTE 品牌字樣。
上方有通風孔設計。
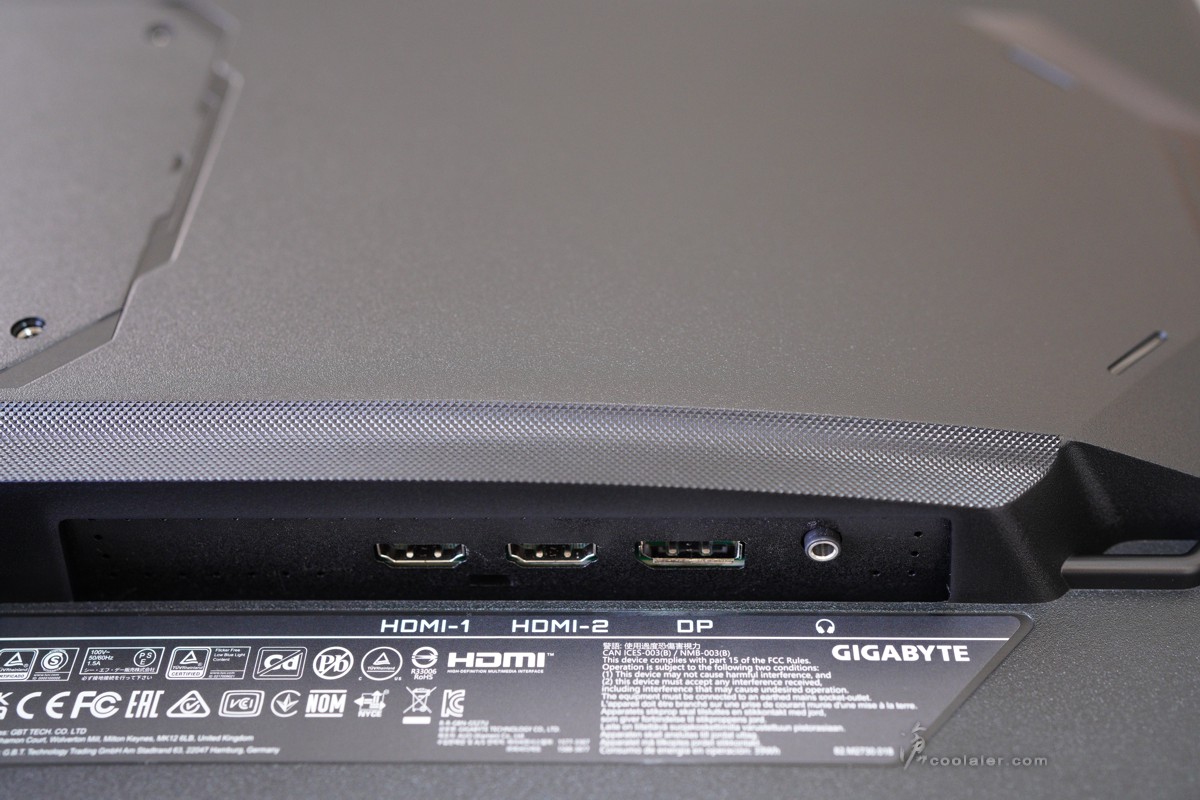
輸入埠有2個 HDMI 2.1、1個 DP 1.4、1個耳機孔。
電源線安裝孔。
OSD 功能簡介
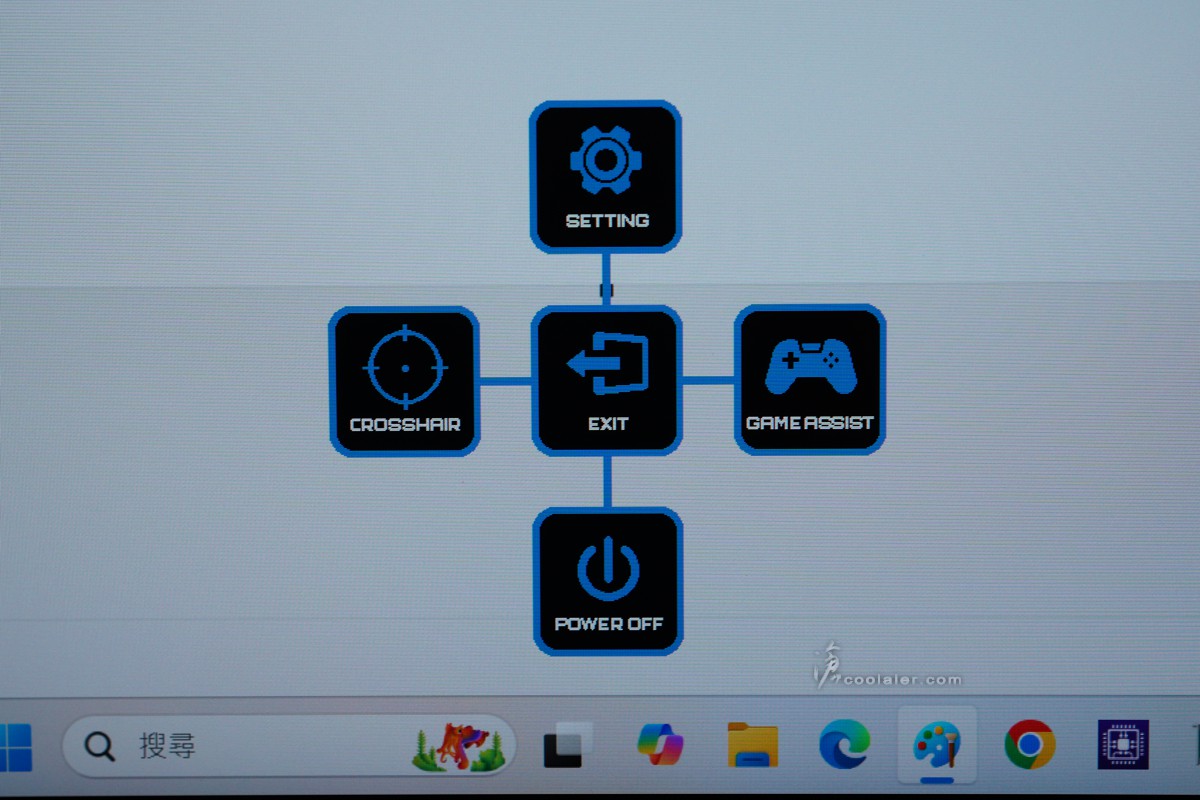
螢幕下方中間有個5軸的搖桿,往下壓則可以叫出選單,選單排列也很直觀,用方向撥桿則可以進入該功能選項,上方為設定、右方為 GAME ASSIST 遊戲輔助、左為 CROSSHAIR 輔助準心、下方關閉電源。
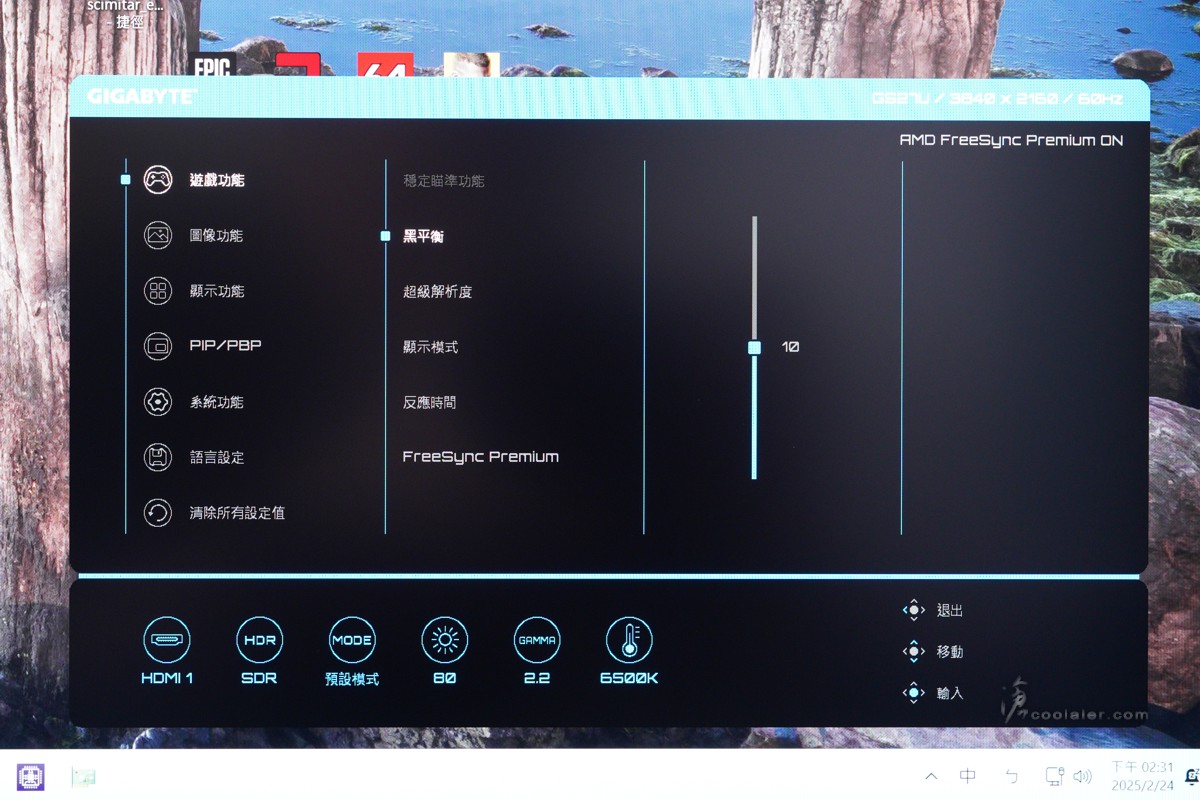
設定選單內包括了遊戲、圖像、顯示、PIP/PBP、系統功能、語言設定、清除所有設定值等。遊戲功能內則有穩定瞄準功能(頻率大於75Hz)、黑平衡、超級解析度、顯示模式(比例)、反應時間、FreeSync Premium 。另外在介面右上角有顯示解析度以及頻率,下方則是當前輸入源以及狀態顯示。
圖像功能,這部分針對了使用模式進行了優化,可以快速切換調用,例如預設、遊戲、電影、閱讀、sRGB、使用者模式(自訂)、ECO。

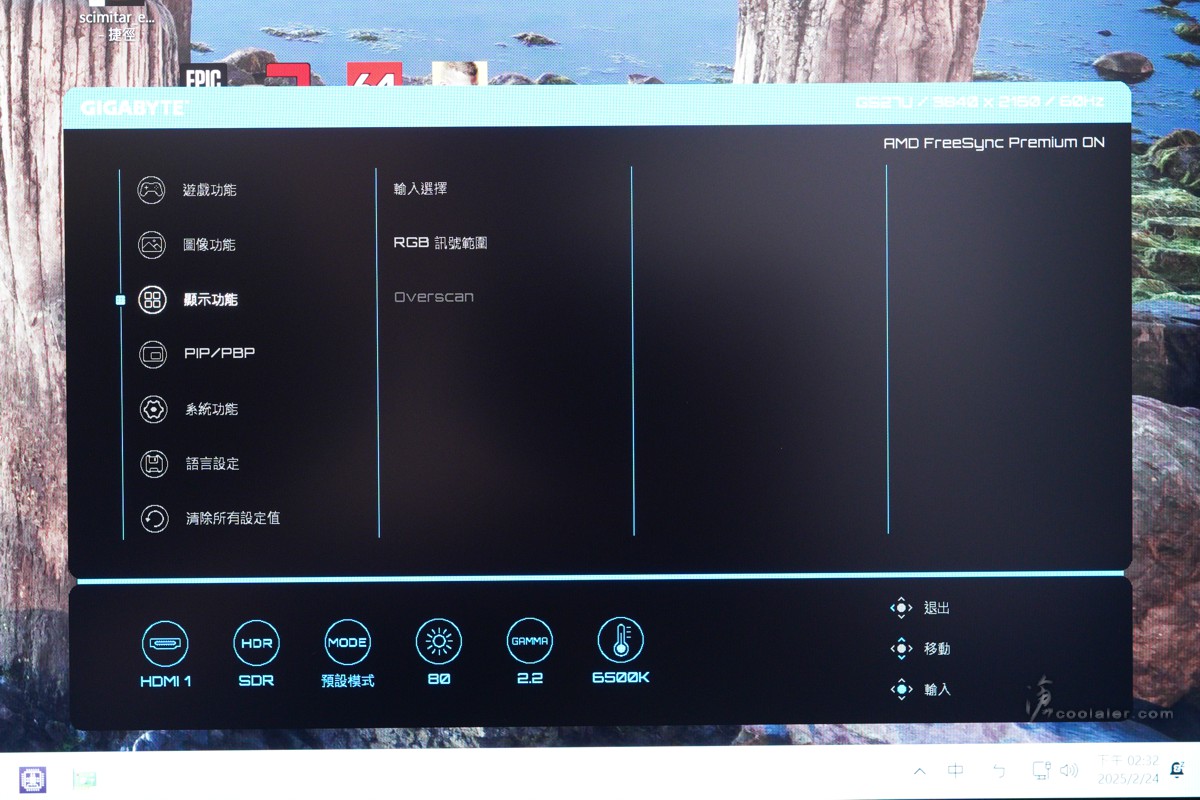
顯示功能,輸入選擇、RGB 訊號範圍、Overscan。
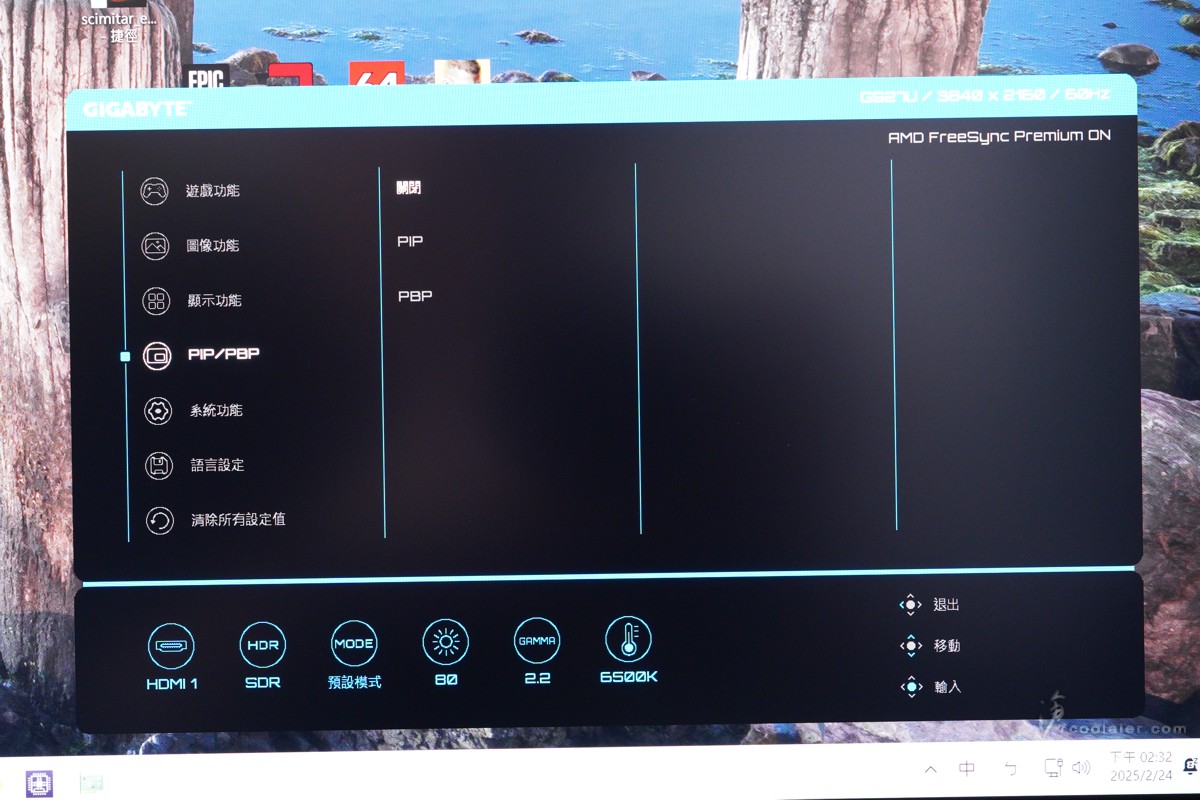
PIP / PBP,支援子母畫面以及畫面並排功能。
系統功能,音訊、OSD 設定、快速鍵設定、其它設定。

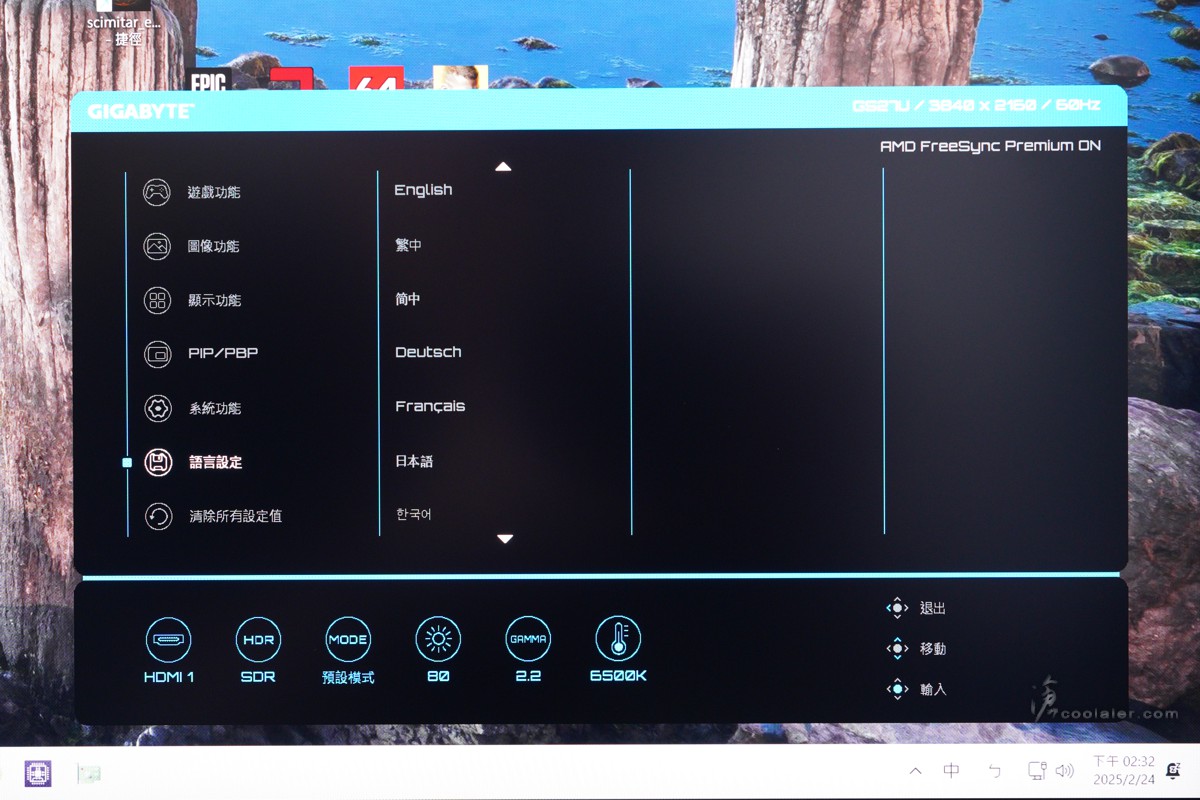
語言設定,支援多國語言切換。
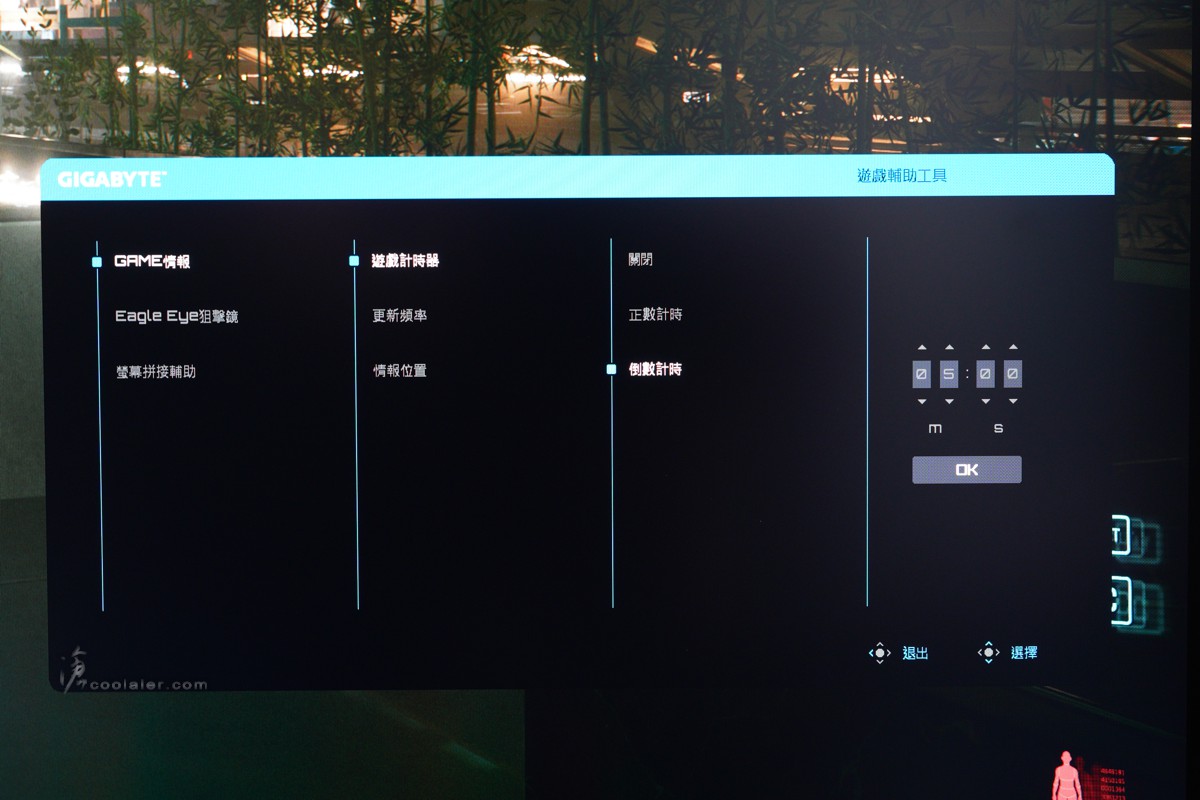
GAME ASSIST 遊戲輔助,包括 GAME 情報、Eagle Eye 狙擊鏡、螢幕拼接輔助三大項。遊戲情報內有計時器、更新頻率以及這些顯式資訊的位置設定,計時可正數或倒數。
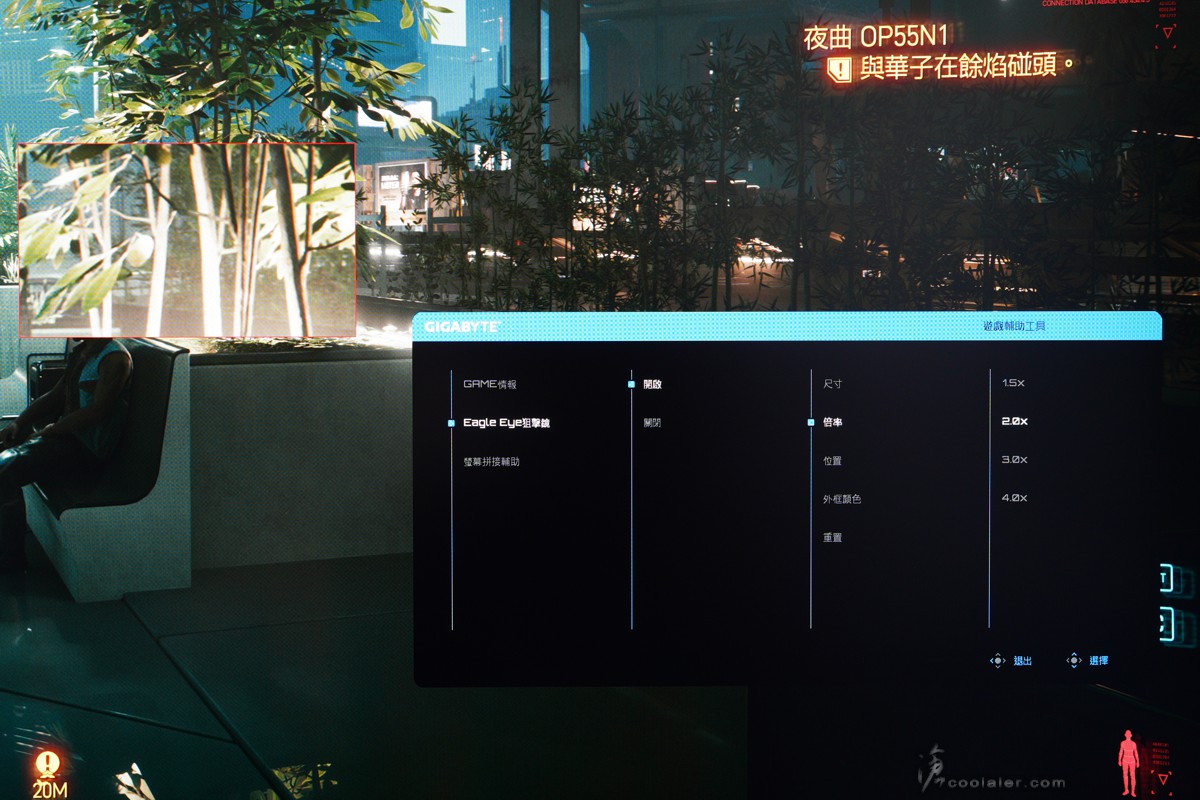
Eagle Eye 狙擊鏡,開啟後可以選擇尺寸、倍率、位置、外框顏色、重置。開啟之後如圖片左側,會在狙擊鏡開啟位置放大原本圖像,也就是你如果拿小手槍一樣也有像狙擊槍一樣的放大功能XDD。
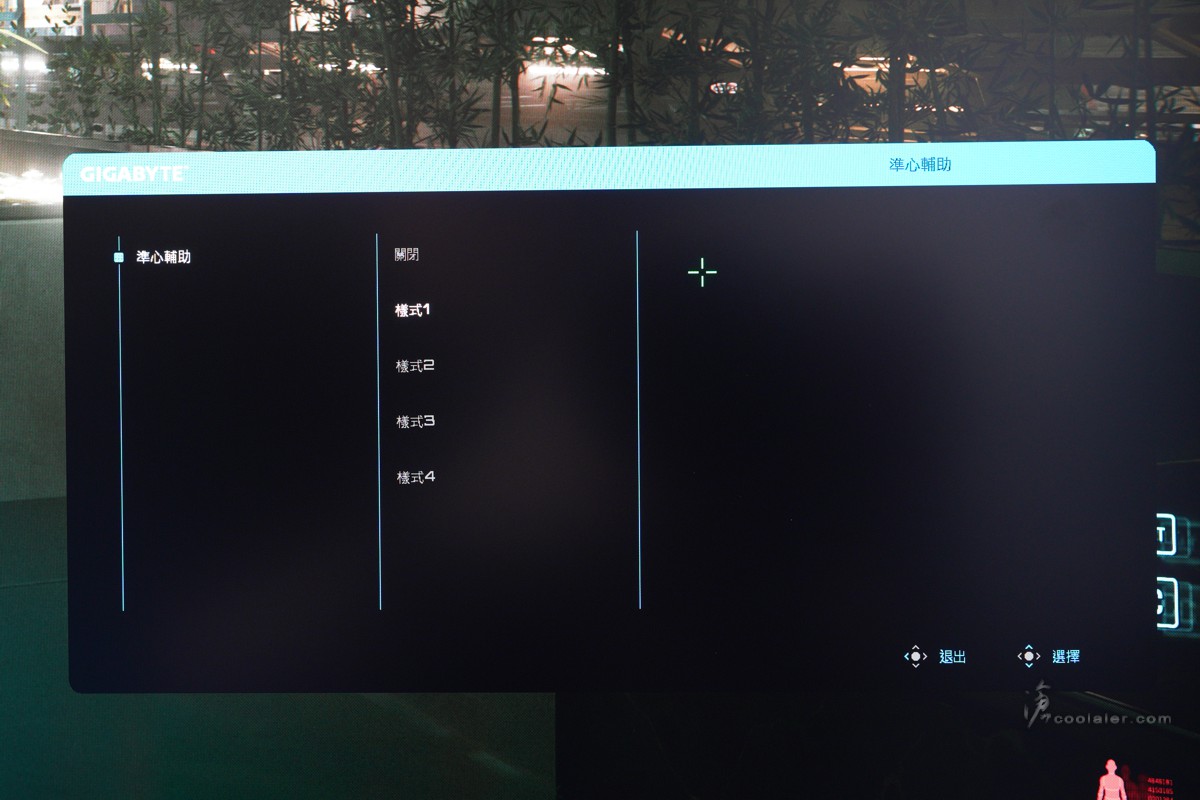
準心輔助,直接在螢幕中間開一個內掛的準心,有四種樣式可選。有些遊戲其實並不支援準心,例如有些狙擊槍在未開鏡時並沒有準心,或最近的 《天國:拯救2》使用弓箭是沒有準心的。當然如果有的話就方便許多了…
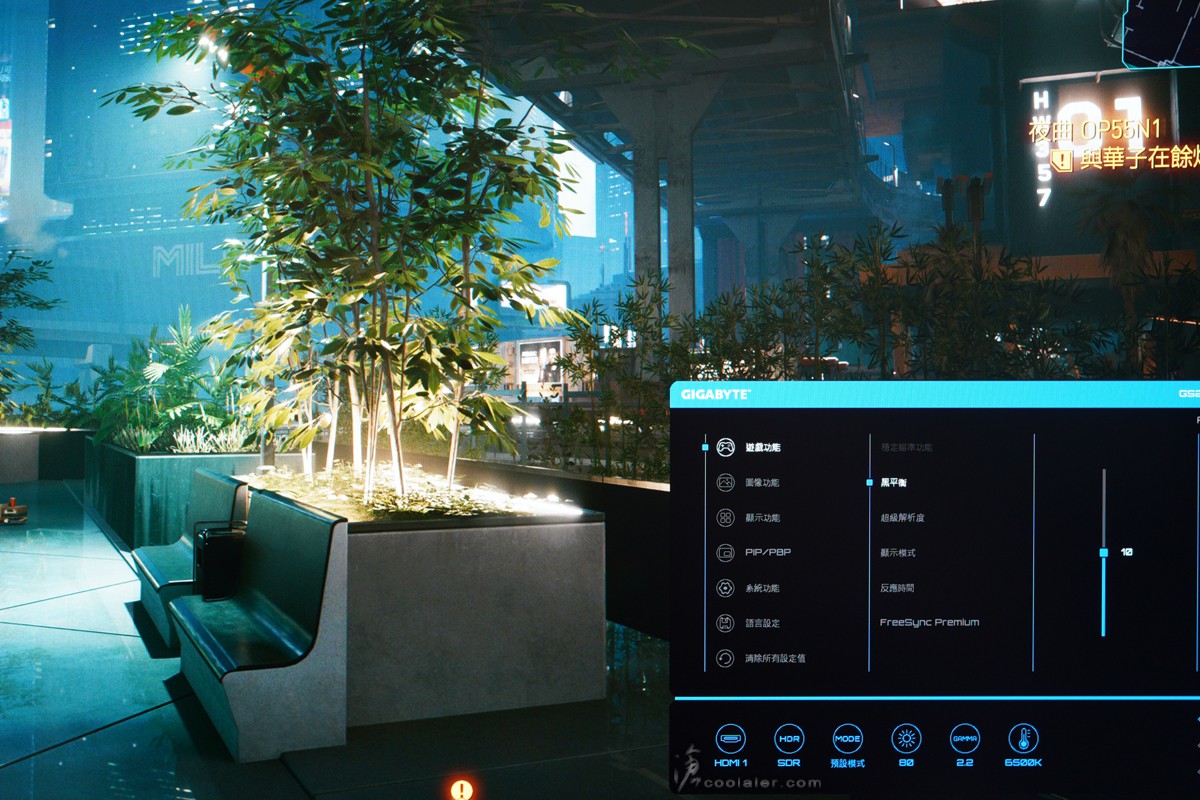
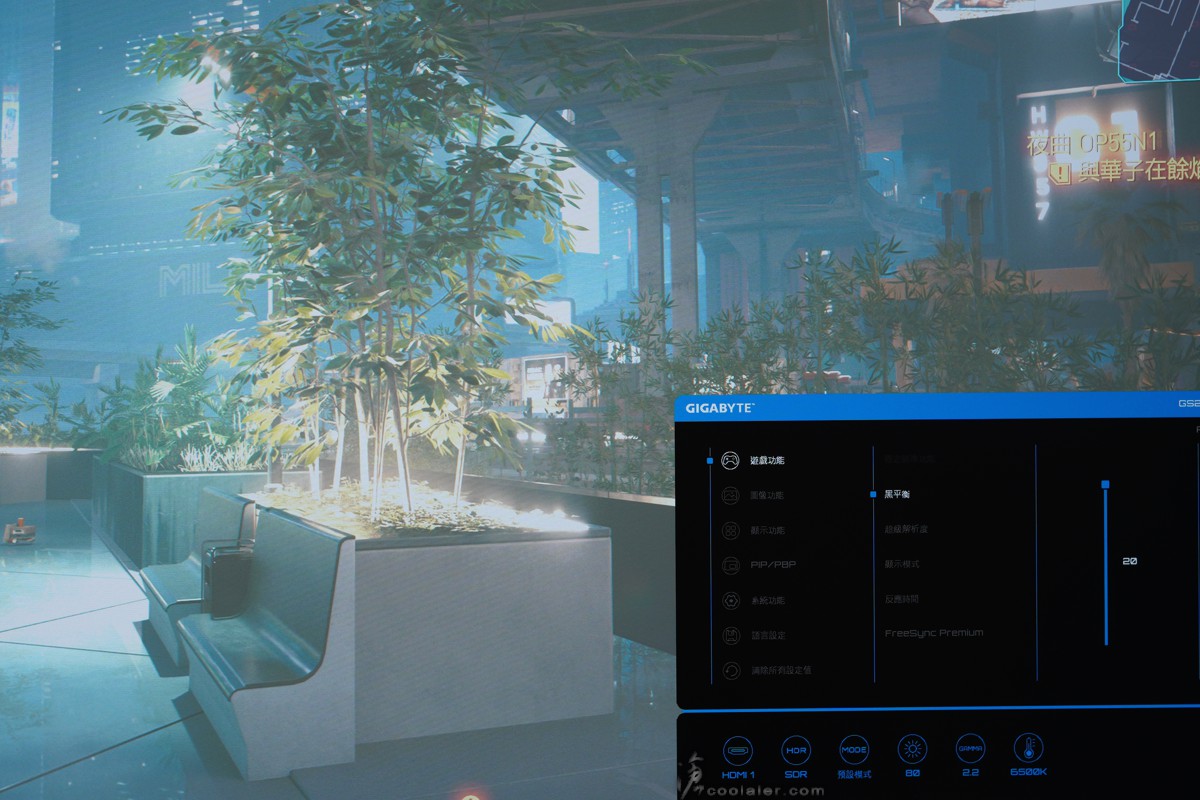
黑平衡,可讓原本暗處變亮,一些躲在暗處的敵人也是一清二楚,預設數值10。
最多可以開到20,開太高會變得白霧。
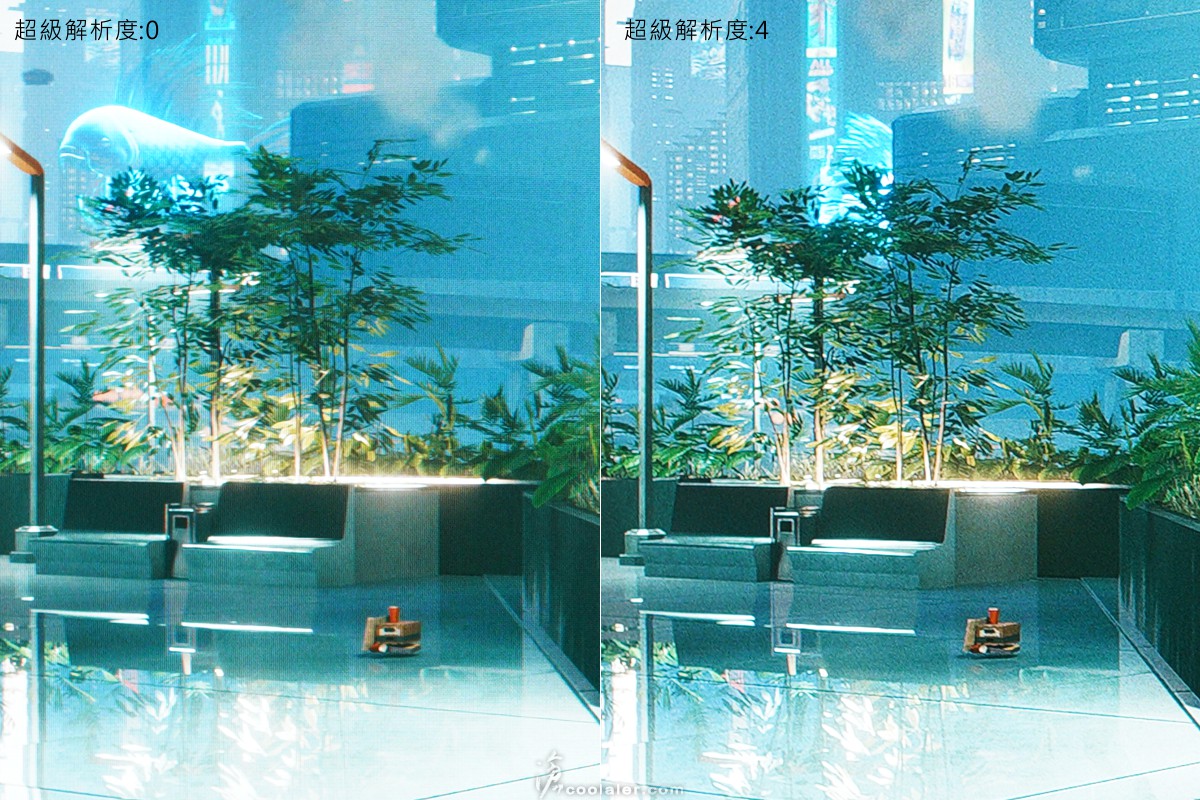
超級解析度,支援0~4,右側開啟4階跟未開啟0相比是有明顯差異。
Sidekick 功能
GS27U有支援 Sidekick 功能,在作業系統下可以調整螢幕設定,完整的 OSD 功能。相當便利實用,畢竟實體按鍵會有選單層多步驟的問題,而軟體只需要滑鼠點選。
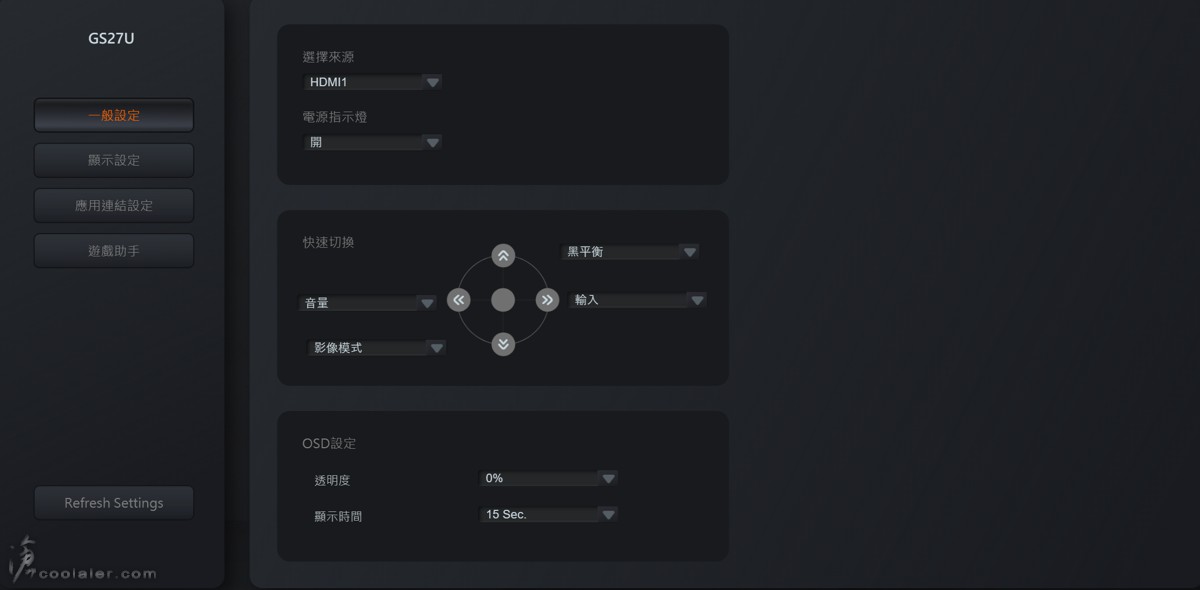
一般設定,可選擇訊源、電源指示燈開關、實體鍵快速切換功能自設、OSD 設定。
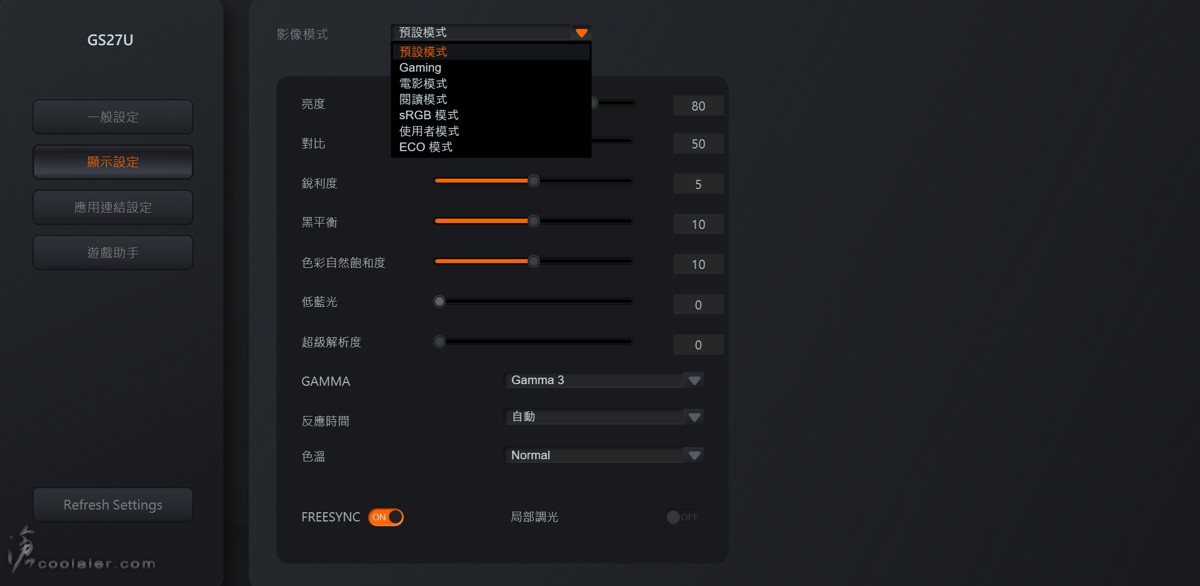
顯示設定,可快速套用影像模式,或是調整亮度、對比、銳利度、黑平衡、色彩自然飽和度等等。
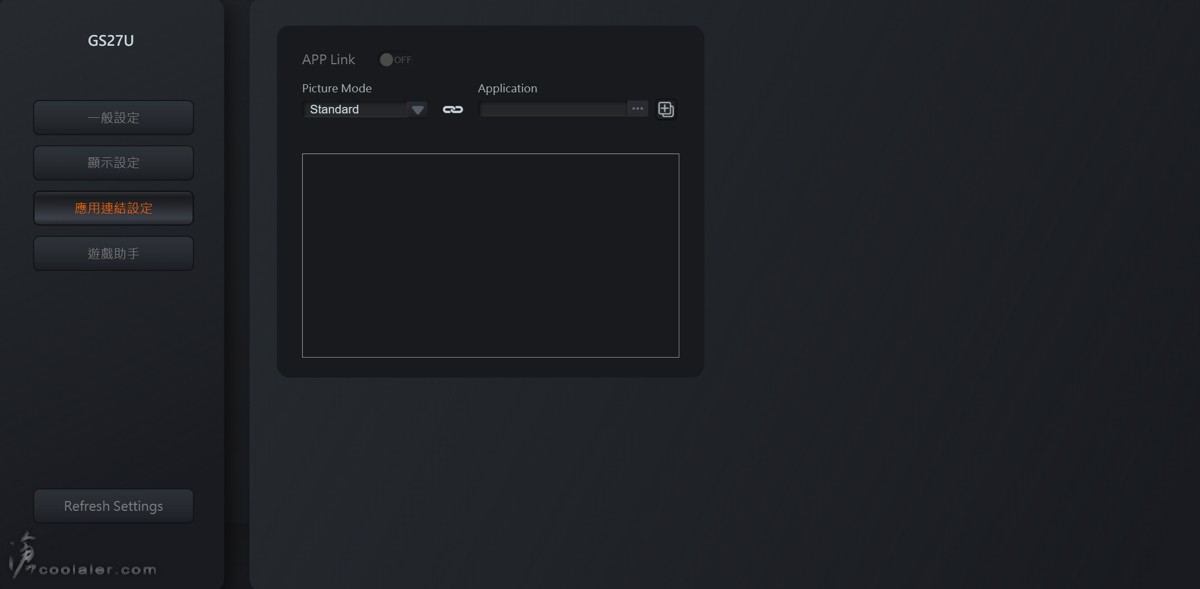
應用連結設定,可依照使用程式來連結套用影像模式。例如開遊戲就直接套用遊戲模式影像,省得每次都要手動套用。
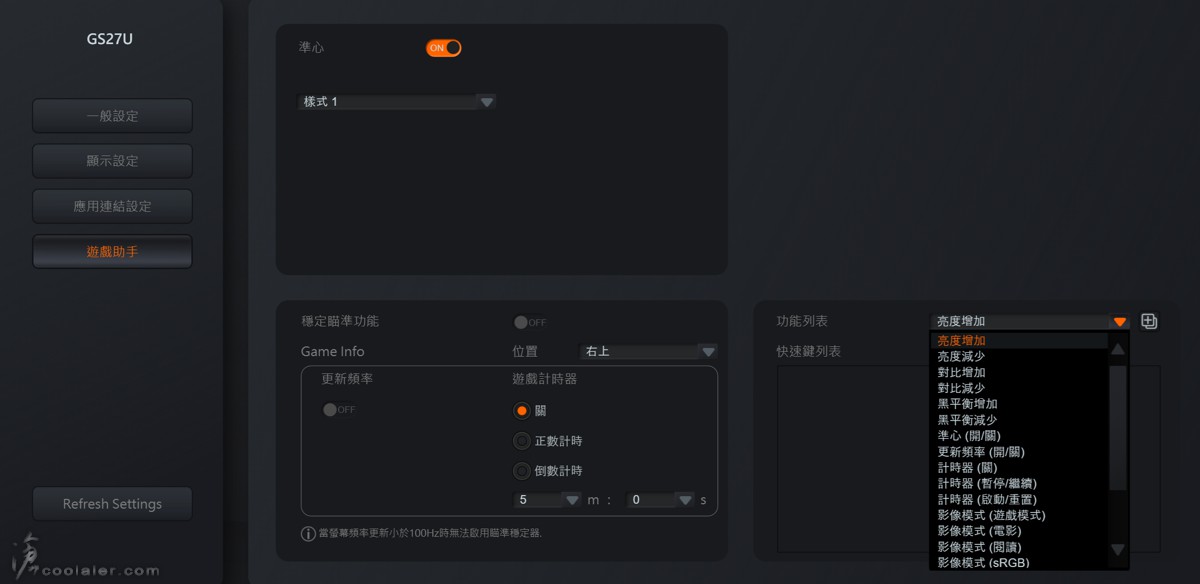
遊戲助手,準心、穩定瞄準功能等設定。也可用來設定快速鍵對應功能。
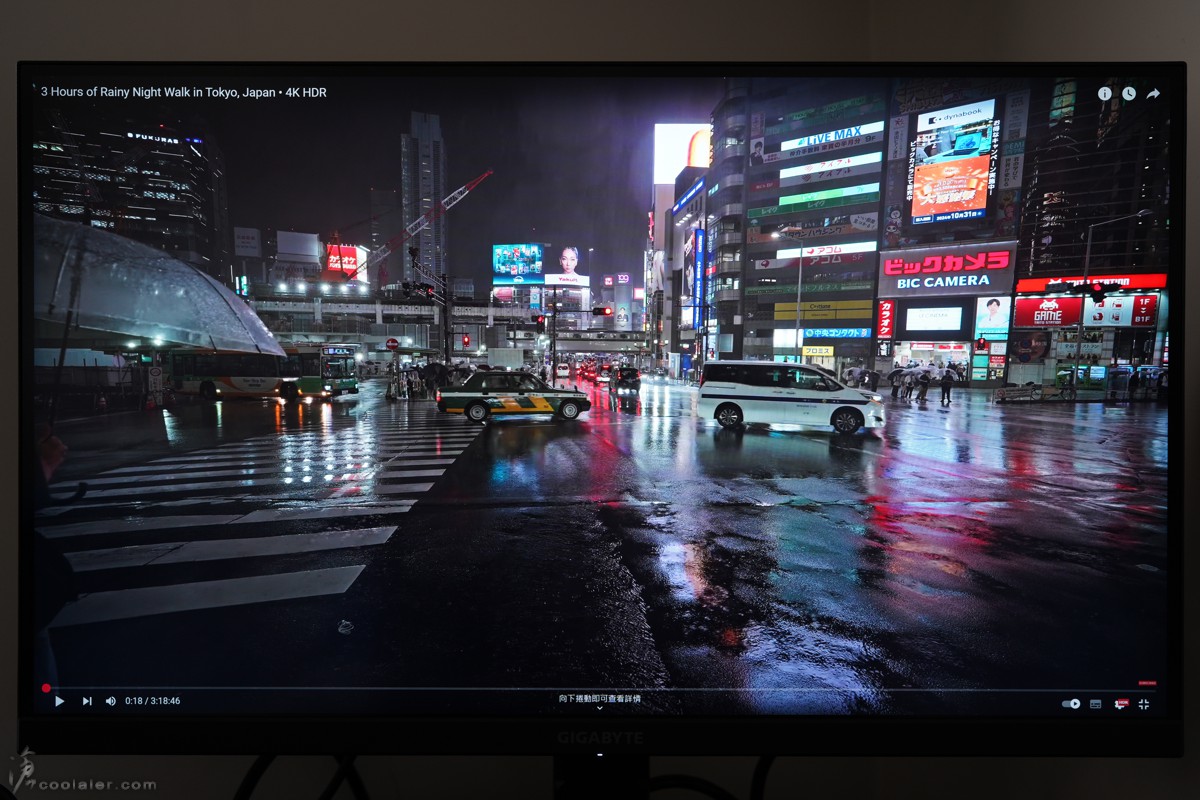
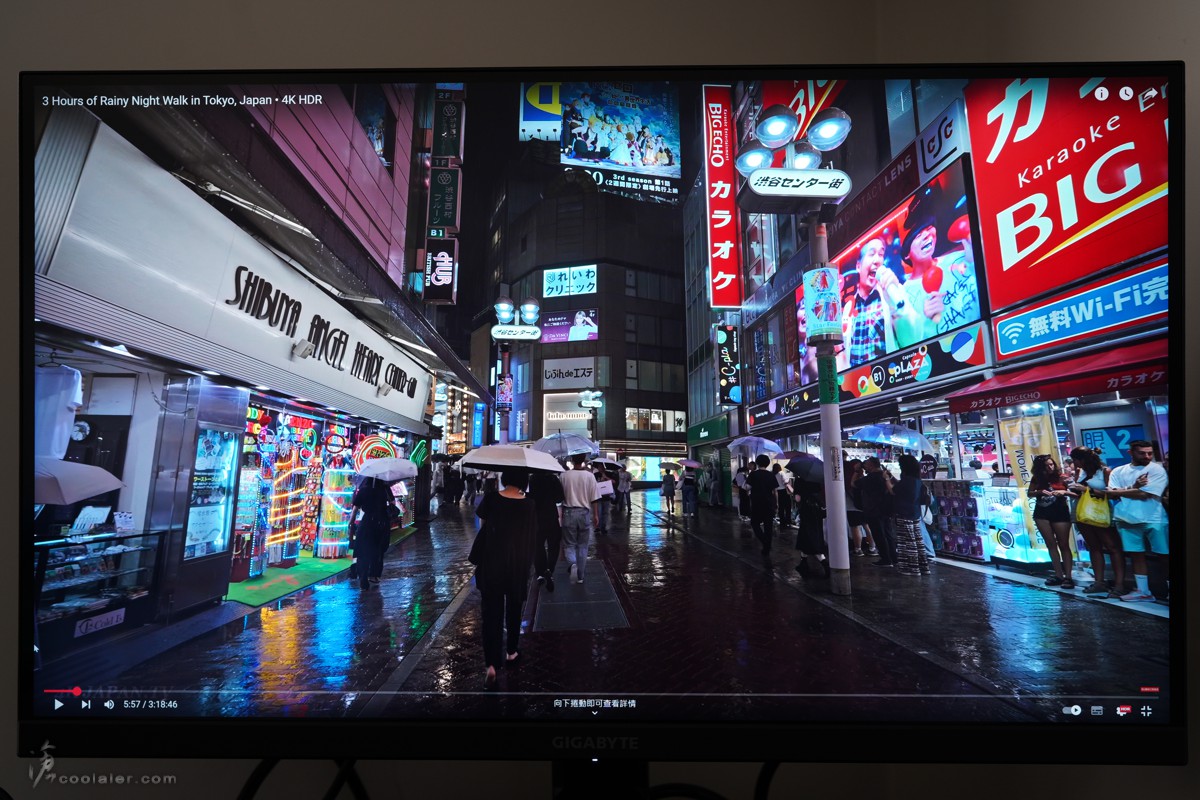
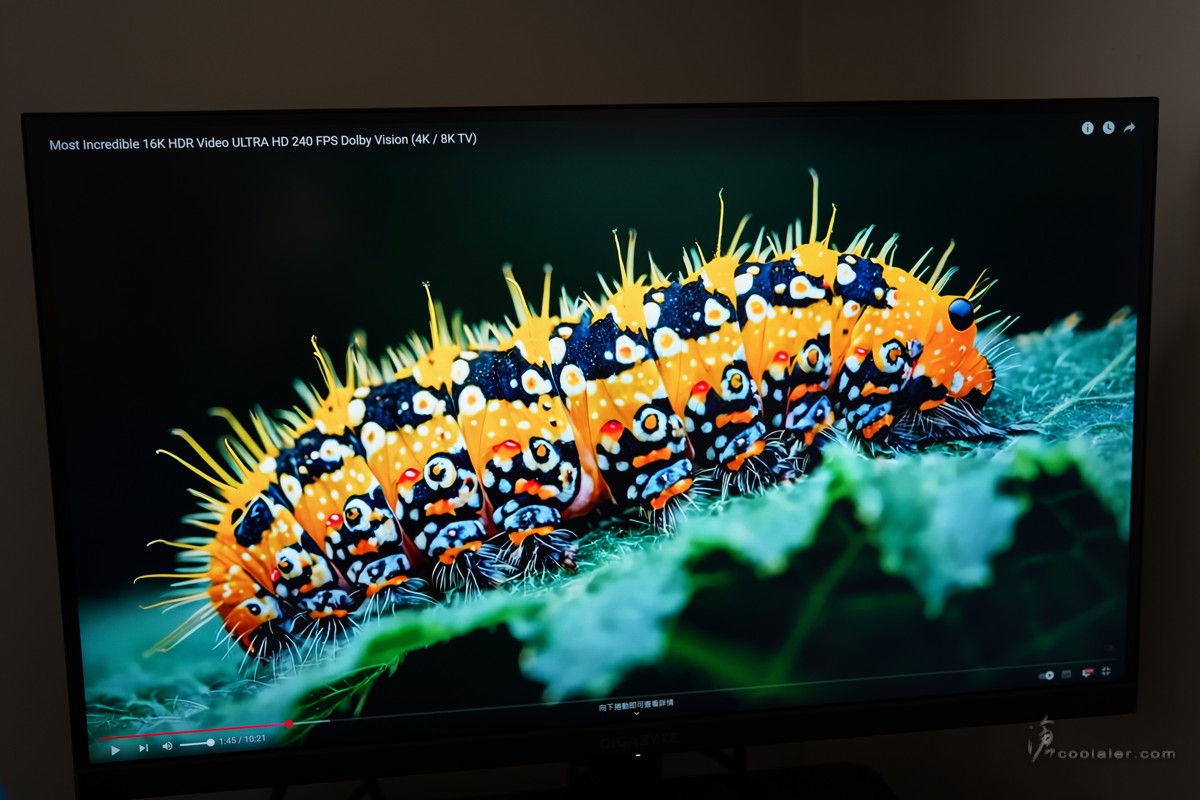
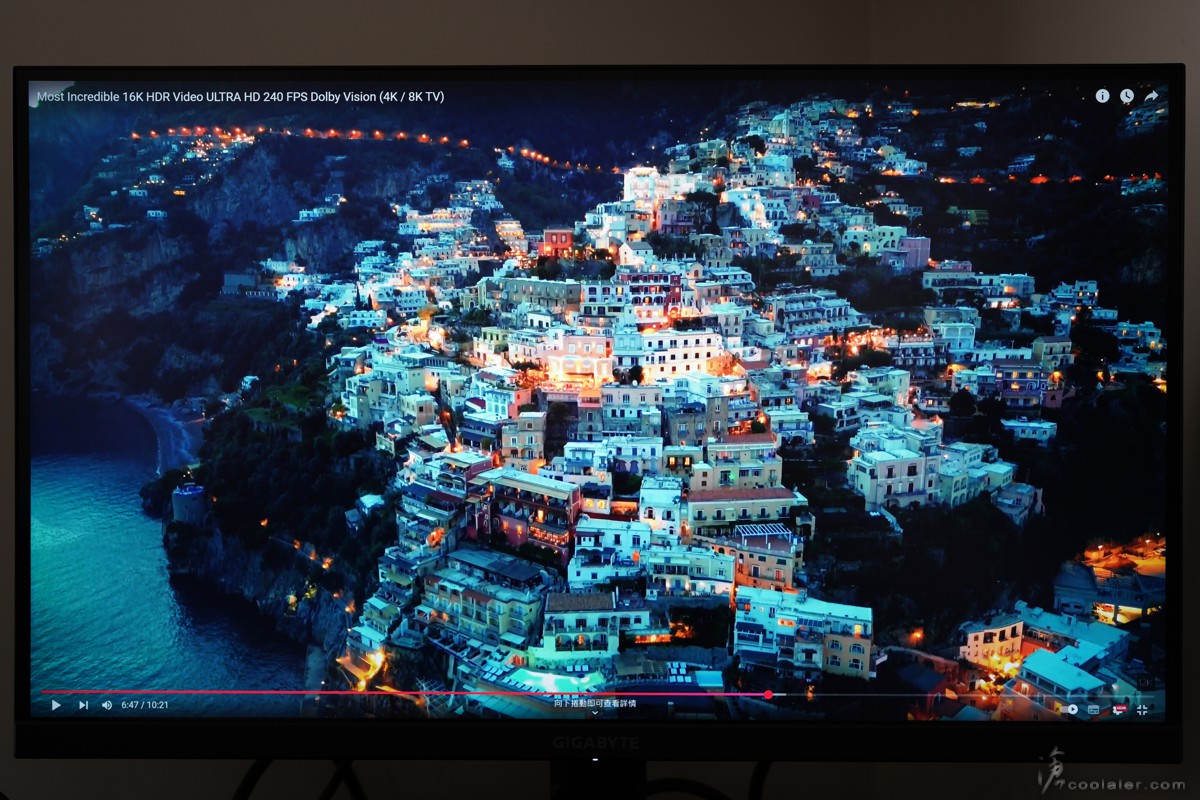
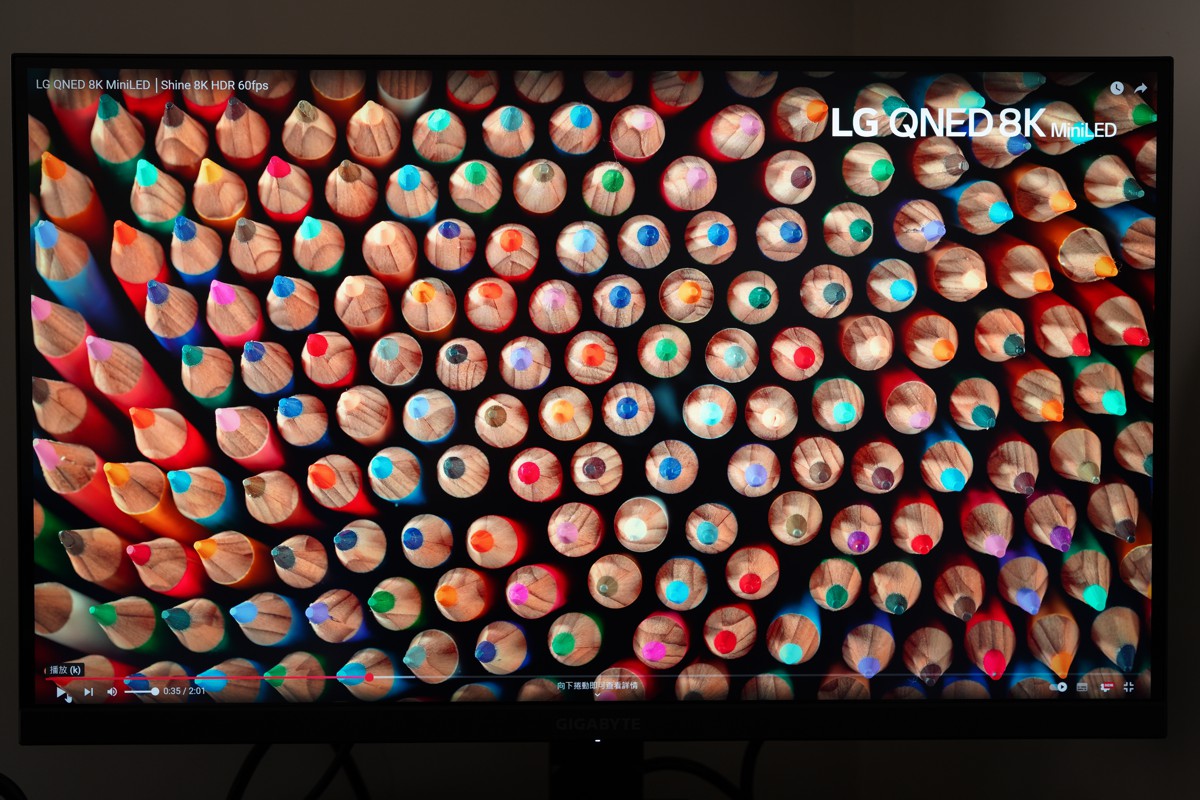
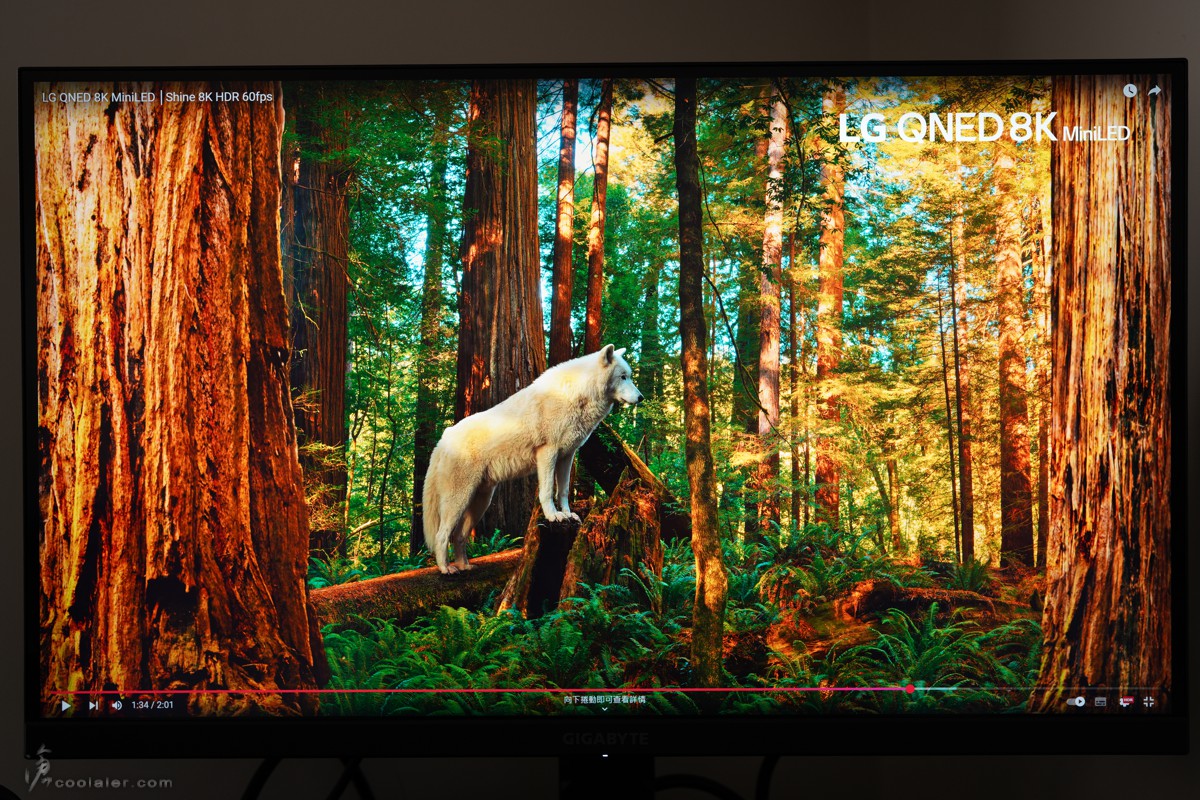
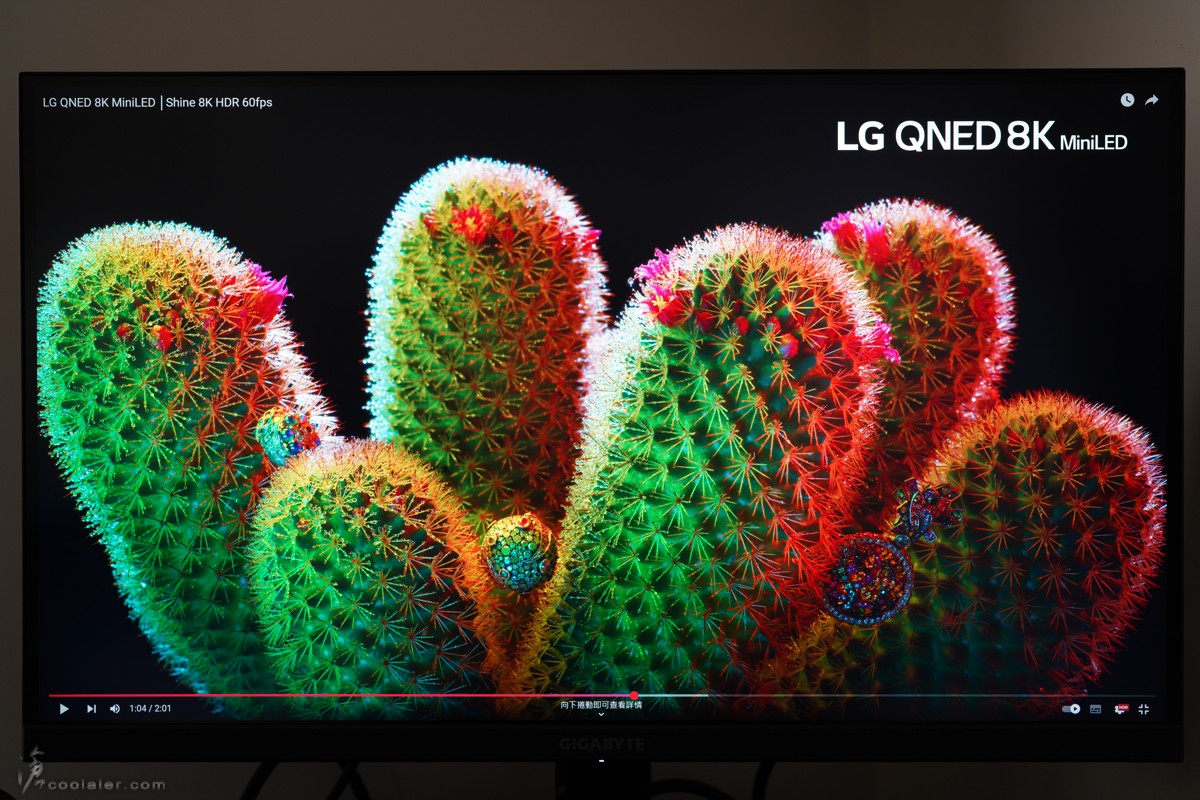
實拍幾張 4K HDR。

小結
GS27U 是先前推出的 GS27Q 的 4K 升級版,延續了高性價比的路線,並擁有不錯的規格配置。它具備 160Hz 高刷新率與 1ms 反應時間,搭載電競輔助功能與黑平衡技術,並支援 OSD SideKick 軟體調整 OSD 設定,對於遊戲玩家來說,視覺體驗與操作便利性都有不錯的表現。不過要能跑到 4K @ 160Hz 就得看顯卡效能了。
另外在硬體支援上就較為簡約一點,並沒有 USB Hub 功能,也無內建喇叭,是否有這些需求就因人而異了,目前電商價格為9490元,整體來看還算有不錯的競爭力。
GIGABYTE 最近推出了新款電競螢幕 GS27U ,主要採用 SS IPS 27吋面板,有 4K (3840×2160)解析度, 160Hz 的更新率,最快反應速度為 1ms(MPRT),並且符合 VESA Display HDR400 認證以及 95% DCI-P3 / 127% sRGB 的色域表現。
另外在電競的部分也加入 OSD Sidekick 軟體使用鍵盤滑鼠快速來調整螢幕設置,以及支援 Game Assist 電競輔助功能與 Black Equalizer 黑平衡技術,來提升整體遊戲體驗。
GS27U 規格
面板尺寸:27 吋
面板:SS IPS
解析度:3840 x 2160
色彩飽和度:95% DCI-P3 / 127% sRGB
亮度:350 cd/m2
對比率:1,000 : 1
可視角度 :178° ( H) / 178° ( V )
色深:10 bit
反應時間:1ms ( MPRT )
更新速度:160Hz
HDR: VESA Display HDR400
訊號輸入:HDMI 2.1 x 2、DisplayPort 1.4 x 1
音效:3.5mm 耳麥
傾斜角度:-5°~+20°
尺寸含支架:613.7 x 447.4 x 172 mm
重量含支架:5.32 kg
GIGABYTE GS27U
主要規格與特色,27吋4K,160Hz、SS IPS 面板、GAME ASSIST 遊戲輔助、OSD SIDEKICK 功能、低藍光、無閃爍、VESA Display HDR400 。
配件有說明書、保固卡、電源線、HDMI 線、DP 線、螢幕支架。
螢幕支架一樣是底座與支柱分開。
支柱底部有孔位對應底座,底座有螺絲可手轉固定。
螢幕的部分先不急著拿出來,裝好支架再取出會比較安全。
掀開保護套可以看到螢幕背部的支架固定位。
將支架對應插入卡住定位即固定。
GIGABYTE GS27U 的外觀是中規中矩,窄邊框設計,下方邊框比較寬一點,上方有 GIGABYTE 字樣。
實際點亮的邊緣距離。
底座四邊角有斜切立體造型,搭配前緣 GAMING 字樣。
功能鍵的部分設計在中間下方,另外訊號燈也是在 GIGABYTE 字樣下方。功能鍵是單一顆5軸 OSD 功能撥桿設計,可以下壓、上、下、左、右來快速調整切換功能。
GS27U 並無法調整高低或旋轉,但可以前後傾斜 -5°~+20°。
背部,因為有內含電源供應器,所以中間是比較厚實一點。
可支援壁掛安裝。
背面上方中間位置有 GIGABYTE 品牌字樣。
上方有通風孔設計。
輸入埠有2個 HDMI 2.1、1個 DP 1.4、1個耳機孔。
電源線安裝孔。
OSD 功能簡介
螢幕下方中間有個5軸的搖桿,往下壓則可以叫出選單,選單排列也很直觀,用方向撥桿則可以進入該功能選項,上方為設定、右方為 GAME ASSIST 遊戲輔助、左為 CROSSHAIR 輔助準心、下方關閉電源。
設定選單內包括了遊戲、圖像、顯示、PIP/PBP、系統功能、語言設定、清除所有設定值等。遊戲功能內則有穩定瞄準功能(頻率大於75Hz)、黑平衡、超級解析度、顯示模式(比例)、反應時間、FreeSync Premium 。另外在介面右上角有顯示解析度以及頻率,下方則是當前輸入源以及狀態顯示。
圖像功能,這部分針對了使用模式進行了優化,可以快速切換調用,例如預設、遊戲、電影、閱讀、sRGB、使用者模式(自訂)、ECO。
顯示功能,輸入選擇、RGB 訊號範圍、Overscan。
PIP / PBP,支援子母畫面以及畫面並排功能。
系統功能,音訊、OSD 設定、快速鍵設定、其它設定。
語言設定,支援多國語言切換。
GAME ASSIST 遊戲輔助,包括 GAME 情報、Eagle Eye 狙擊鏡、螢幕拼接輔助三大項。遊戲情報內有計時器、更新頻率以及這些顯式資訊的位置設定,計時可正數或倒數。
Eagle Eye 狙擊鏡,開啟後可以選擇尺寸、倍率、位置、外框顏色、重置。開啟之後如圖片左側,會在狙擊鏡開啟位置放大原本圖像,也就是你如果拿小手槍一樣也有像狙擊槍一樣的放大功能XDD。
準心輔助,直接在螢幕中間開一個內掛的準心,有四種樣式可選。有些遊戲其實並不支援準心,例如有些狙擊槍在未開鏡時並沒有準心,或最近的 《天國:拯救2》使用弓箭是沒有準心的。當然如果有的話就方便許多了…
黑平衡,可讓原本暗處變亮,一些躲在暗處的敵人也是一清二楚,預設數值10。
最多可以開到20,開太高會變得白霧。
超級解析度,支援0~4,右側開啟4階跟未開啟0相比是有明顯差異。
Sidekick 功能
GS27U有支援 Sidekick 功能,在作業系統下可以調整螢幕設定,完整的 OSD 功能。相當便利實用,畢竟實體按鍵會有選單層多步驟的問題,而軟體只需要滑鼠點選。
一般設定,可選擇訊源、電源指示燈開關、實體鍵快速切換功能自設、OSD 設定。
顯示設定,可快速套用影像模式,或是調整亮度、對比、銳利度、黑平衡、色彩自然飽和度等等。
應用連結設定,可依照使用程式來連結套用影像模式。例如開遊戲就直接套用遊戲模式影像,省得每次都要手動套用。
遊戲助手,準心、穩定瞄準功能等設定。也可用來設定快速鍵對應功能。
實拍幾張 4K HDR。
小結
GS27U 是先前推出的 GS27Q 的 4K 升級版,延續了高性價比的路線,並擁有不錯的規格配置。它具備 160Hz 高刷新率與 1ms 反應時間,搭載電競輔助功能與黑平衡技術,並支援 OSD SideKick 軟體調整 OSD 設定,對於遊戲玩家來說,視覺體驗與操作便利性都有不錯的表現。不過要能跑到 4K @ 160Hz 就得看顯卡效能了。
另外在硬體支援上就較為簡約一點,並沒有 USB Hub 功能,也無內建喇叭,是否有這些需求就因人而異了,目前電商價格為9490元,整體來看還算有不錯的競爭力。