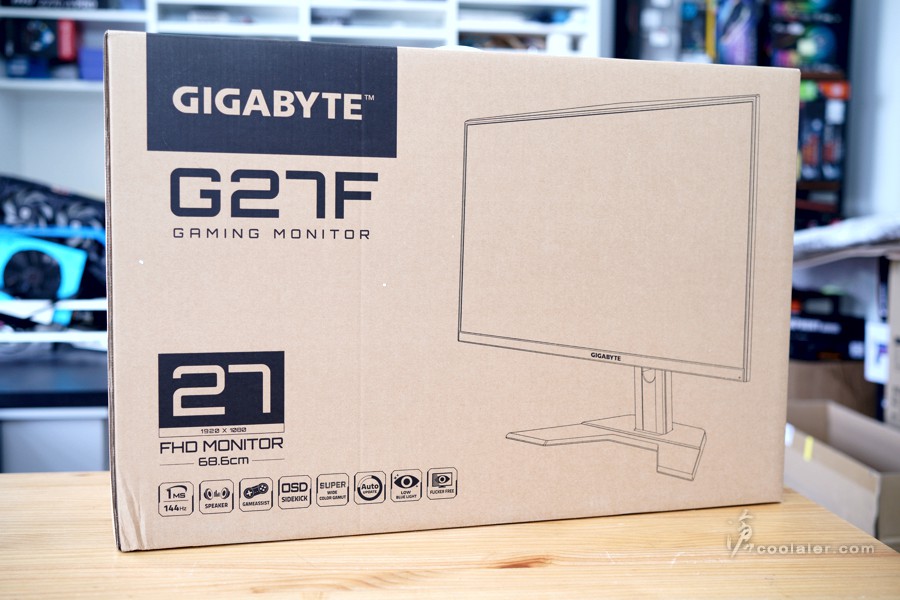
GIGABYTE 不久前推出了幾款 Gaming 系列的電競螢幕,包括了 G27F、G27Q、G27FC、G27QC、G32QC,與先前推出的 AORUS 系列定調不同,走的是比較平價入門的路線,話說入門,但規格也都還算不錯,更新率都有144Hz以上,並且支援 AMD FreeSync。
這五款螢幕中,C 後綴字樣的是 1500R 曲面,F 是1920×1080解析度,Q 是2560×1440,入手的這款是 G27F,也就是五款之中最為入門的,不過既然是電競為訴求,規格自然不會太差,採用27吋 IPS 面板,解析度 1920×1080,反應時間 1ms(MPRT),更新率 144Hz,亮度 300cd/m2,顏色飽和度 95% DCI-P3 / 125% sRGB,支援 G-Sync Compatible Ready 以及 AMD Free Sync,另外也有防閃頻、內建喇叭以及低藍光護眼等功能。
電競應用的部分 G27F 仍保有 GIGABYTE Function,針對於遊戲的一些特調以及額外功能支援,如下。
Black Equalizer 黑平衡:呈現最佳的視覺效果
Aim Stabilizer 瞄準穩定器:降低畫面模糊感提供穩定畫質
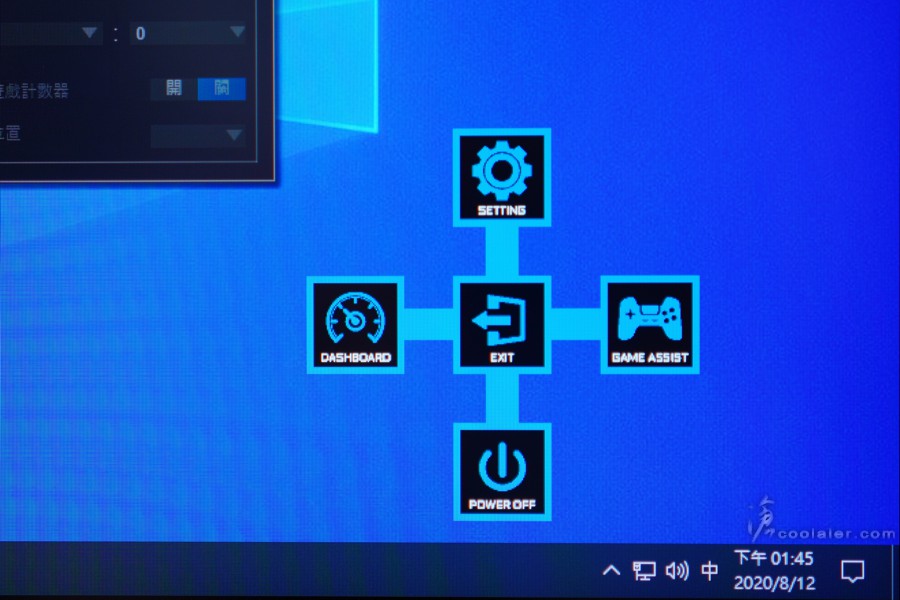
GameAssist 遊戲助手:提供遊戲計數、計時功能
GIGABYTE Dashboard:透過 OSD 顯示滑鼠 DPI、CPU / GPU 等相關數值
OSD Sidekick:透過鍵盤滑鼠快速調整螢幕各式選單
GIGABYTE G27F
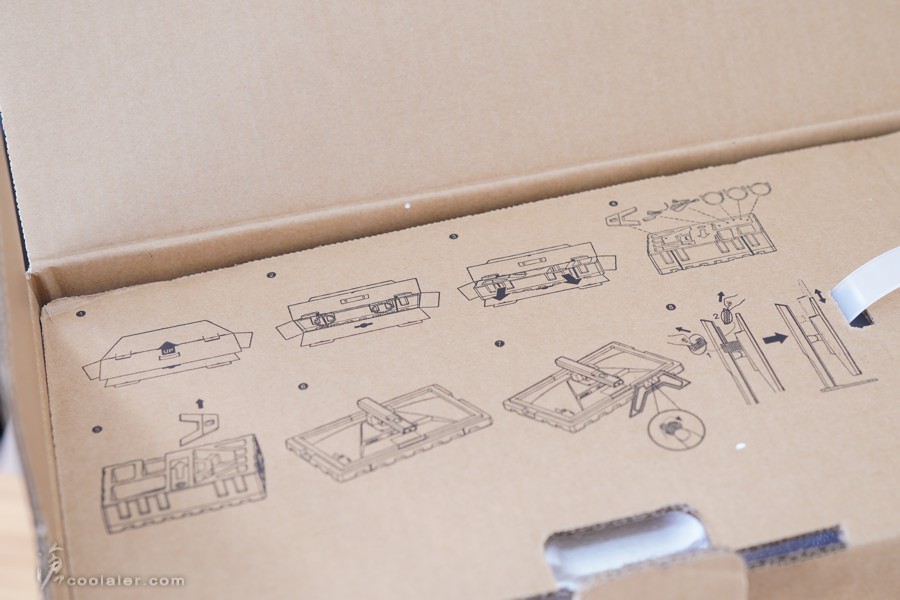
打開之後外箱上蓋左邊有一些安裝步驟可以看一下,雖然說取出螢幕安裝腳架並不難,按照步驟可以避免一些因為假會而造成的悲劇,比如刮到面板滑落之類。
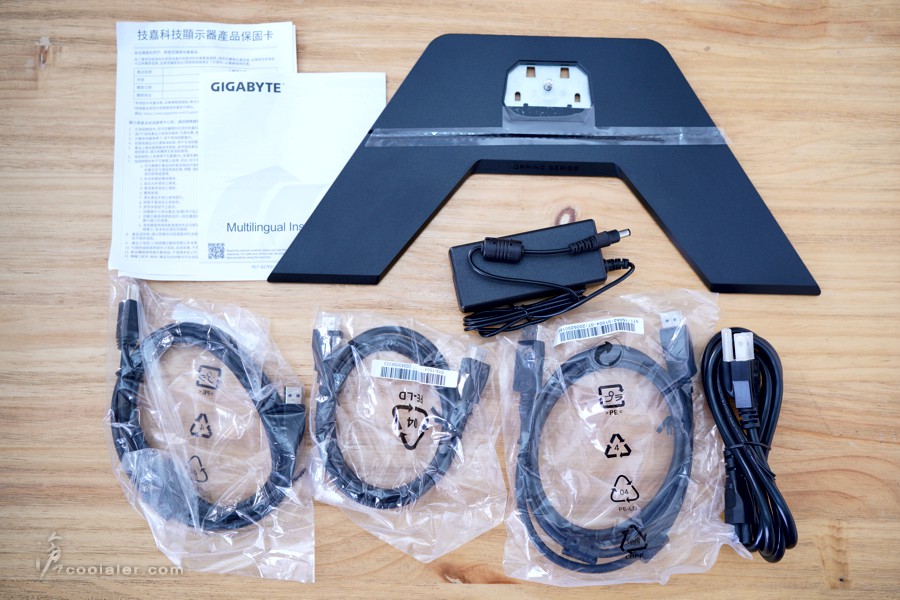
先在一個平坦的桌面拖出內容物。如果你正確朝上的拖出,配件會在上面,這時候就可以取出這些東西。
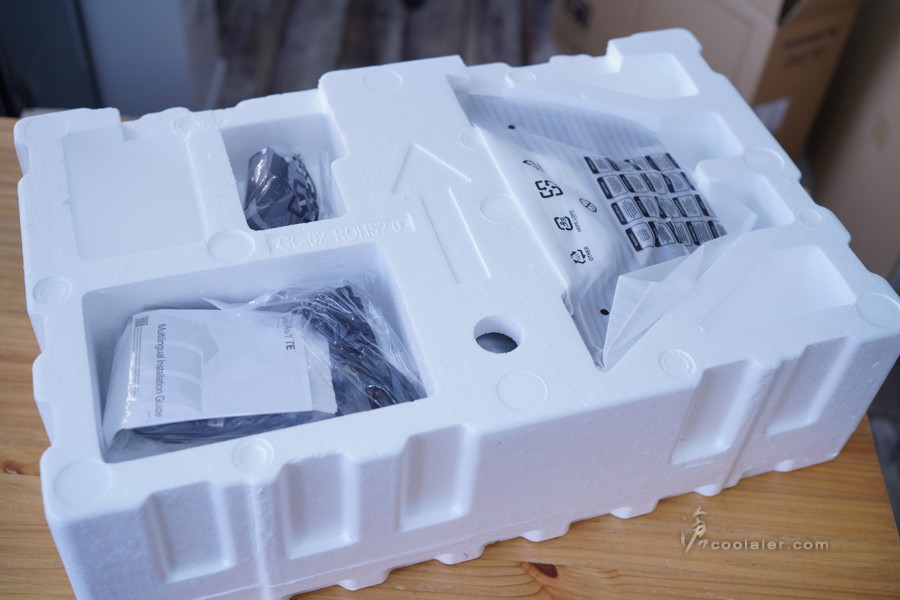
配件有保固卡、使用手冊、腳架、電源供應器、USB 連接線(Hub 以及 OSD Sidekick 軟體用)、HDMI 線、DP 線、電源線。
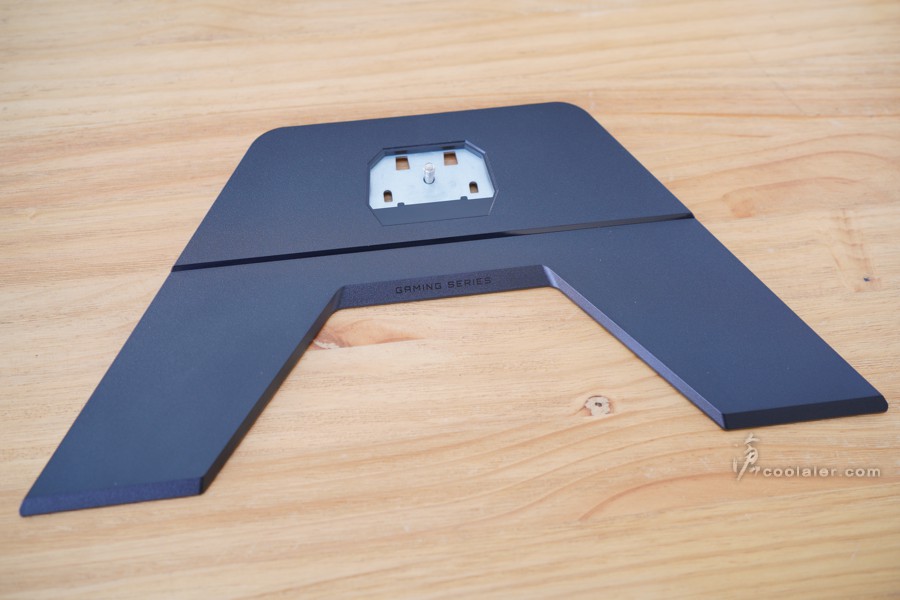
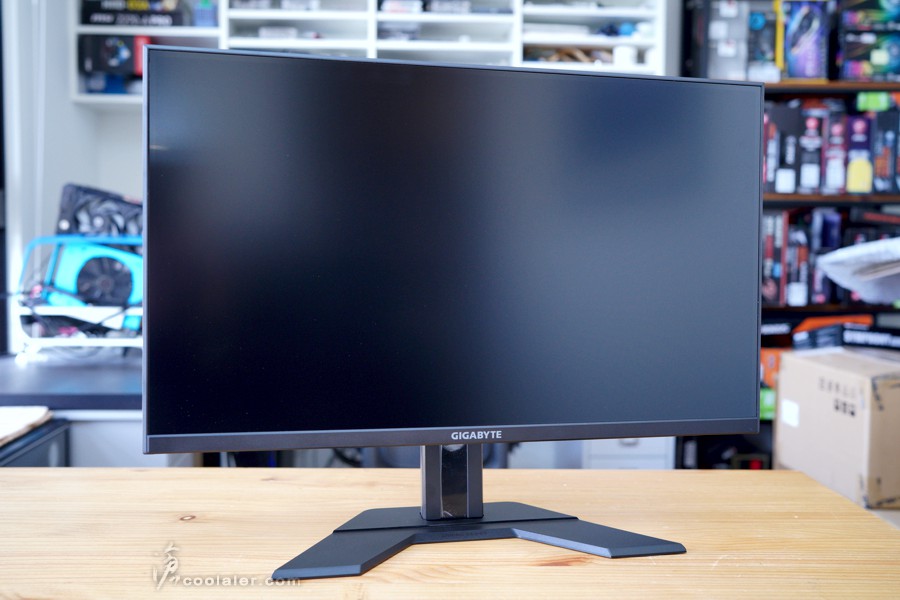
腳墊是呈現一個迴旋鏢狀,中間有 Gaming Series 字樣。
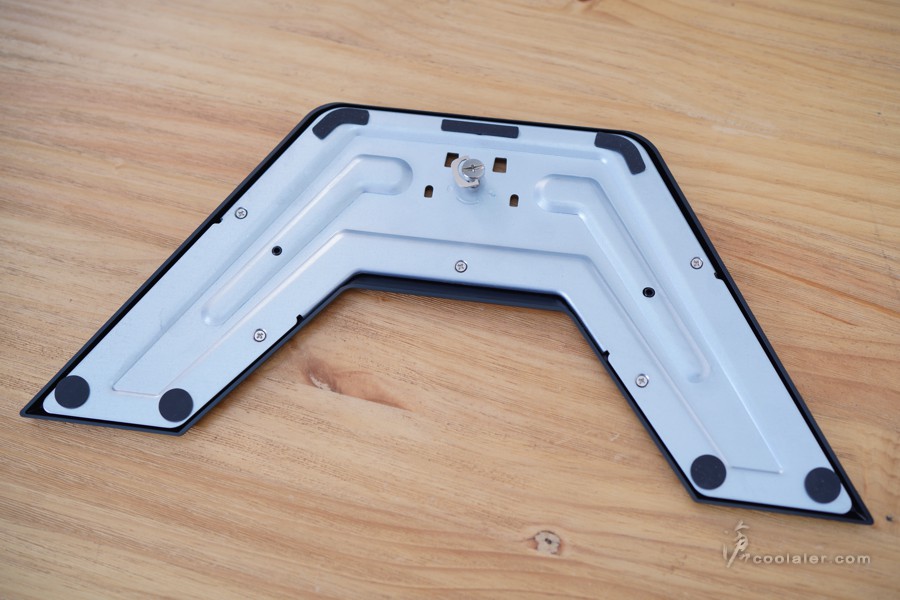
背面四周有止滑墊。
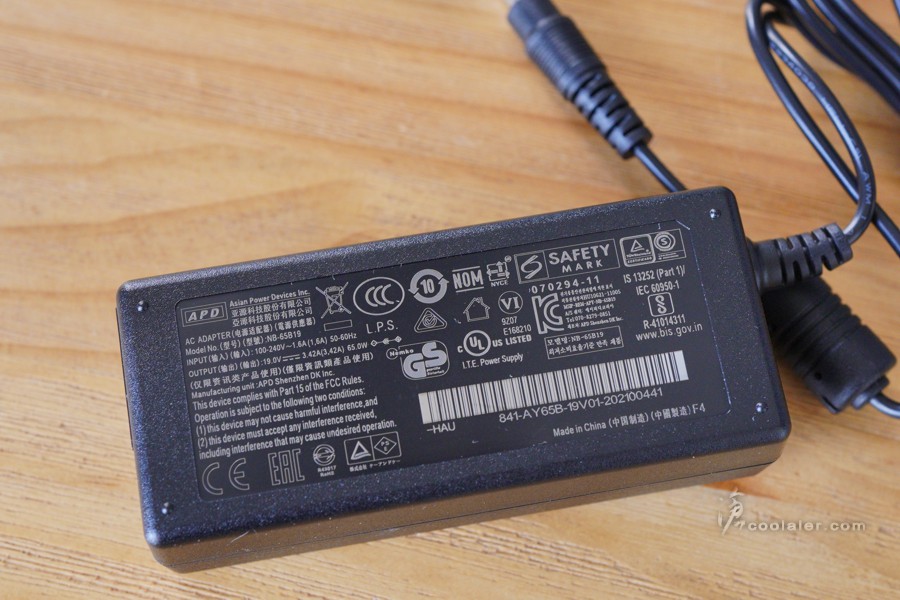
APD 的電源供應器,19V 3.42A 65W。
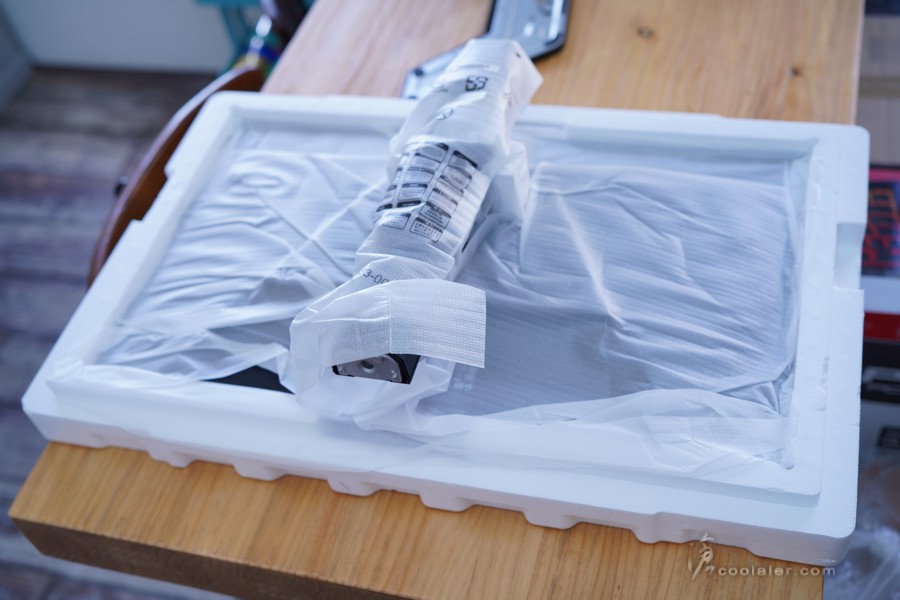
接著把上面的保麗龍移除,可以看到面板是朝下,螢幕先不用急著拿起來,先來安裝底座支架,螢幕躺在保麗龍內也可以避免刮傷。
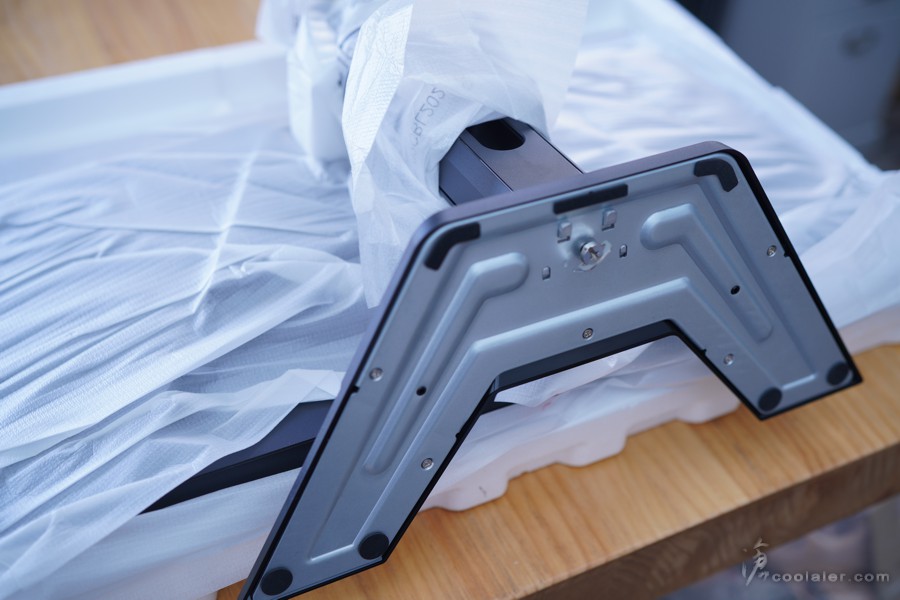
底座對應安裝孔,注意四邊有掛勾卡入,螺絲轉緊即可。
站穩之後就可以拆掉保護袋。
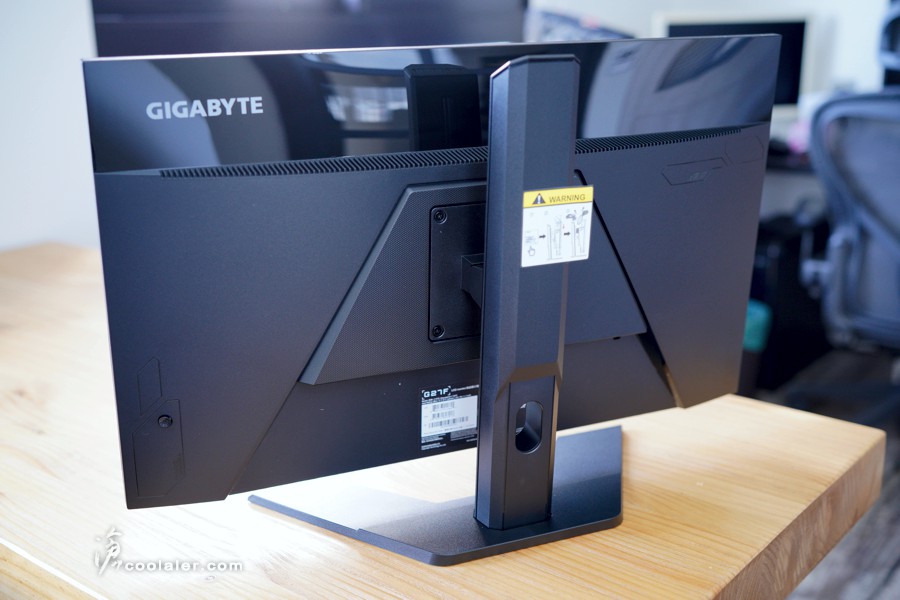
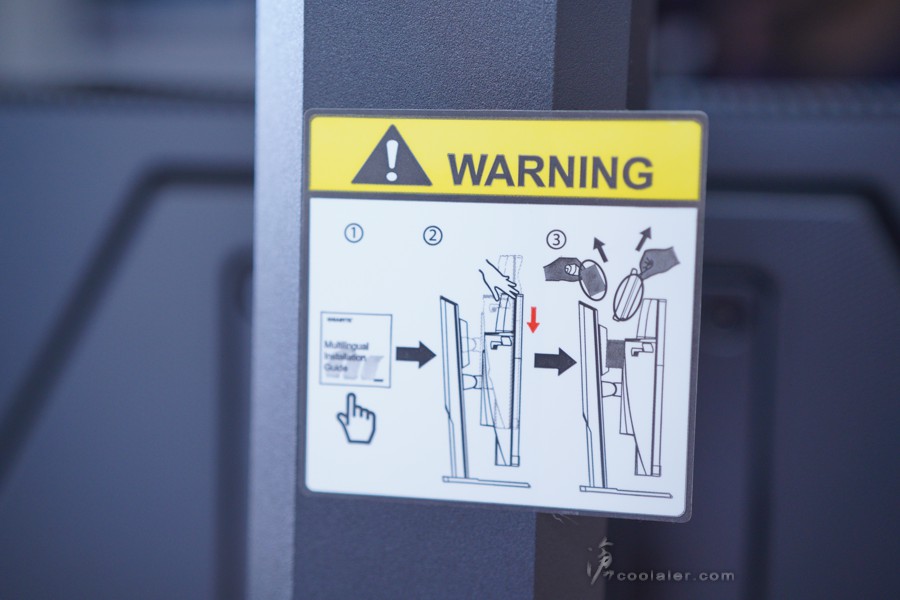
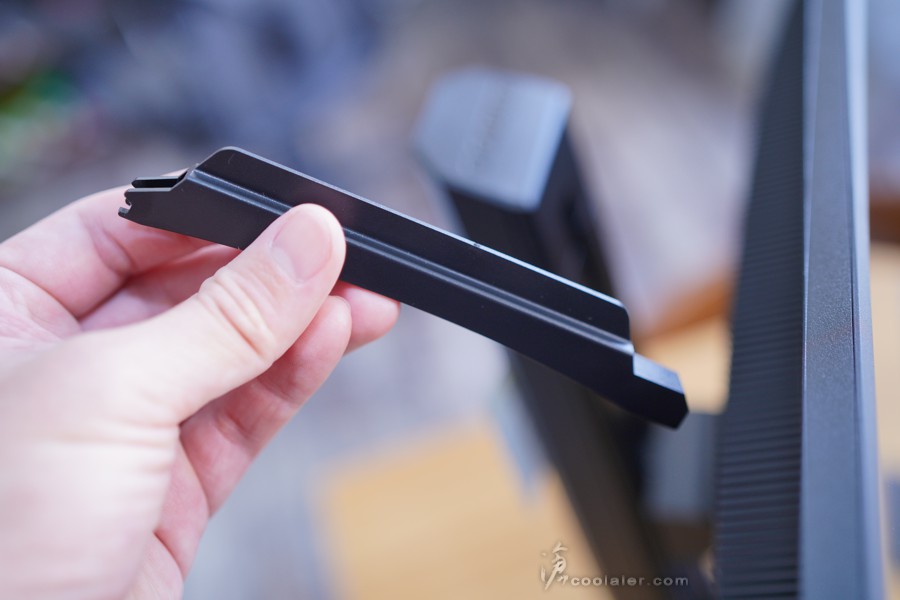
後面貼有一張注意的標籤,在支架上有一些保護措施要移除才能調整螢幕高低及角度。有一個保麗龍墊以及塑膠架,主要應該是為了運送時的保護支撐。
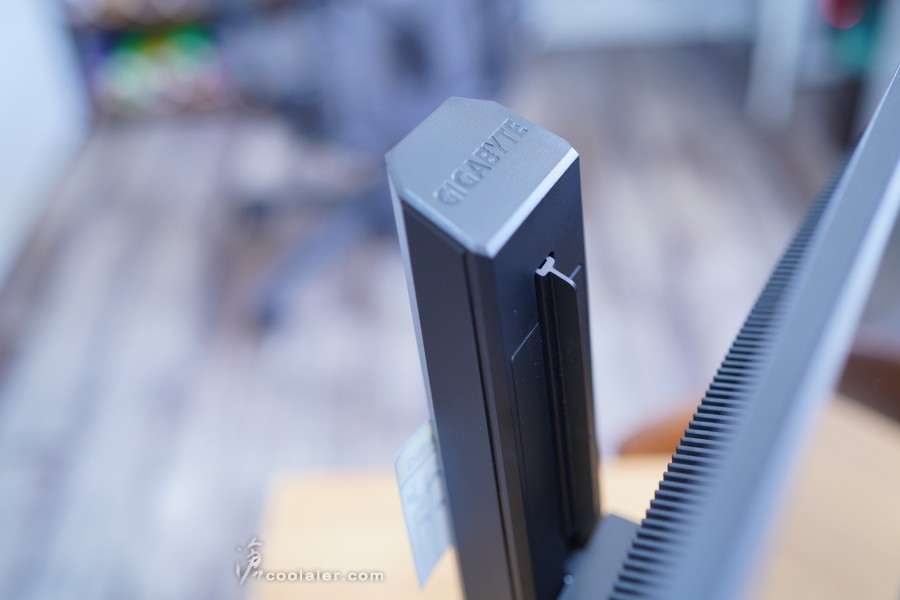
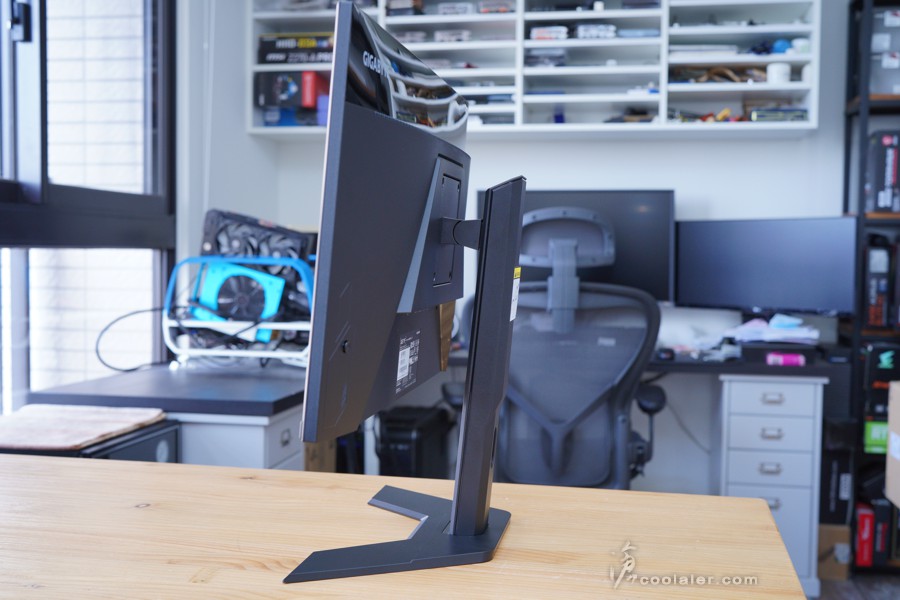
支架頂部有 GIGABYTE 字樣,內側滑軌可以看到有一個塑膠架。
取下之後才能調整螢幕高低。
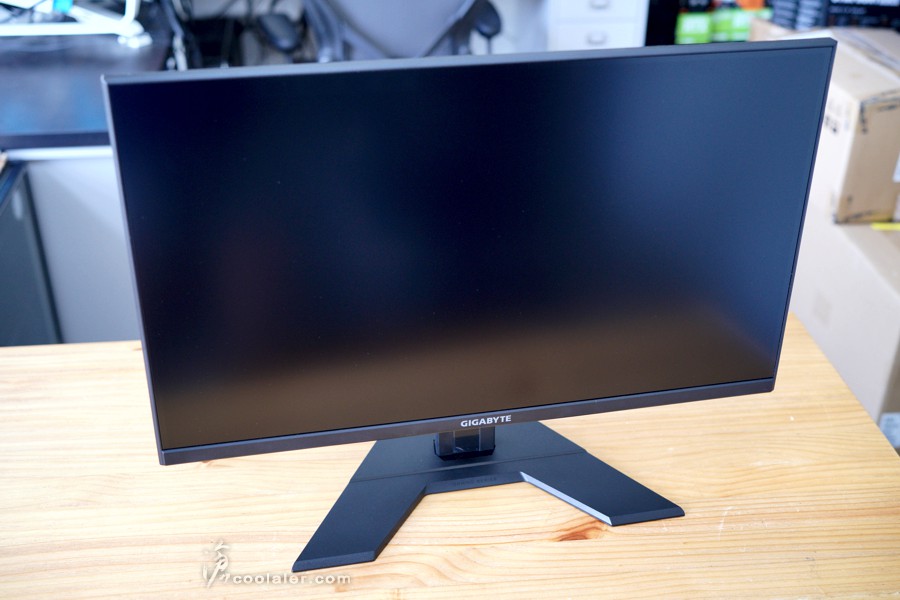
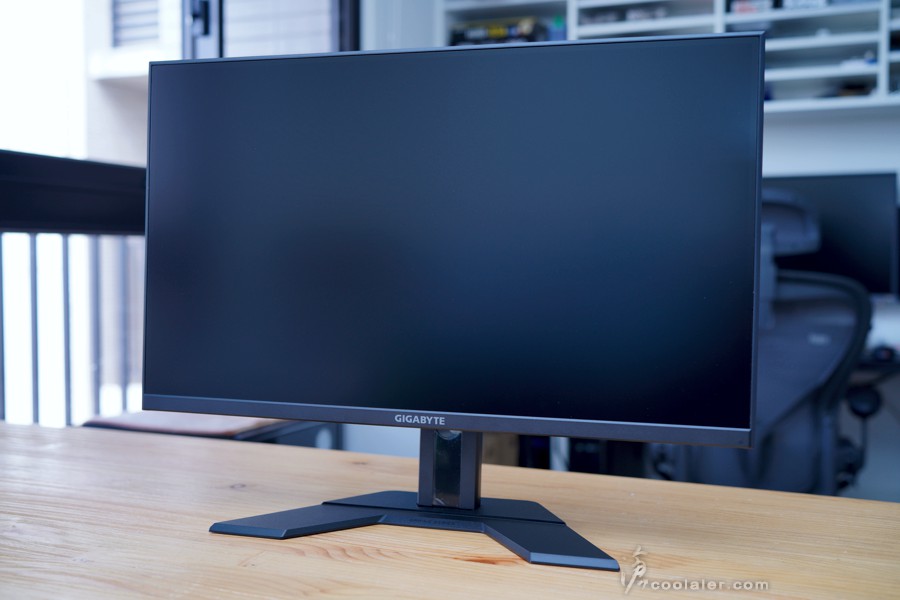
G27F 外觀看起來簡潔,細邊框設計,邊框下方有 GIGABYTE 字樣。
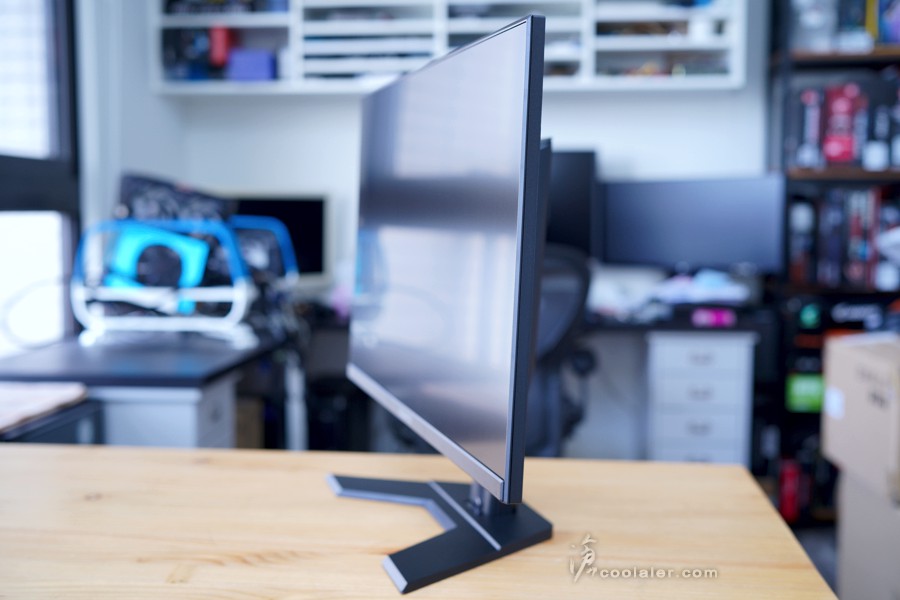
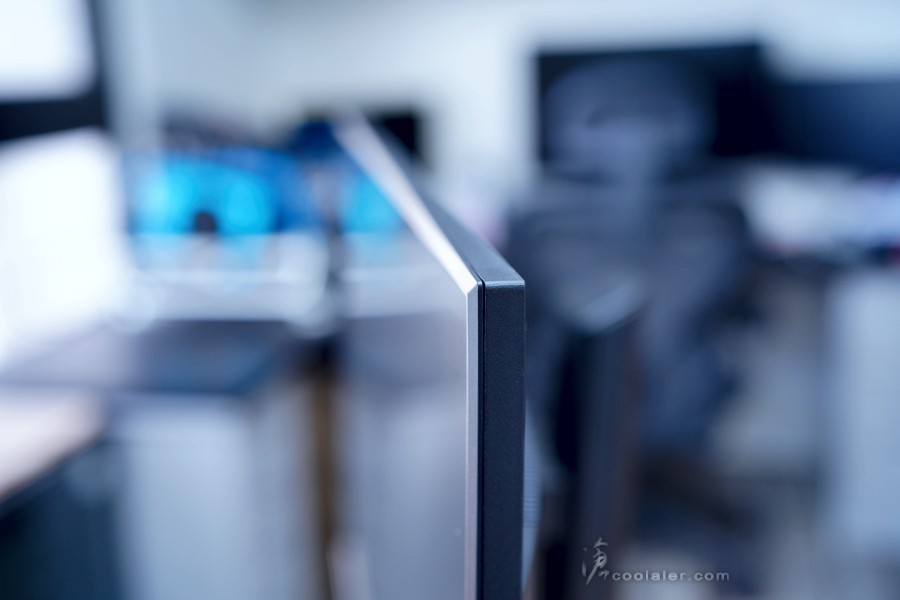
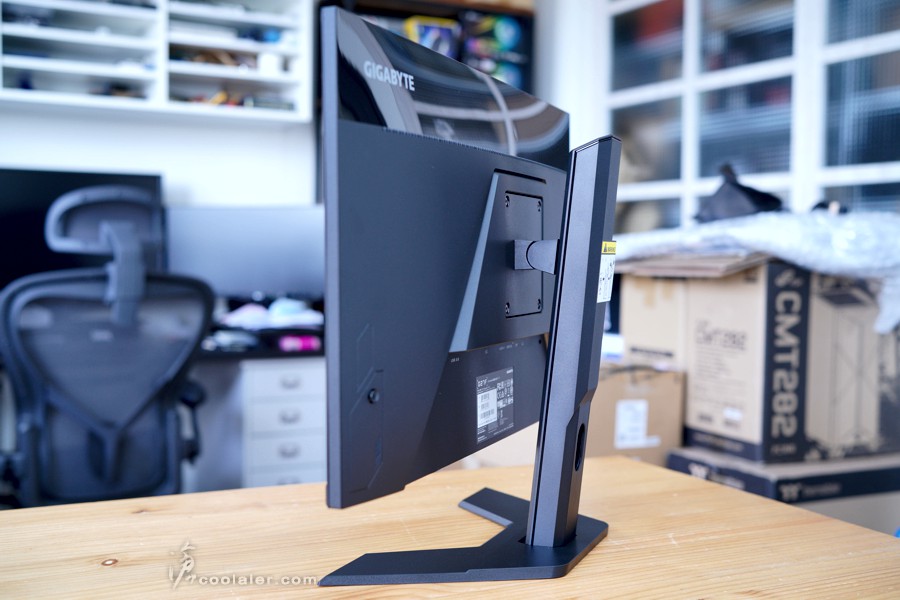
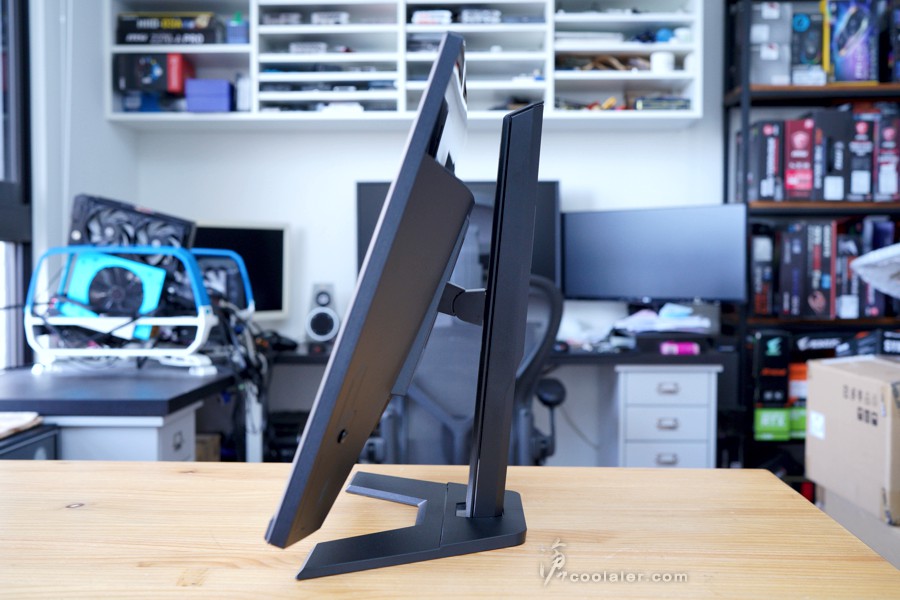
從側邊看是很薄。
後面採圓弧設計,還是有點厚度,畢竟除了面板還是有機板甚麼的要塞。
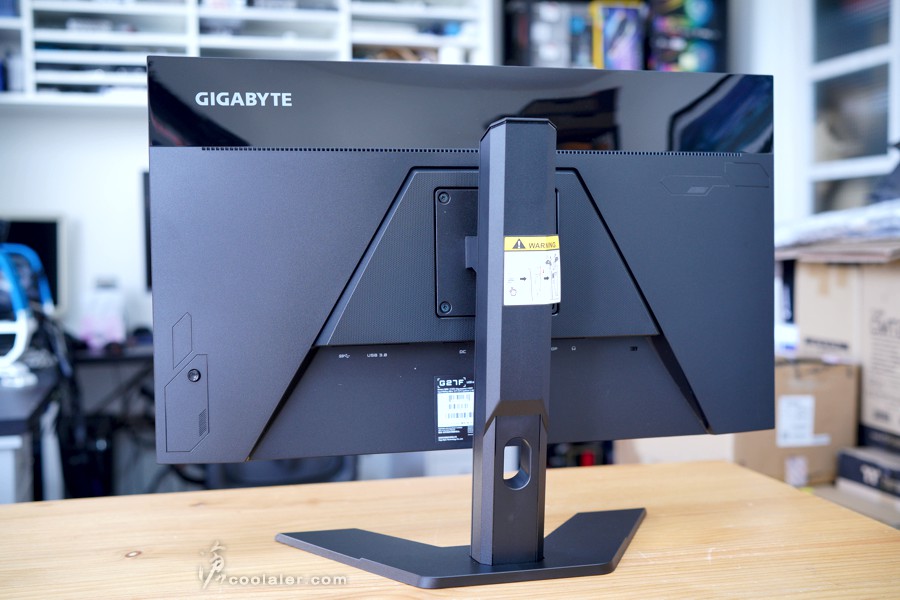
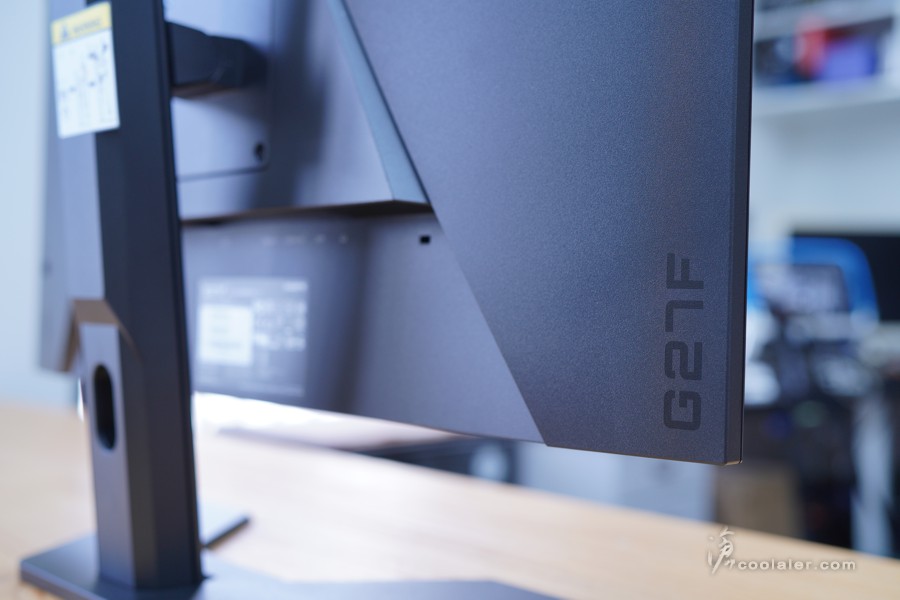
上面這一截採用鏡面處理,左側有 GIGABYTE 字樣,看起來質感還不錯。
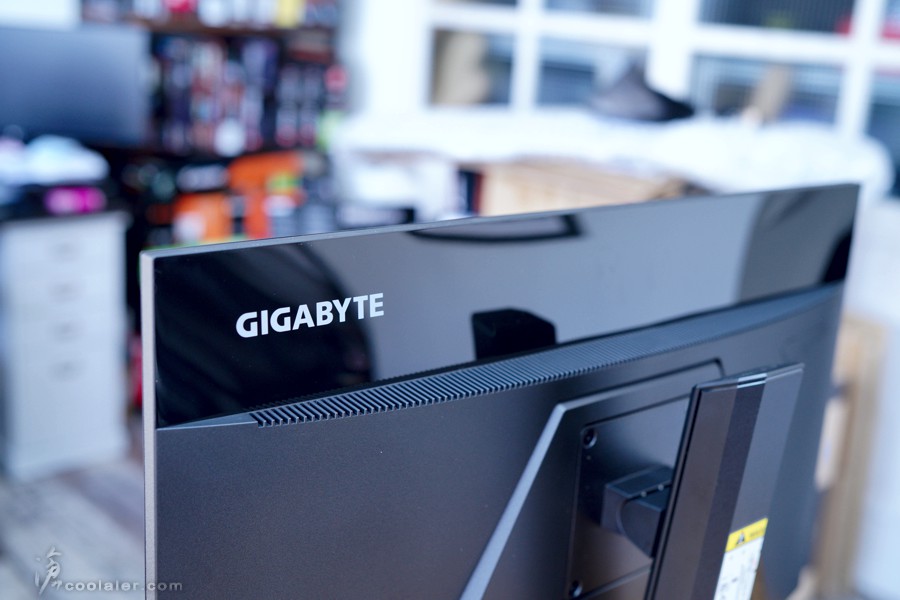
上方則是有一些散熱孔。

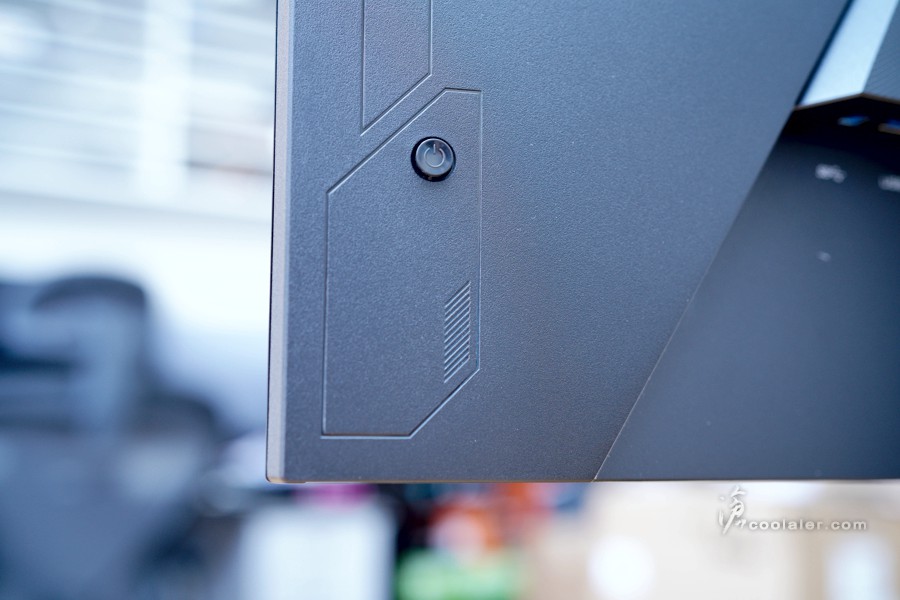
螢幕右下後方有一個按鈕,五向設計(包括下壓),所以單一個按鍵就可以搞定螢幕設定。
支架下方有走線開孔。
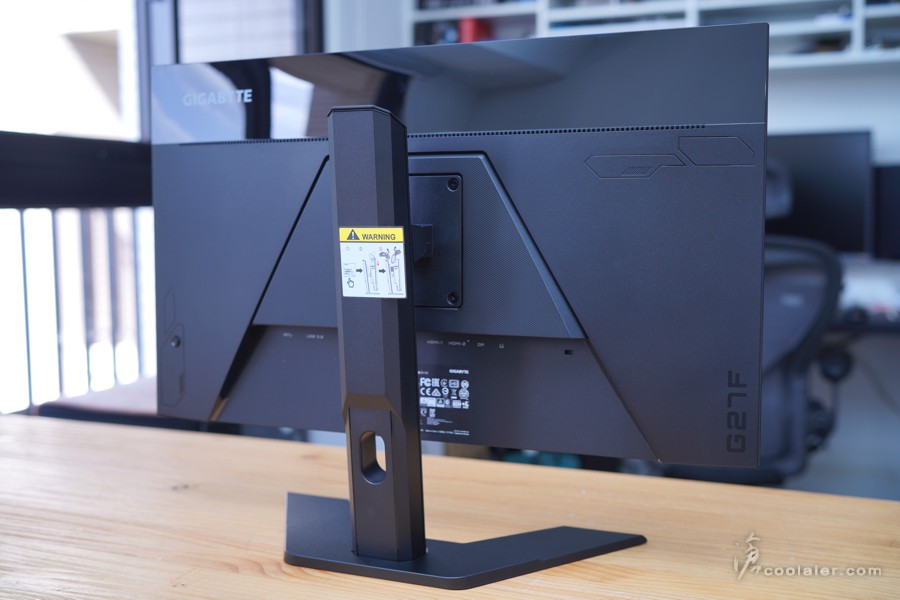
螢幕左下後方有 G27F 字樣。
螢幕可以調整傾斜角度,-5~20度。
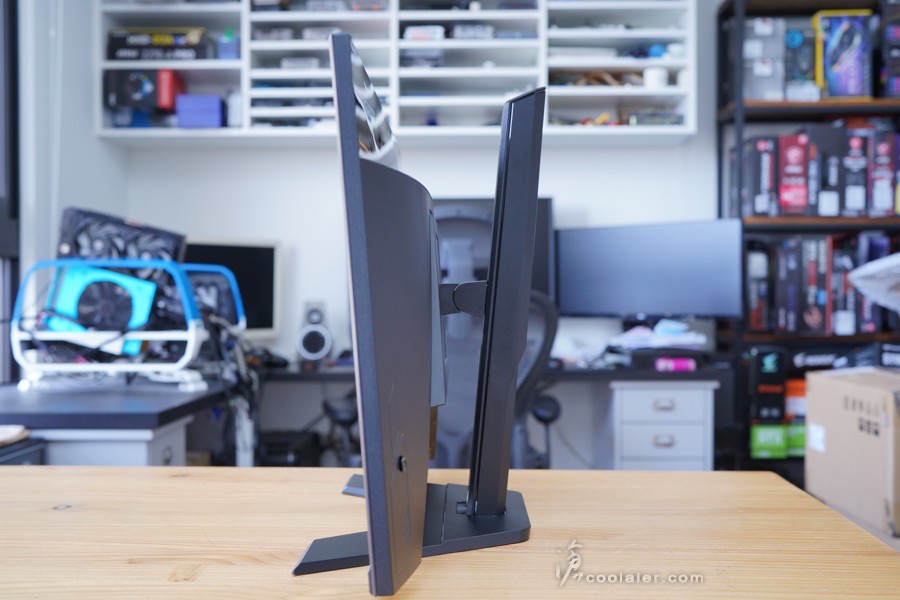
高度可調,13公分。
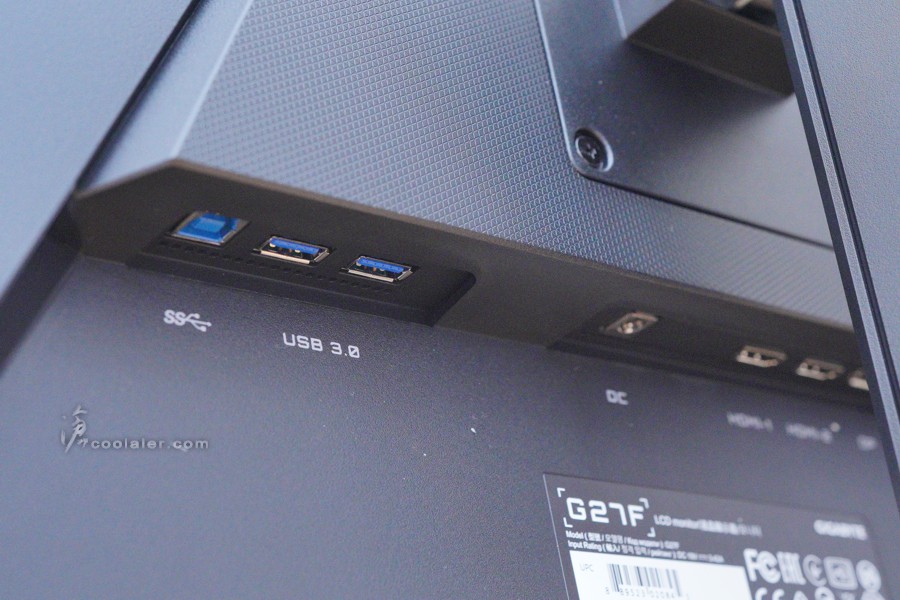
IO 埠有 USB Hub,一上二下,如果有要使用 OSD Sidekick 或 Dashboard 等軟體功能也要連接 USB。
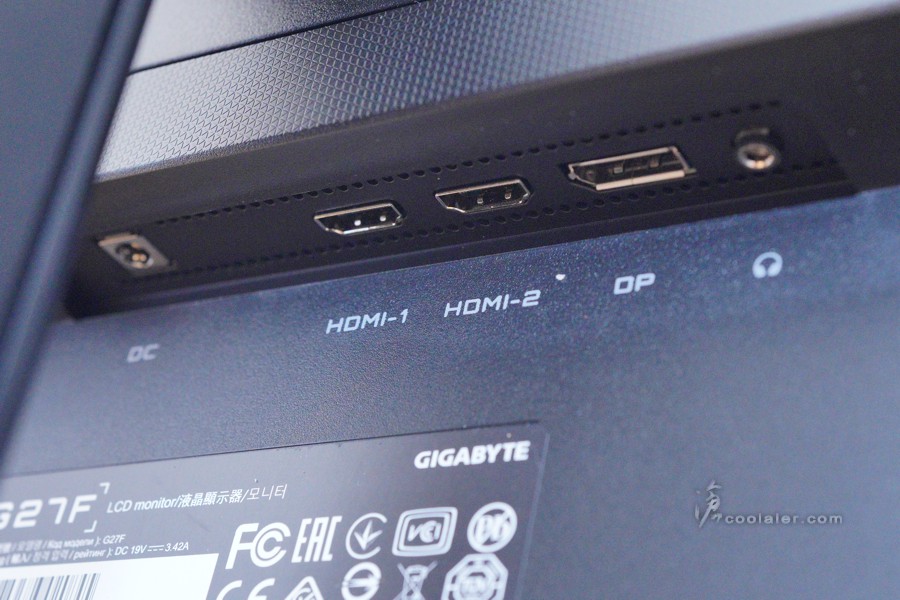
DC in、2個 HDMI、1個 DP、耳機孔。
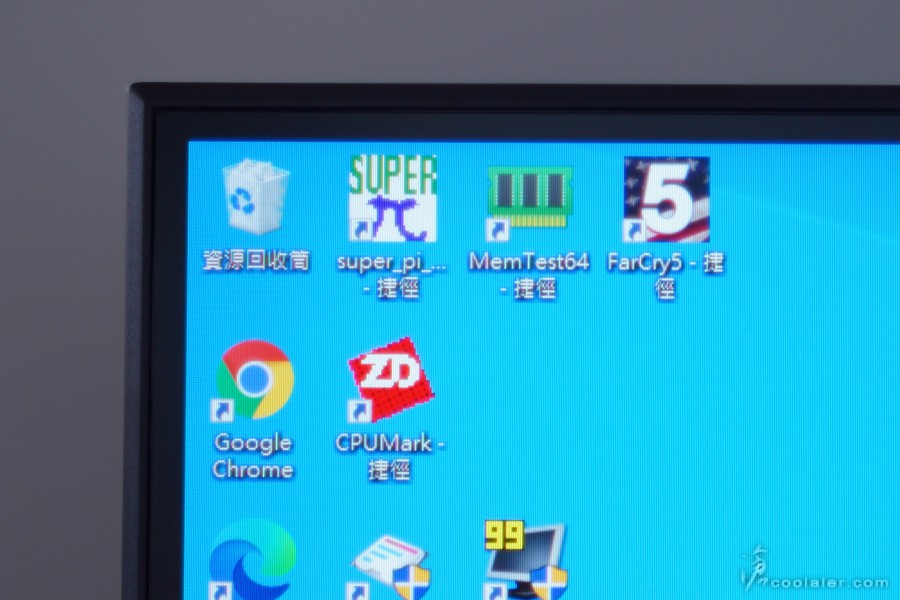
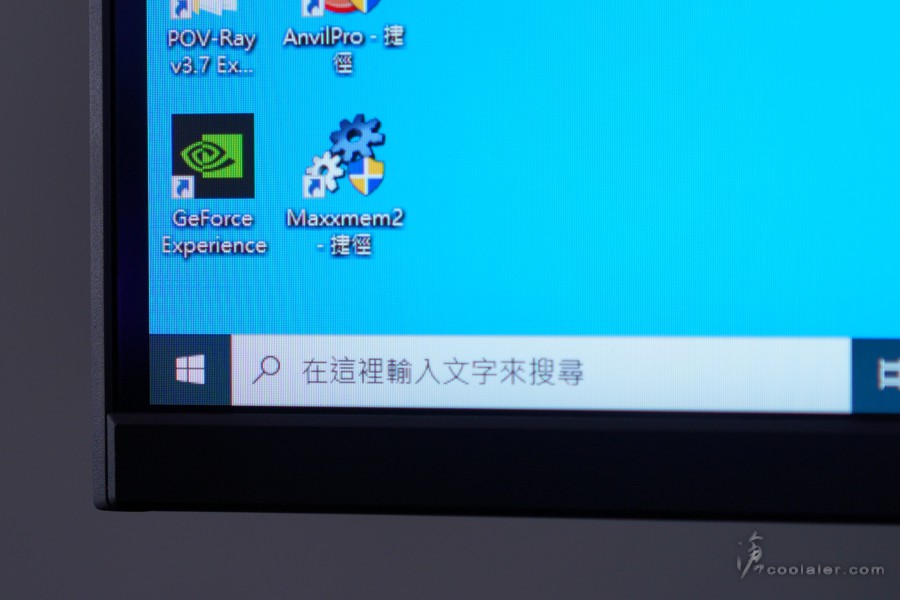
雖然是窄邊框,但螢幕沒有到滿板。
OSD 選單,下壓可以叫出選單,因為是五方向撥桿所以選單設計也很直覺,往上是設定,左邊是系統資訊視窗,右邊是遊戲設定。在未呼叫選單時按壓方向鍵則是快速功能,預設往左是音量,右是輸入埠切換,上是黑平衡,下是影像模式,這部分可透過 OSD Sidekick 更改為自己喜好。
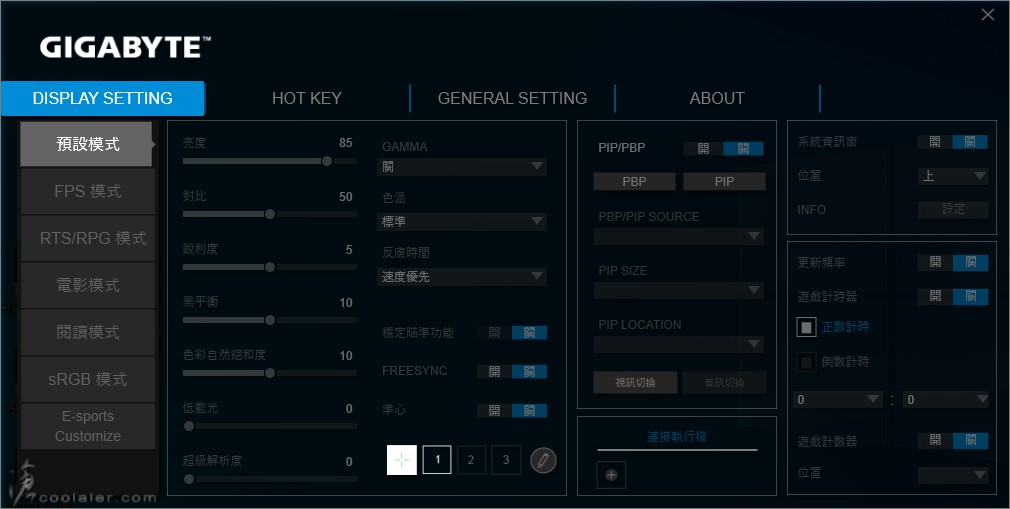
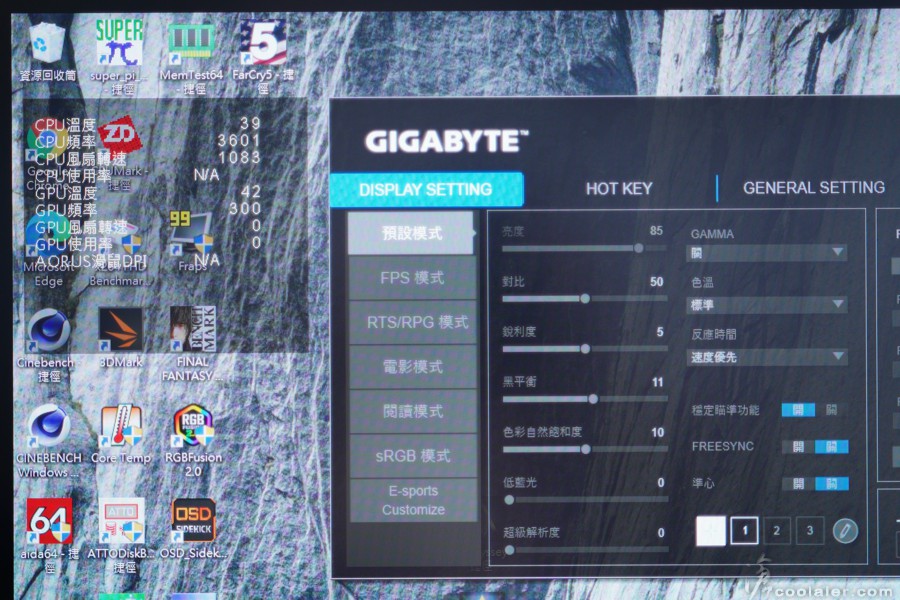
G27F 支援 OSD Sidekick ,也就是 OSD 支援滑鼠點選,個人是覺得比用撥桿方便許多,當然這部分是要安裝軟體才行。下面就是 OSD Sidekick 介面的截圖,左邊可以快速調整使用模式,包含預設、FPS、RTS/RPG、電影、閱讀、sRGB、E-sports 自訂,中間則是可以調整亮度、對比、銳利度、黑平衡、色彩飽和度、低藍光、超級解析度、GAMMA、色溫、反應時間,遊戲支援的部分有穩定瞄準功能、FreeSync、準心。PIP/PBP 是子母畫面設定,如果有使用兩個裝置可以同時顯示。
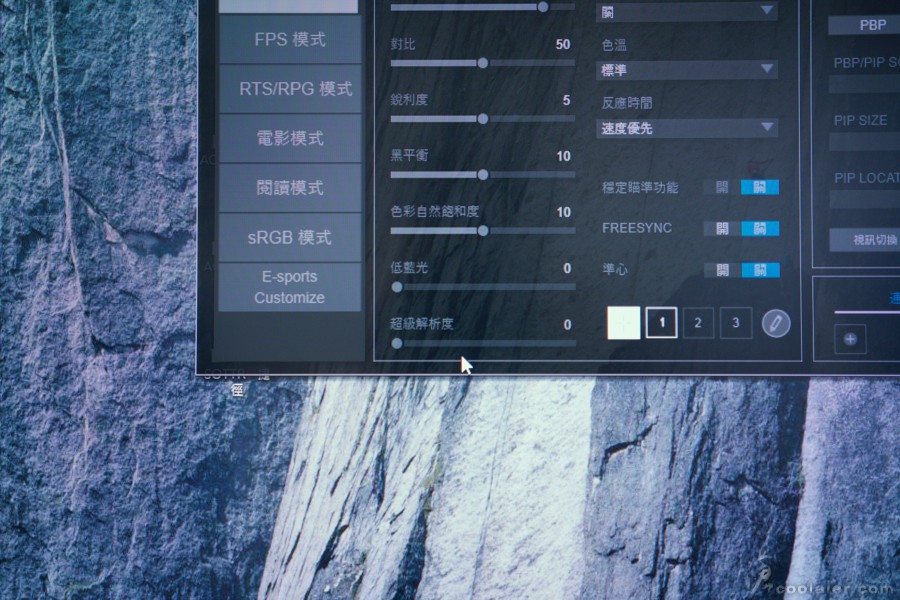
超級解析度的差異以下是未開啟。
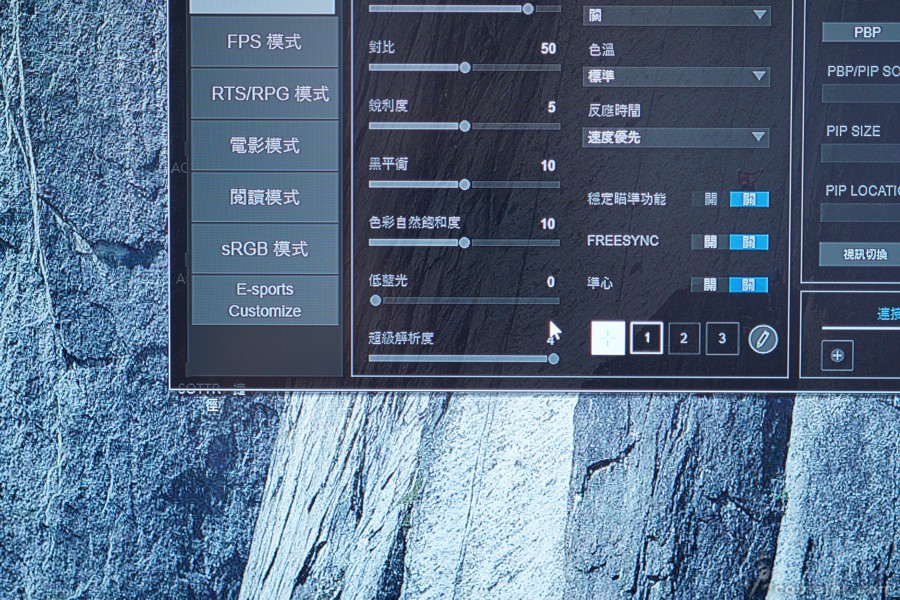
超級解析度有四級可以調整,下面是四級,可以比較上面的差異性,字體、畫面細節感覺要銳利許多,當然好不好就見仁見智,依個人喜好調整。
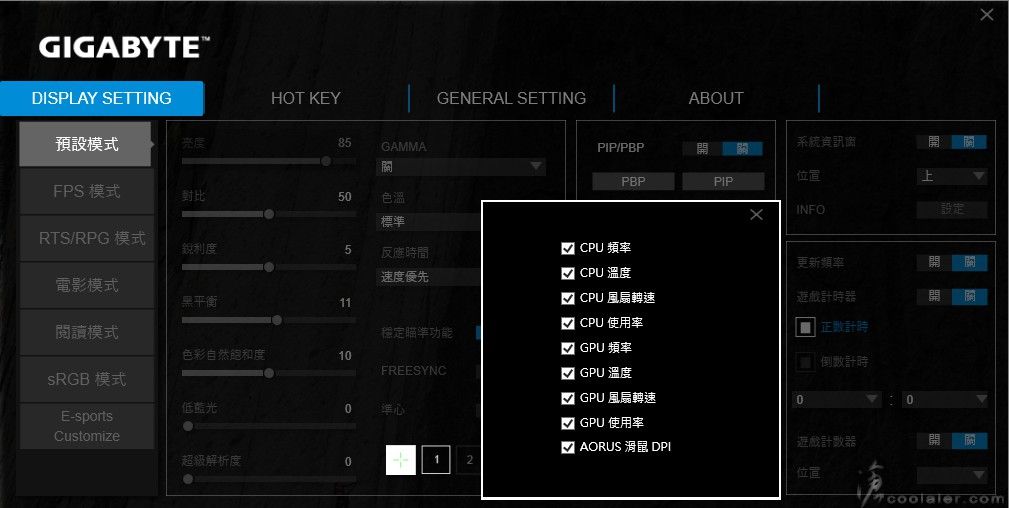
G27F 有 DASHBOARD 系統資訊視窗功能,開啟之後會於螢幕上顯示系統相關資訊,包括 CPU 以及 GPU 的頻率、溫度、風扇轉速、使用率、AORUS 滑鼠 DPI。
開啟的畫面如下。
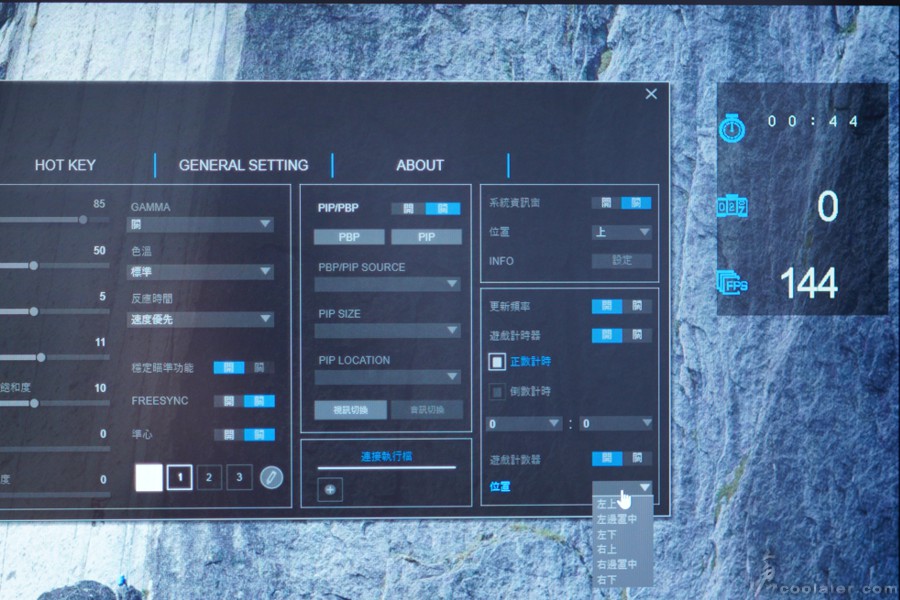
另外也可以顯示計時器、計數器、更新頻率,也可調整顯示位置。
功能也支援熱鍵開啟或關閉。這個實在有貼心到,即使在遊戲裡面也不用跳出視窗來調用功能,直接用熱鍵。
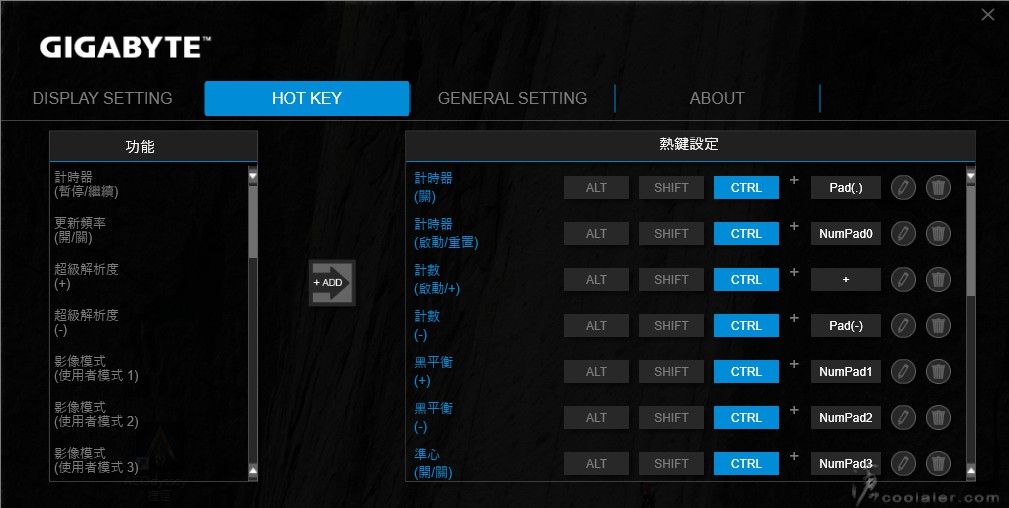
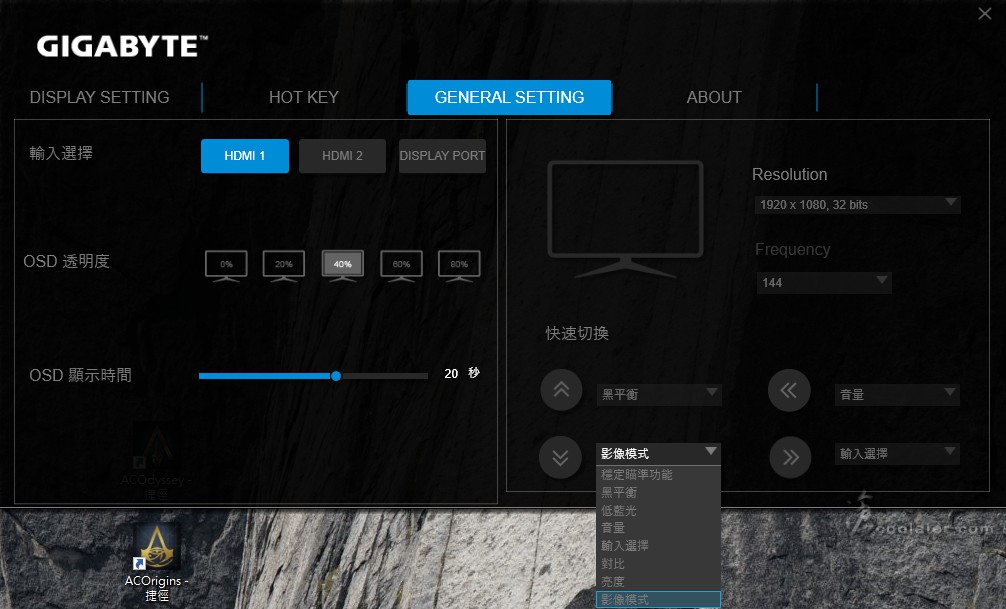
上面所提到的未開啟 OSD 選單時按壓方向鍵則是快速功能,這部分可以自定義。設定選項裡面也可以選擇輸入埠、OSD 透明度、OSD 顯示時間、解析度、更新率。
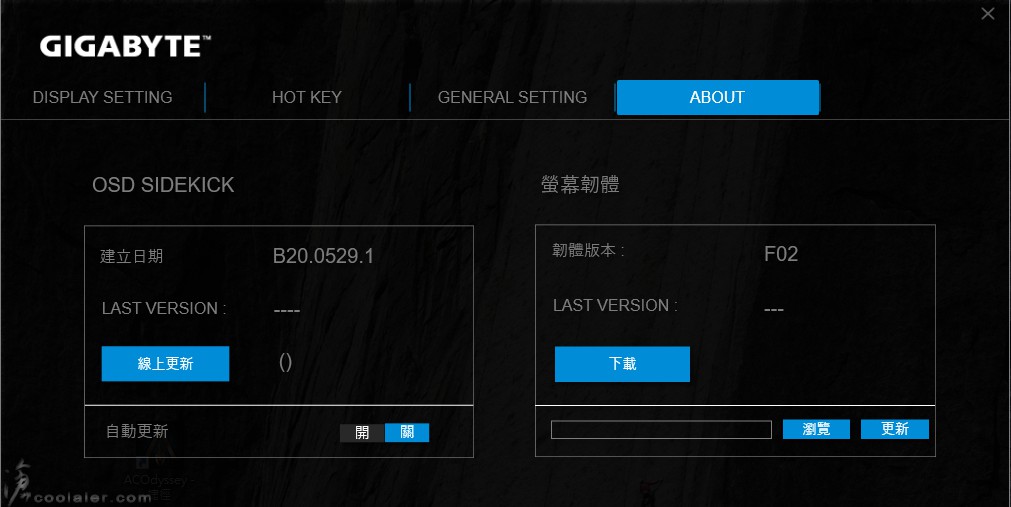
About 選單裡面可以更新 OSD Sidekick 軟體以及螢幕韌體,相當方便。
G27F 有 144Hz 的更新率,也就是你顯卡跑遊戲到144張才會是流暢效果的最大化,所以實測一下 9900K 加上 RTX 2080 Super 能否在一些遊戲大作上跑到144張。
遊戲解析度為1920×1080,畫面設定皆套用最高。
《極地戰嚎5》:152

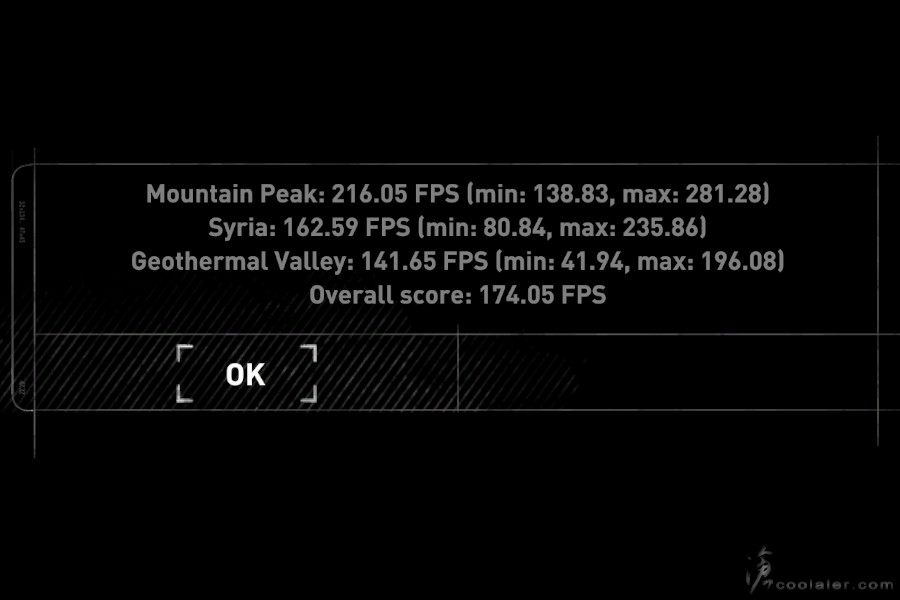
《古墓奇兵:崛起》:174.05
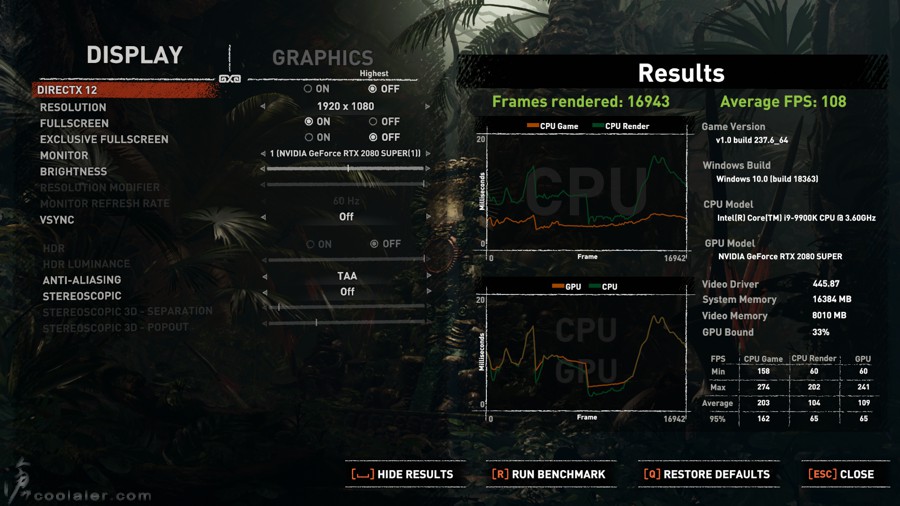
《古墓奇兵:暗影》:108
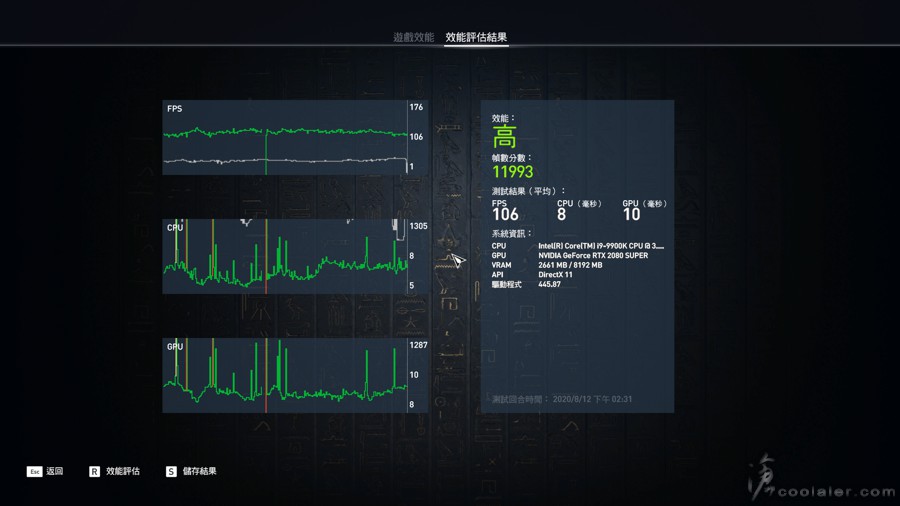
《刺客教條:起源》:106
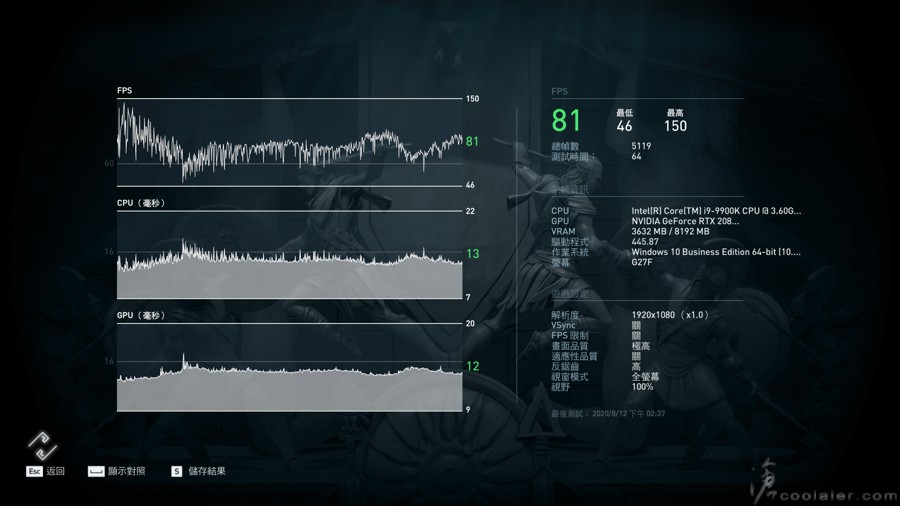
《刺客教條:奧德賽》:81
小結
GIGABYTE 的 G27F 解析度雖然是 FHD 1920×1080,但相對跑高張數顯卡比較沒有壓力,以上可以看到 RTX 2080 Super 在《極地戰嚎5》、《古墓奇兵:崛起》都有144張以上,而《刺客教條:奧德賽》有81張,個人是覺得有80張以上對於流暢就相當有感,當然能跑到144Hz是最完美,某些遊戲可能就得犧牲一下畫質來提高張數,相對的2K、4K解析度固然好,但如果要跑到80張以上部分遊戲可能就只能跑中低畫質。
不得不說一下技嘉在螢幕上做得還不錯,OSD sidekick 功能很棒,用滑鼠點就好,不用按鈕在那邊按半天,而且還支援熱鍵來開關功能,系統監控視窗對於跑測試或要抓問題的玩家來說也相當方便,試玩了幾天,144Hz沒有撕裂的流暢感就只有爽字能形容。雖然沒有 HDR,但黑平衡的功能是可以彌補一下缺憾。
這五款螢幕中,C 後綴字樣的是 1500R 曲面,F 是1920×1080解析度,Q 是2560×1440,入手的這款是 G27F,也就是五款之中最為入門的,不過既然是電競為訴求,規格自然不會太差,採用27吋 IPS 面板,解析度 1920×1080,反應時間 1ms(MPRT),更新率 144Hz,亮度 300cd/m2,顏色飽和度 95% DCI-P3 / 125% sRGB,支援 G-Sync Compatible Ready 以及 AMD Free Sync,另外也有防閃頻、內建喇叭以及低藍光護眼等功能。
電競應用的部分 G27F 仍保有 GIGABYTE Function,針對於遊戲的一些特調以及額外功能支援,如下。
Black Equalizer 黑平衡:呈現最佳的視覺效果
Aim Stabilizer 瞄準穩定器:降低畫面模糊感提供穩定畫質
GameAssist 遊戲助手:提供遊戲計數、計時功能
GIGABYTE Dashboard:透過 OSD 顯示滑鼠 DPI、CPU / GPU 等相關數值
OSD Sidekick:透過鍵盤滑鼠快速調整螢幕各式選單
GIGABYTE G27F
打開之後外箱上蓋左邊有一些安裝步驟可以看一下,雖然說取出螢幕安裝腳架並不難,按照步驟可以避免一些因為假會而造成的悲劇,比如刮到面板滑落之類。
先在一個平坦的桌面拖出內容物。如果你正確朝上的拖出,配件會在上面,這時候就可以取出這些東西。
配件有保固卡、使用手冊、腳架、電源供應器、USB 連接線(Hub 以及 OSD Sidekick 軟體用)、HDMI 線、DP 線、電源線。
腳墊是呈現一個迴旋鏢狀,中間有 Gaming Series 字樣。
背面四周有止滑墊。
APD 的電源供應器,19V 3.42A 65W。
接著把上面的保麗龍移除,可以看到面板是朝下,螢幕先不用急著拿起來,先來安裝底座支架,螢幕躺在保麗龍內也可以避免刮傷。
底座對應安裝孔,注意四邊有掛勾卡入,螺絲轉緊即可。
站穩之後就可以拆掉保護袋。
後面貼有一張注意的標籤,在支架上有一些保護措施要移除才能調整螢幕高低及角度。有一個保麗龍墊以及塑膠架,主要應該是為了運送時的保護支撐。
支架頂部有 GIGABYTE 字樣,內側滑軌可以看到有一個塑膠架。
取下之後才能調整螢幕高低。
G27F 外觀看起來簡潔,細邊框設計,邊框下方有 GIGABYTE 字樣。
從側邊看是很薄。
後面採圓弧設計,還是有點厚度,畢竟除了面板還是有機板甚麼的要塞。
上面這一截採用鏡面處理,左側有 GIGABYTE 字樣,看起來質感還不錯。
上方則是有一些散熱孔。
螢幕右下後方有一個按鈕,五向設計(包括下壓),所以單一個按鍵就可以搞定螢幕設定。
支架下方有走線開孔。
螢幕左下後方有 G27F 字樣。
螢幕可以調整傾斜角度,-5~20度。
高度可調,13公分。
IO 埠有 USB Hub,一上二下,如果有要使用 OSD Sidekick 或 Dashboard 等軟體功能也要連接 USB。
DC in、2個 HDMI、1個 DP、耳機孔。
雖然是窄邊框,但螢幕沒有到滿板。
OSD 選單,下壓可以叫出選單,因為是五方向撥桿所以選單設計也很直覺,往上是設定,左邊是系統資訊視窗,右邊是遊戲設定。在未呼叫選單時按壓方向鍵則是快速功能,預設往左是音量,右是輸入埠切換,上是黑平衡,下是影像模式,這部分可透過 OSD Sidekick 更改為自己喜好。
G27F 支援 OSD Sidekick ,也就是 OSD 支援滑鼠點選,個人是覺得比用撥桿方便許多,當然這部分是要安裝軟體才行。下面就是 OSD Sidekick 介面的截圖,左邊可以快速調整使用模式,包含預設、FPS、RTS/RPG、電影、閱讀、sRGB、E-sports 自訂,中間則是可以調整亮度、對比、銳利度、黑平衡、色彩飽和度、低藍光、超級解析度、GAMMA、色溫、反應時間,遊戲支援的部分有穩定瞄準功能、FreeSync、準心。PIP/PBP 是子母畫面設定,如果有使用兩個裝置可以同時顯示。
超級解析度的差異以下是未開啟。
超級解析度有四級可以調整,下面是四級,可以比較上面的差異性,字體、畫面細節感覺要銳利許多,當然好不好就見仁見智,依個人喜好調整。
G27F 有 DASHBOARD 系統資訊視窗功能,開啟之後會於螢幕上顯示系統相關資訊,包括 CPU 以及 GPU 的頻率、溫度、風扇轉速、使用率、AORUS 滑鼠 DPI。
開啟的畫面如下。
另外也可以顯示計時器、計數器、更新頻率,也可調整顯示位置。
功能也支援熱鍵開啟或關閉。這個實在有貼心到,即使在遊戲裡面也不用跳出視窗來調用功能,直接用熱鍵。
上面所提到的未開啟 OSD 選單時按壓方向鍵則是快速功能,這部分可以自定義。設定選項裡面也可以選擇輸入埠、OSD 透明度、OSD 顯示時間、解析度、更新率。
About 選單裡面可以更新 OSD Sidekick 軟體以及螢幕韌體,相當方便。
G27F 有 144Hz 的更新率,也就是你顯卡跑遊戲到144張才會是流暢效果的最大化,所以實測一下 9900K 加上 RTX 2080 Super 能否在一些遊戲大作上跑到144張。
遊戲解析度為1920×1080,畫面設定皆套用最高。
《極地戰嚎5》:152
《古墓奇兵:崛起》:174.05
《古墓奇兵:暗影》:108
《刺客教條:起源》:106
《刺客教條:奧德賽》:81
小結
GIGABYTE 的 G27F 解析度雖然是 FHD 1920×1080,但相對跑高張數顯卡比較沒有壓力,以上可以看到 RTX 2080 Super 在《極地戰嚎5》、《古墓奇兵:崛起》都有144張以上,而《刺客教條:奧德賽》有81張,個人是覺得有80張以上對於流暢就相當有感,當然能跑到144Hz是最完美,某些遊戲可能就得犧牲一下畫質來提高張數,相對的2K、4K解析度固然好,但如果要跑到80張以上部分遊戲可能就只能跑中低畫質。
不得不說一下技嘉在螢幕上做得還不錯,OSD sidekick 功能很棒,用滑鼠點就好,不用按鈕在那邊按半天,而且還支援熱鍵來開關功能,系統監控視窗對於跑測試或要抓問題的玩家來說也相當方便,試玩了幾天,144Hz沒有撕裂的流暢感就只有爽字能形容。雖然沒有 HDR,但黑平衡的功能是可以彌補一下缺憾。