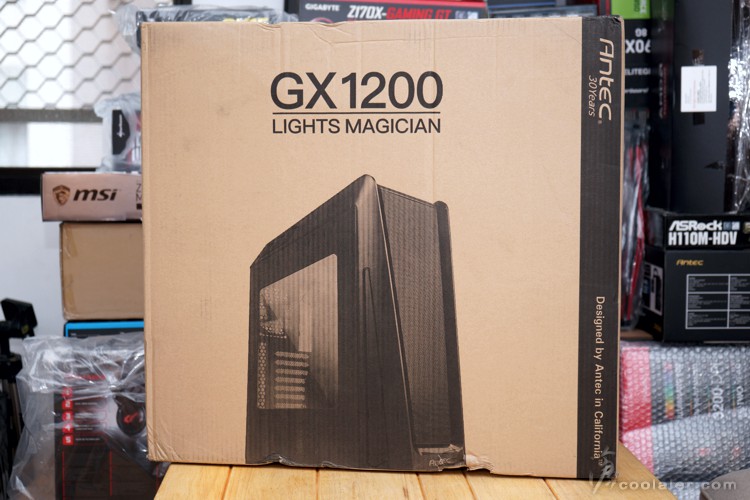
5月的時候有開箱過 Antec GX1200,不過那個版本並不是台灣目前販售的版本,
而是最早期對岸販售的,改版的不同最主要是在於燈效控制的部分,
內建燈光控制盒是 GX 1200 魅影最主要的特點之一,但先前的版本並不是那麼方便控制,
顏色切換得從裡面按壓,而且照地燈是分開而不是連動,並不是太親民的設計便利,
而目前市售版本則是已經整合到機殼外的開關上,直接從外面按壓控制,感覺是方便許多。
最近也拿到了 GX1200 市售版本,來看看有沒有甚麼不一樣。
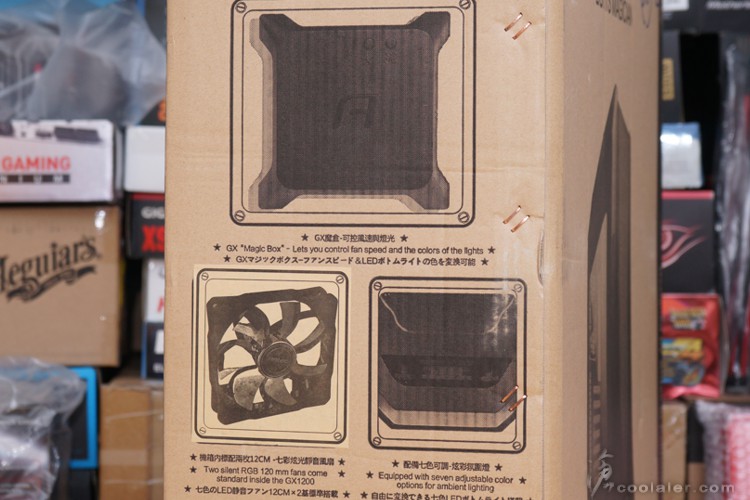
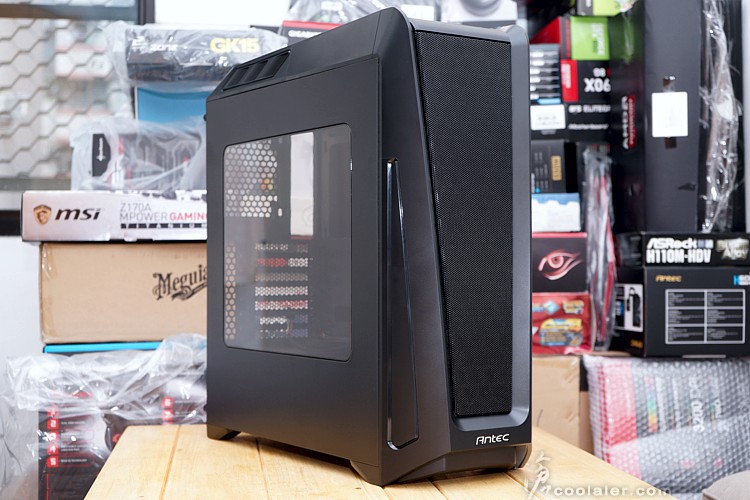
GX1200 內建GX魔盒,也就是燈光控制盒,除了控制燈效之外也可以用來控制風扇轉速。
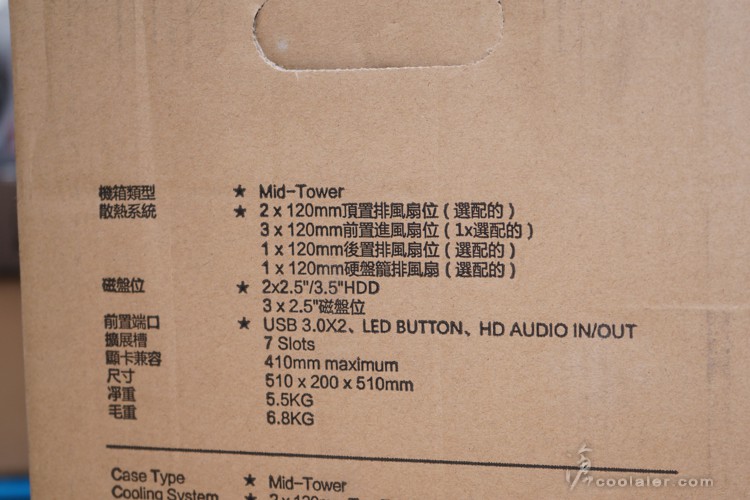
Antec GX1200 採用Mid-Tower尺寸設計,最多可支援7顆12公分風扇,出廠預裝前面2顆12公分,
支援2個3.5/2.5吋、3個2.5吋、7個PCI插槽、可安裝41公分長顯卡。
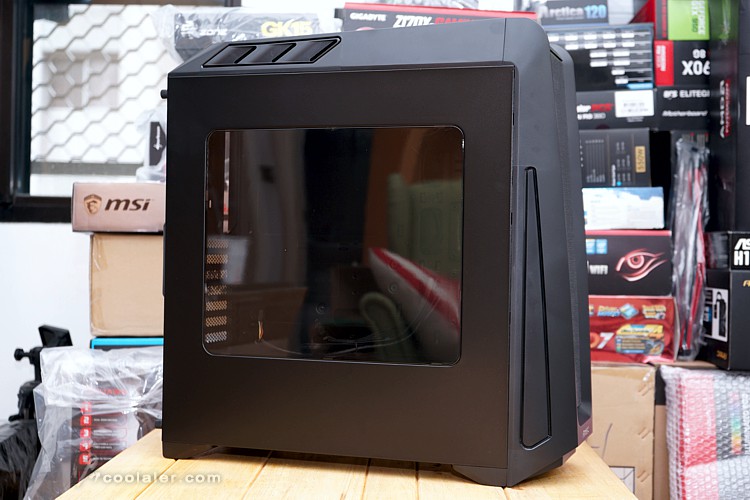
外觀整體為黑色,側邊為大面積透測。
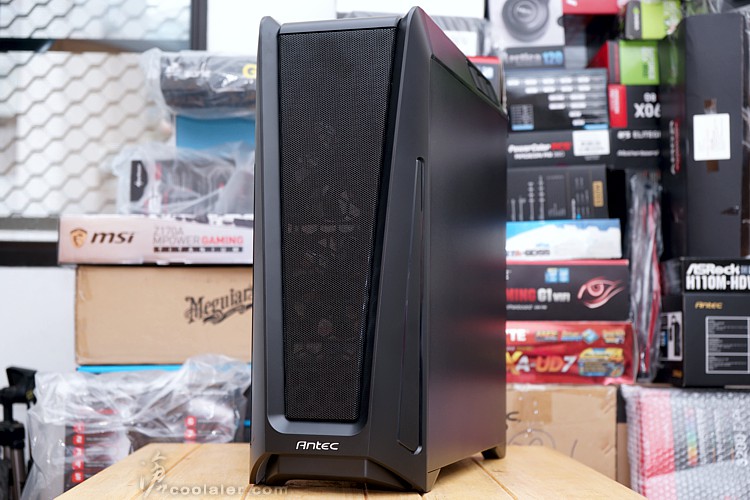
面板並沒有任何擴充槽,採大面積網孔設計。
造型還不錯,這網孔應該很通風。
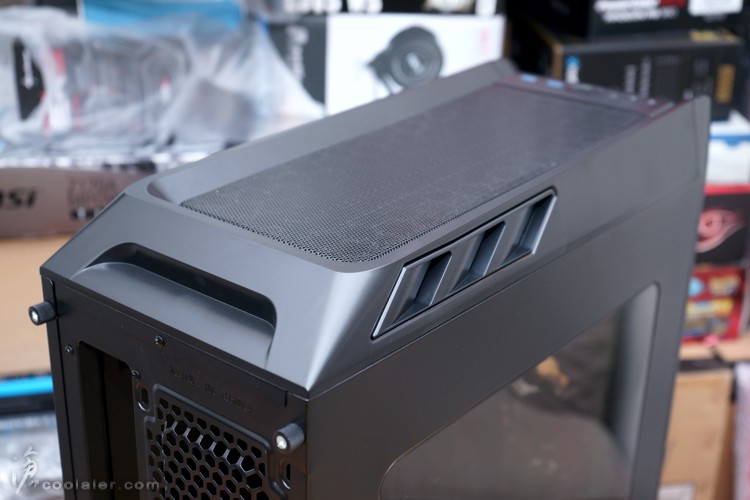
頂部也是大面積網孔,IO埠有耳麥孔、燈效控制鍵、電源、2個USB3.0。
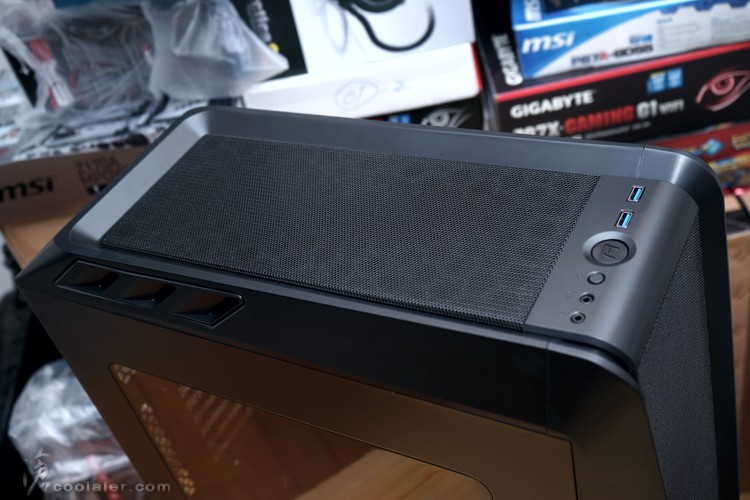
頂部的兩側邊有造型通風孔。
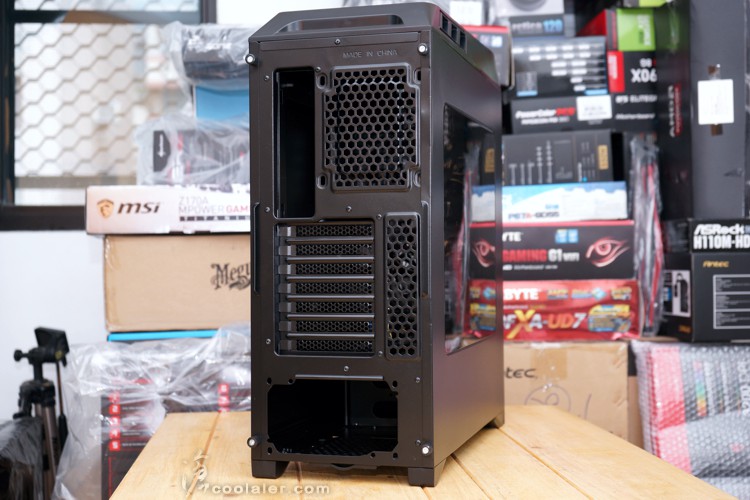
後側。
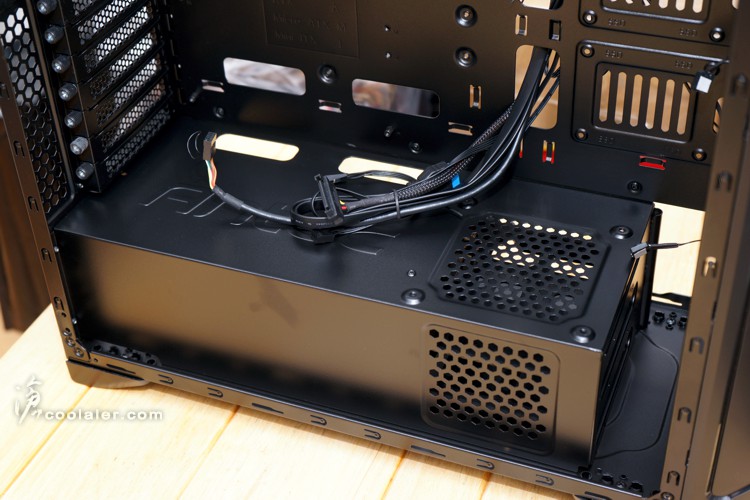
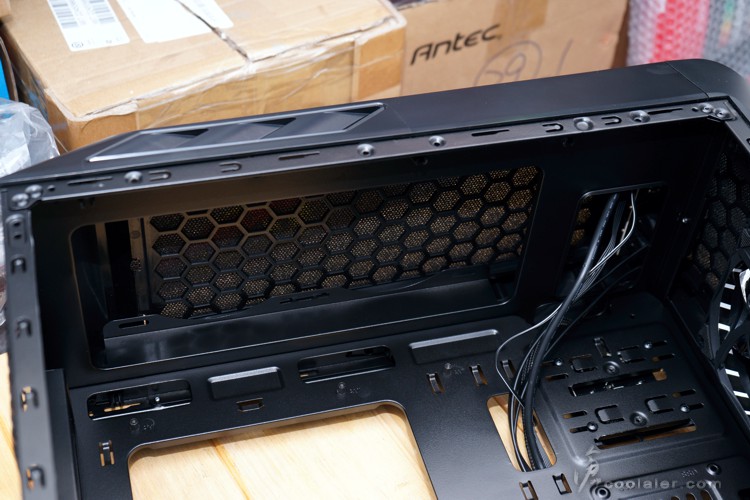
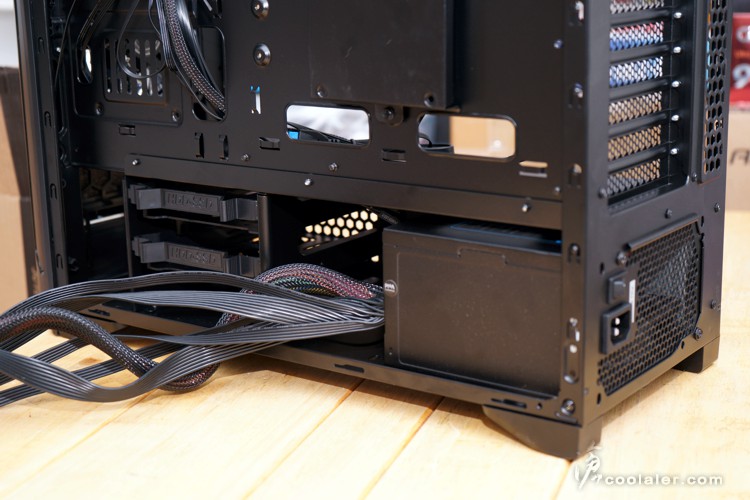
內部整體黑化,下方電源的部分有遮罩設計,
右側邊無任何擴充架,可安裝水冷排,空曠的空間設計也利於散熱。

電源遮罩上方有兩個走線開孔。
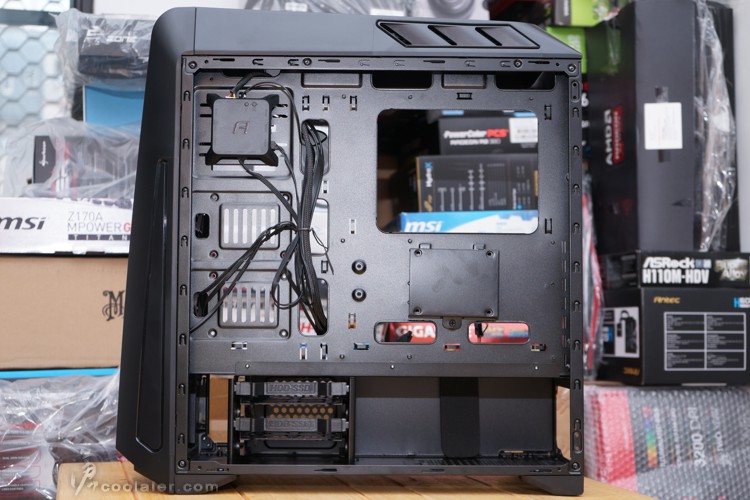
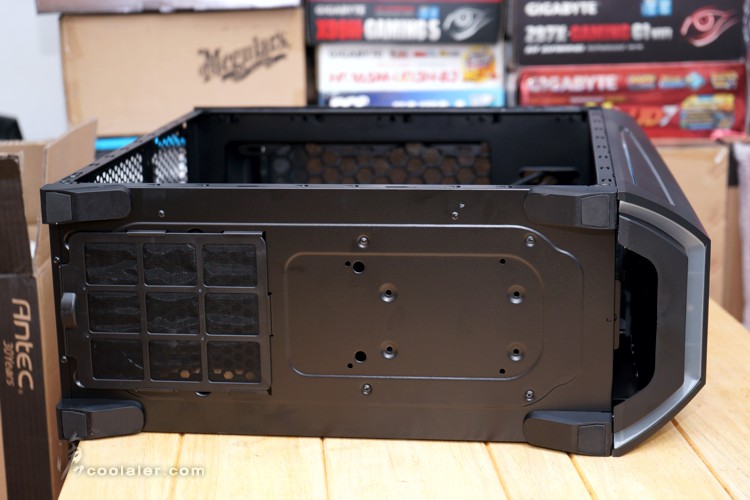
右側網孔設計主要是利於內部硬碟通風散熱,另外在上方位置是可以安裝一顆12公分風扇的。
安裝底板側邊有預留不少走線孔。
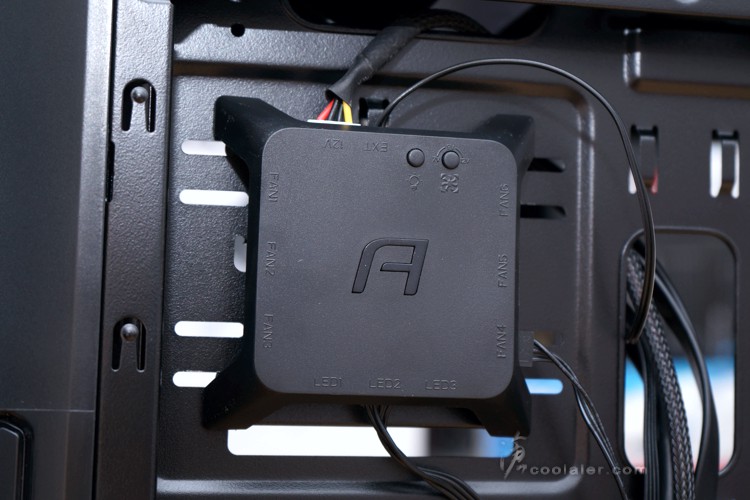
GX魔盒,可以安裝6顆風扇3個LED,在盒子右上角有兩顆小按鍵,
左邊是燈光控制,右邊是風扇轉速控制,單鍵循環切換。
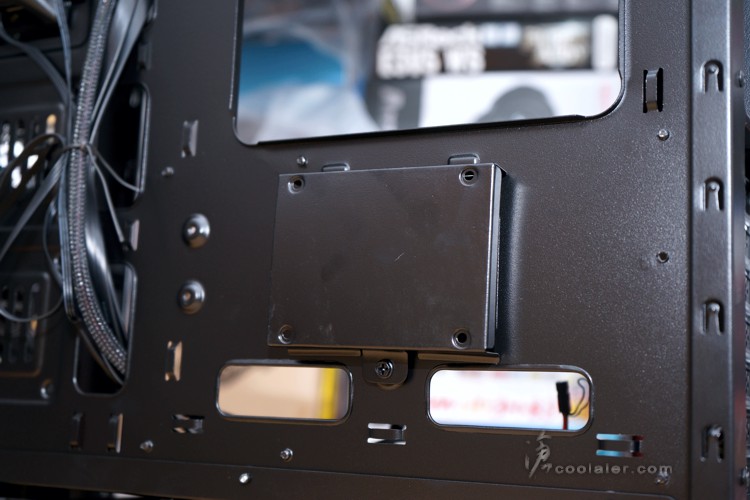
後側可以安裝一顆2.5吋硬碟。
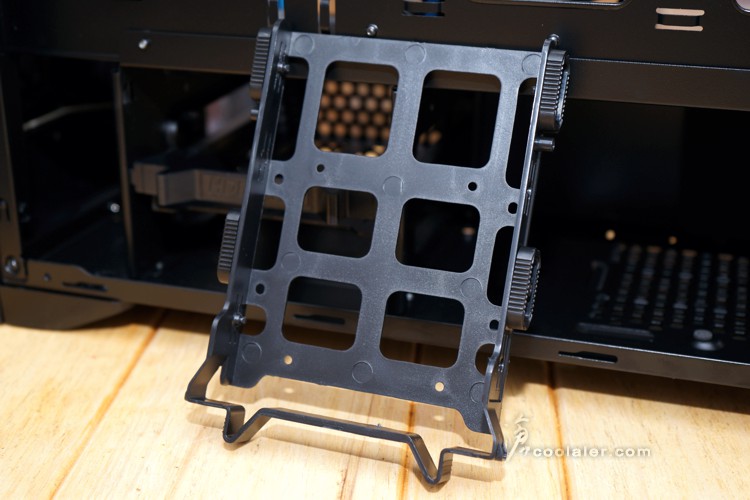
3.5吋有2個,採免螺絲托盤安裝。

可以向下相容2.5吋。
頂部沒有預裝風扇,這部分可以支援2顆12公分或24公分水冷排。
另外可以看到上蓋有鋪上隔塵棉。
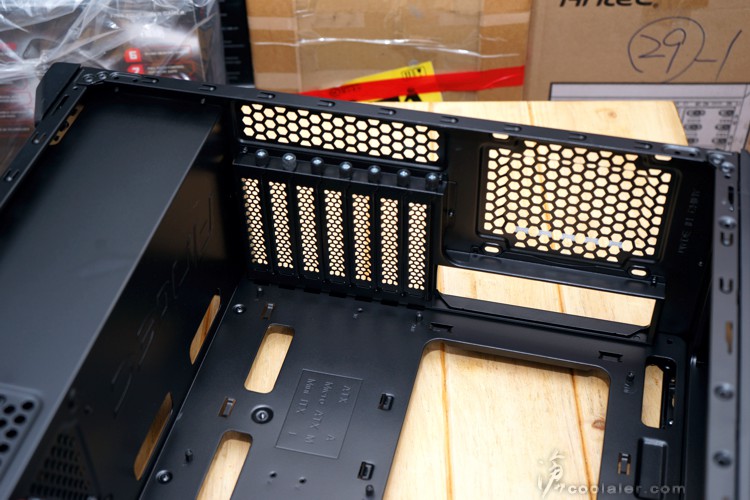
擴充卡槽有7個,檔板可以重複使用,採手轉螺絲固定。
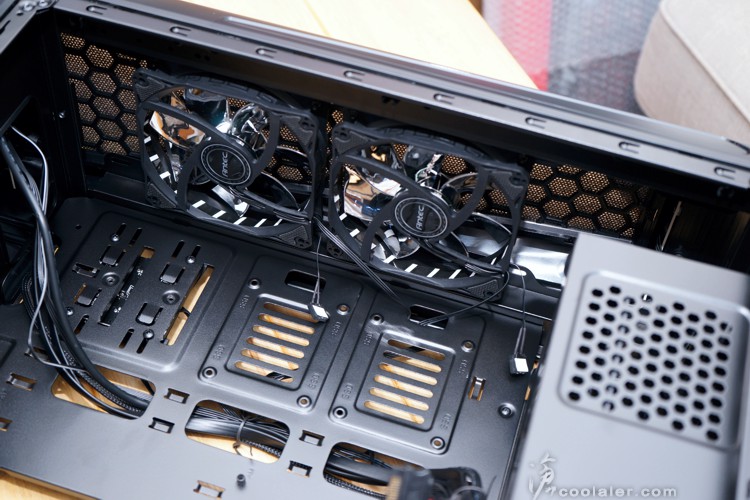
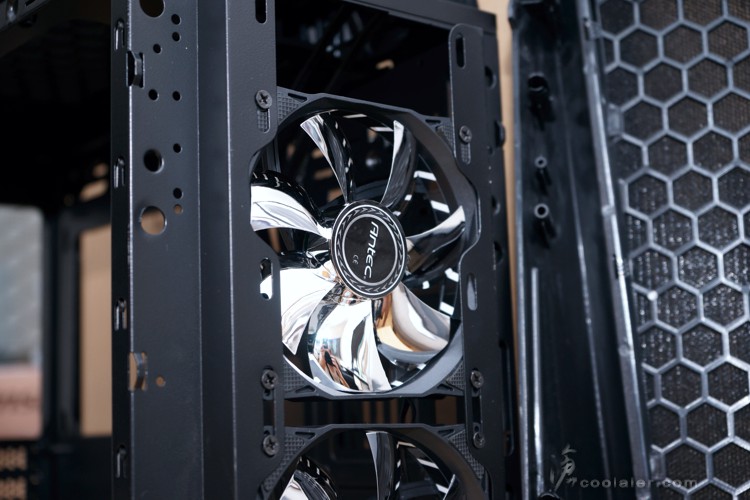
前面板內側有預裝2顆12公分LED風扇。
最多可以擴充到3顆,也可以支援36公分水冷系統。
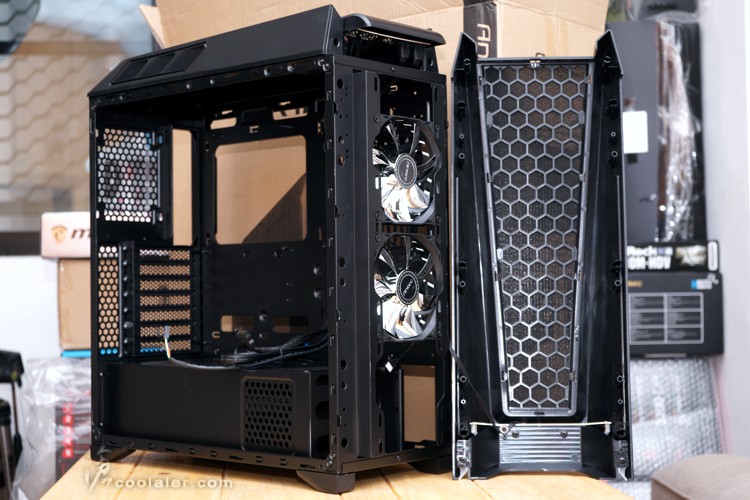
面板可以拆卸,方式與一般機殼相同,從底部往外拉出。
這個風扇與先前開箱的版本不同,先前是透明葉片,市售版則是銀色葉片。
底部,電源對應的位置有抽取式濾網隔塵。
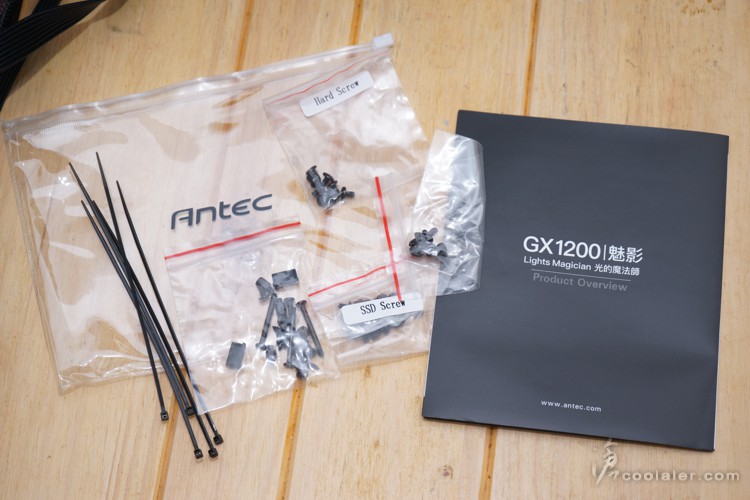
配件與先前版本一樣,有附上IO塞蓋防塵。
因為內部架構與先前版本相同,這邊就不再詳述安裝細節,
若有需要可以參考 http://www.coolaler.com/content.php/6465 這篇。
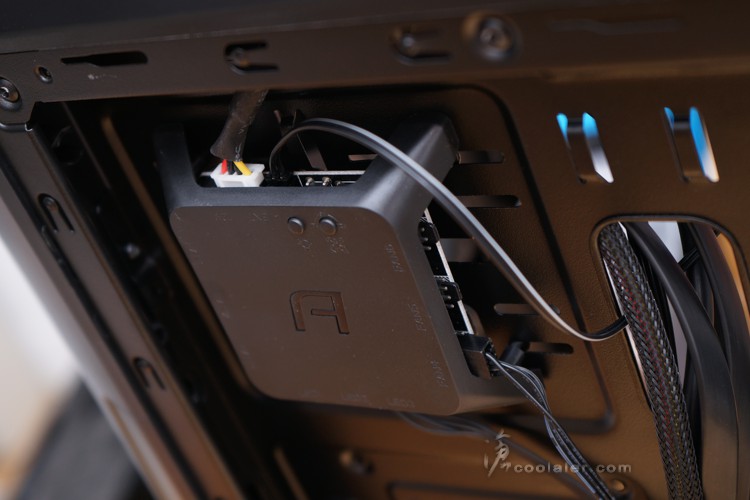
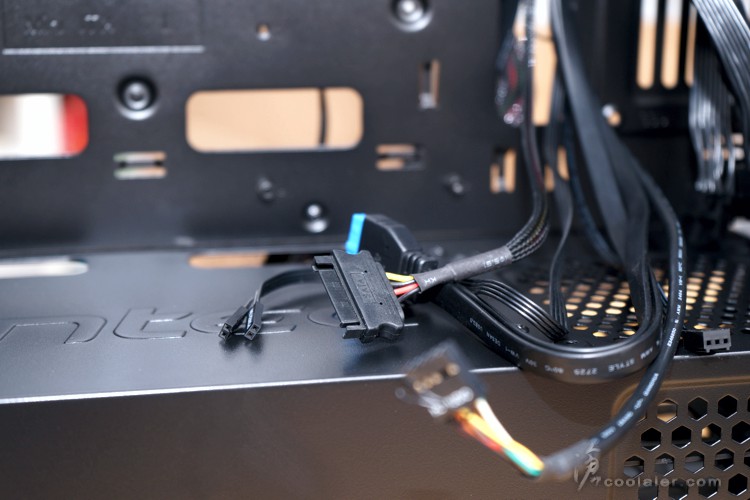
GX魔盒是需要外接SATA電源。
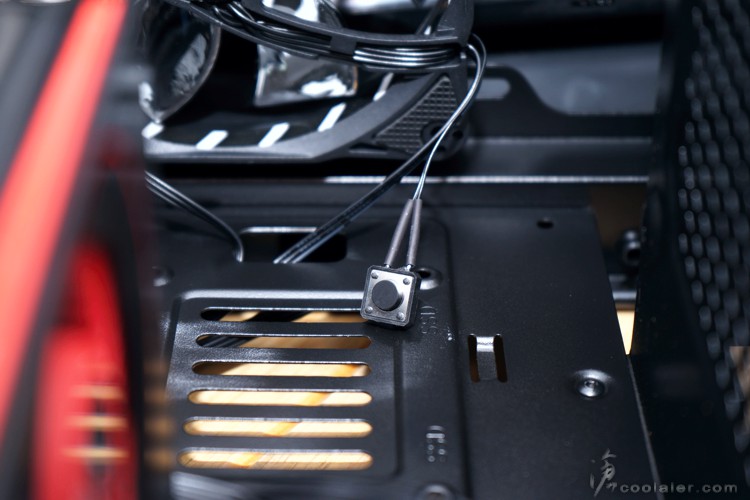
風扇上面有燈效控制按鍵,如果風扇顏色要個別切換,需要透過風扇上面的按鍵,
另外電源也得接在主機板上,而非控制盒上。
最後來幾張燈效的部分。
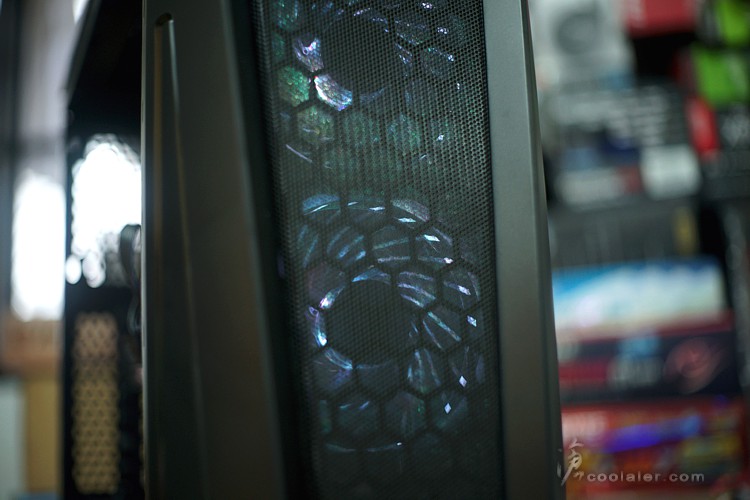
照地燈。
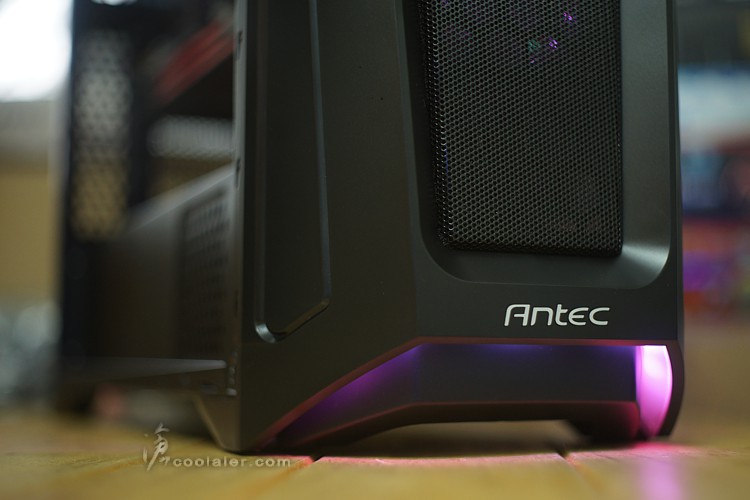
燈效的部分有七個單色可以切換,另外也有呼吸、漸變、閃爍模式。
切換的方式是透過機殼頂部的按鍵按壓循環。
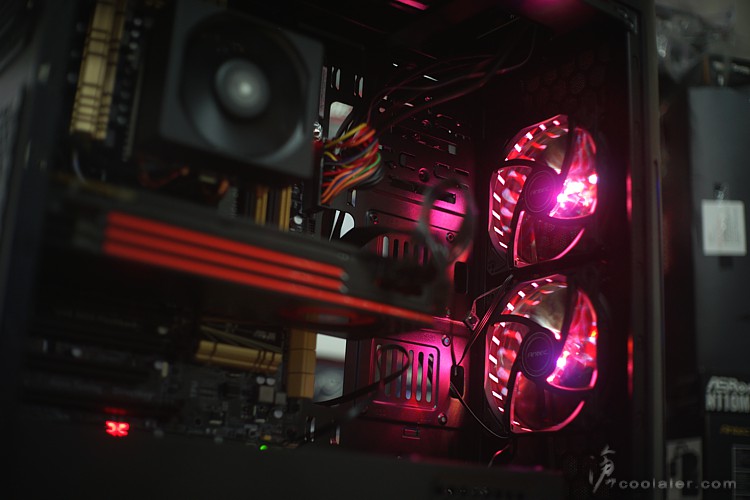
感覺市售版換這個風扇亮度有減低一些。不要太亮也好,如果機殼置於桌上或常看到會覺得太刺眼。

小結
Antec GX1200 魅影最主要是在燈效的部分,有七種顏色可切換、三種燈效模式,算是相當強大,
台灣販售的版本已經是單鍵控制比先前的對岸版要方便許多,不然要拆機殼才能調燈是有點麻煩,
至於擴充性除了硬碟2顆3.5吋是有點少了些之外,其餘整體看來是還不錯,
散熱有高度支援,前面可以支援36公分的水冷排,頂部也可以安裝一組24公分。
最後這咖 Antec GX1200 魅影就捐出來給各位抽獎!
一樣是底下回文即有資格抽獎,這裡要提醒一下各位,
很多人回文參加了抽獎之後就也沒登入看訊息,
抽中了獎可不是無限期可以領,一個禮拜逾期未回覆就視同放棄了。
有需要新機殼的玩家請於底下回文即有資格參加抽獎,名額僅有一位,
每位會員回覆不計次數最多僅有一次抽獎資格,請勿開分身,同IP抓到將取消資格。
活動到8月18日 22:00 止,並於隔日抽出得獎者。
【得獎公告】
恭喜 #68 的 lovehorn2002 抽中 Antec GX1200 魅影機殼
而是最早期對岸販售的,改版的不同最主要是在於燈效控制的部分,
內建燈光控制盒是 GX 1200 魅影最主要的特點之一,但先前的版本並不是那麼方便控制,
顏色切換得從裡面按壓,而且照地燈是分開而不是連動,並不是太親民的設計便利,
而目前市售版本則是已經整合到機殼外的開關上,直接從外面按壓控制,感覺是方便許多。
最近也拿到了 GX1200 市售版本,來看看有沒有甚麼不一樣。
GX1200 內建GX魔盒,也就是燈光控制盒,除了控制燈效之外也可以用來控制風扇轉速。
Antec GX1200 採用Mid-Tower尺寸設計,最多可支援7顆12公分風扇,出廠預裝前面2顆12公分,
支援2個3.5/2.5吋、3個2.5吋、7個PCI插槽、可安裝41公分長顯卡。
外觀整體為黑色,側邊為大面積透測。
面板並沒有任何擴充槽,採大面積網孔設計。
造型還不錯,這網孔應該很通風。
頂部也是大面積網孔,IO埠有耳麥孔、燈效控制鍵、電源、2個USB3.0。
頂部的兩側邊有造型通風孔。
後側。
內部整體黑化,下方電源的部分有遮罩設計,
右側邊無任何擴充架,可安裝水冷排,空曠的空間設計也利於散熱。
電源遮罩上方有兩個走線開孔。
右側網孔設計主要是利於內部硬碟通風散熱,另外在上方位置是可以安裝一顆12公分風扇的。
安裝底板側邊有預留不少走線孔。
GX魔盒,可以安裝6顆風扇3個LED,在盒子右上角有兩顆小按鍵,
左邊是燈光控制,右邊是風扇轉速控制,單鍵循環切換。
後側可以安裝一顆2.5吋硬碟。
3.5吋有2個,採免螺絲托盤安裝。
可以向下相容2.5吋。
頂部沒有預裝風扇,這部分可以支援2顆12公分或24公分水冷排。
另外可以看到上蓋有鋪上隔塵棉。
擴充卡槽有7個,檔板可以重複使用,採手轉螺絲固定。
前面板內側有預裝2顆12公分LED風扇。
最多可以擴充到3顆,也可以支援36公分水冷系統。
面板可以拆卸,方式與一般機殼相同,從底部往外拉出。
這個風扇與先前開箱的版本不同,先前是透明葉片,市售版則是銀色葉片。
底部,電源對應的位置有抽取式濾網隔塵。
配件與先前版本一樣,有附上IO塞蓋防塵。
因為內部架構與先前版本相同,這邊就不再詳述安裝細節,
若有需要可以參考 http://www.coolaler.com/content.php/6465 這篇。
GX魔盒是需要外接SATA電源。
風扇上面有燈效控制按鍵,如果風扇顏色要個別切換,需要透過風扇上面的按鍵,
另外電源也得接在主機板上,而非控制盒上。
最後來幾張燈效的部分。
照地燈。
燈效的部分有七個單色可以切換,另外也有呼吸、漸變、閃爍模式。
切換的方式是透過機殼頂部的按鍵按壓循環。
感覺市售版換這個風扇亮度有減低一些。不要太亮也好,如果機殼置於桌上或常看到會覺得太刺眼。
小結
Antec GX1200 魅影最主要是在燈效的部分,有七種顏色可切換、三種燈效模式,算是相當強大,
台灣販售的版本已經是單鍵控制比先前的對岸版要方便許多,不然要拆機殼才能調燈是有點麻煩,
至於擴充性除了硬碟2顆3.5吋是有點少了些之外,其餘整體看來是還不錯,
散熱有高度支援,前面可以支援36公分的水冷排,頂部也可以安裝一組24公分。
最後這咖 Antec GX1200 魅影就捐出來給各位抽獎!
一樣是底下回文即有資格抽獎,這裡要提醒一下各位,
很多人回文參加了抽獎之後就也沒登入看訊息,
抽中了獎可不是無限期可以領,一個禮拜逾期未回覆就視同放棄了。
有需要新機殼的玩家請於底下回文即有資格參加抽獎,名額僅有一位,
每位會員回覆不計次數最多僅有一次抽獎資格,請勿開分身,同IP抓到將取消資格。
活動到8月18日 22:00 止,並於隔日抽出得獎者。
【得獎公告】
恭喜 #68 的 lovehorn2002 抽中 Antec GX1200 魅影機殼