雖然說《暗黑破壞神IV》並不在 Steam 平台上販售,不過仍可以透過一些方式在 Steam Deck 掌機上面遊玩刷寶,如果有裝 Windows 那就很簡單,直接下載安裝就可以,能在 SteamOS 上面玩是比較方便,而且 Windows 可能會比較耗資源,續航力也就會減少。
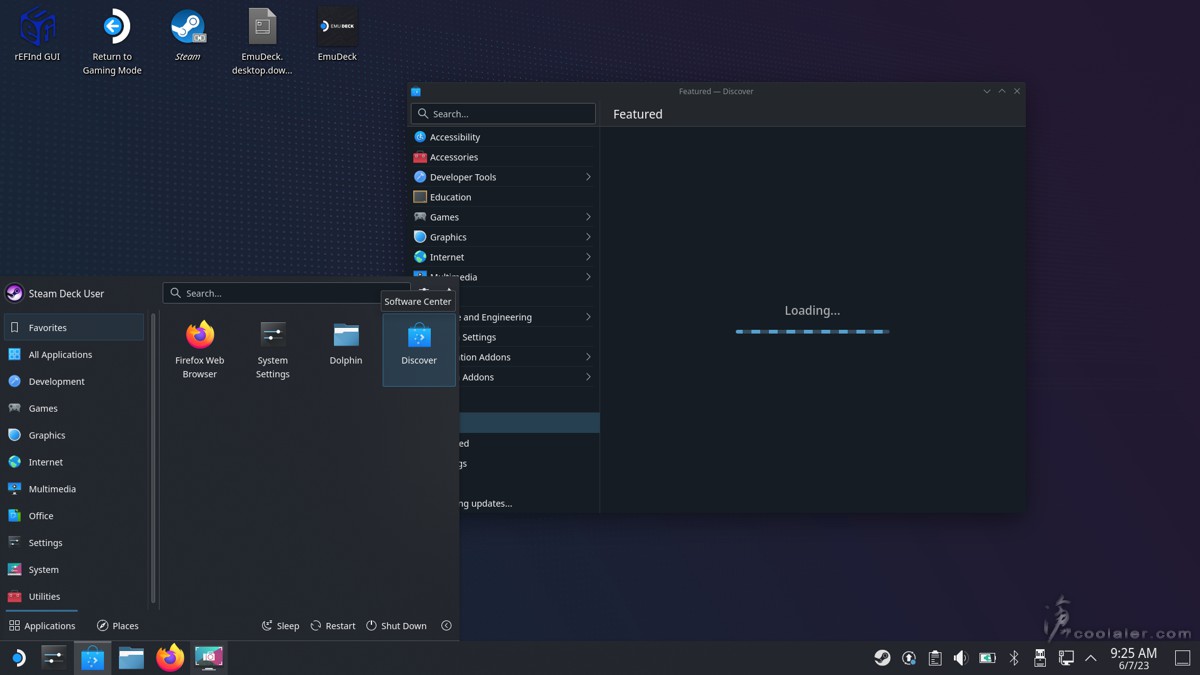
首先進到桌面模式,在 Steam Deck 上面的電源選項選擇切換至桌面。進入桌面之後選擇在類似開始的選單上找到 Discover。
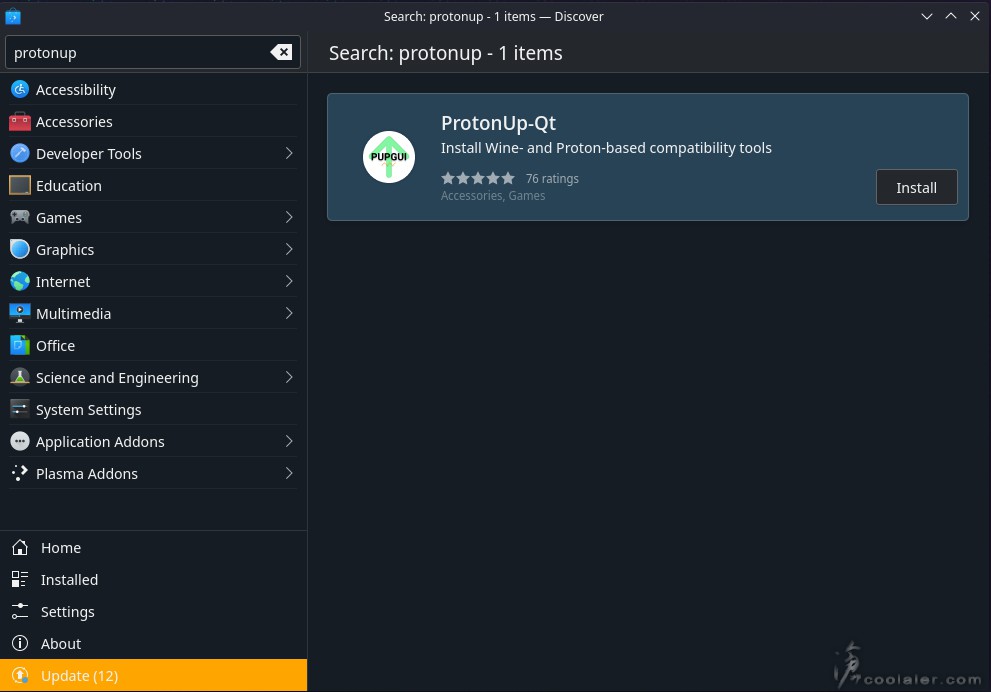
進入之後在左上角搜尋 ProtonUp-Qt,並進行安裝。
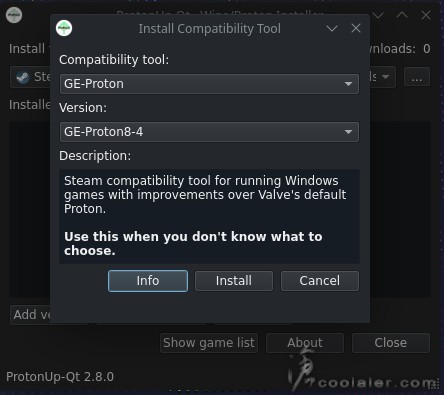
安裝的時候版本需要選擇 GE-Proton 7.51-diablo4_Beta 。
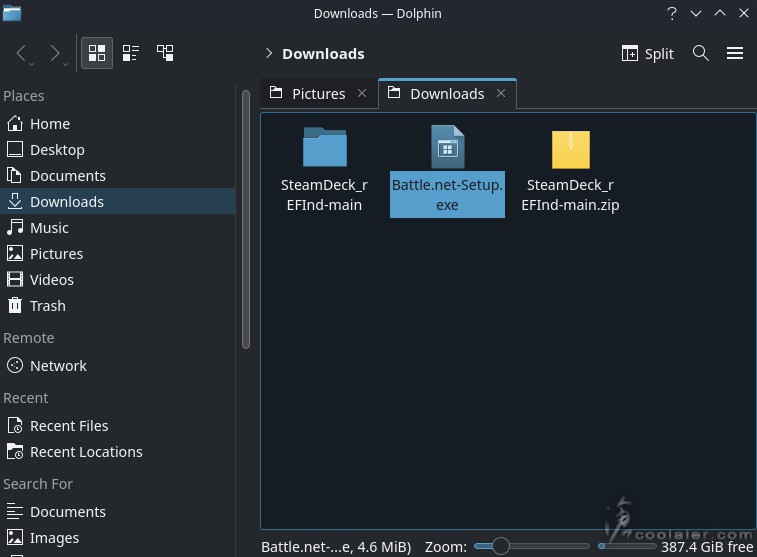
安裝完後,開啟瀏覽器進到暴雪的官網下載 Battle.net 的啟動程式 Windows 版本 。
然後先不要按安裝,這是沒用的。點選桌面版上的 Steam 應用程式,並在收藏庫中心新增非 Stem 遊戲。
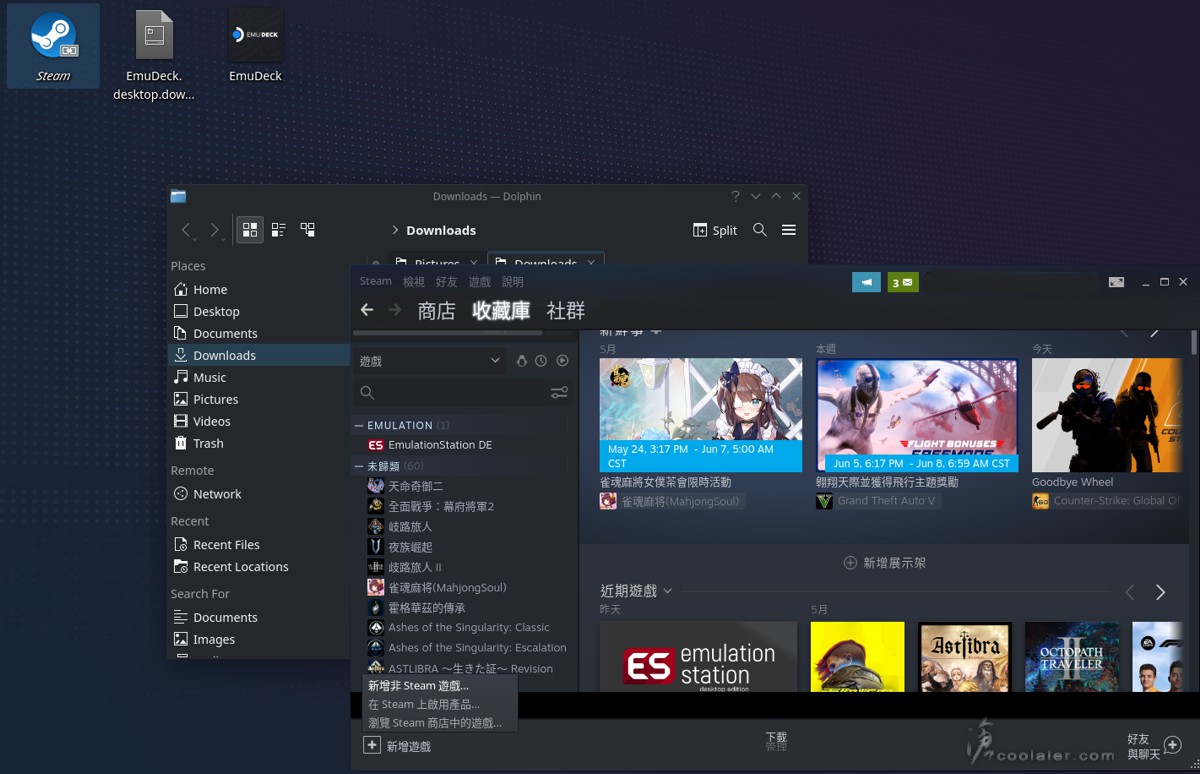
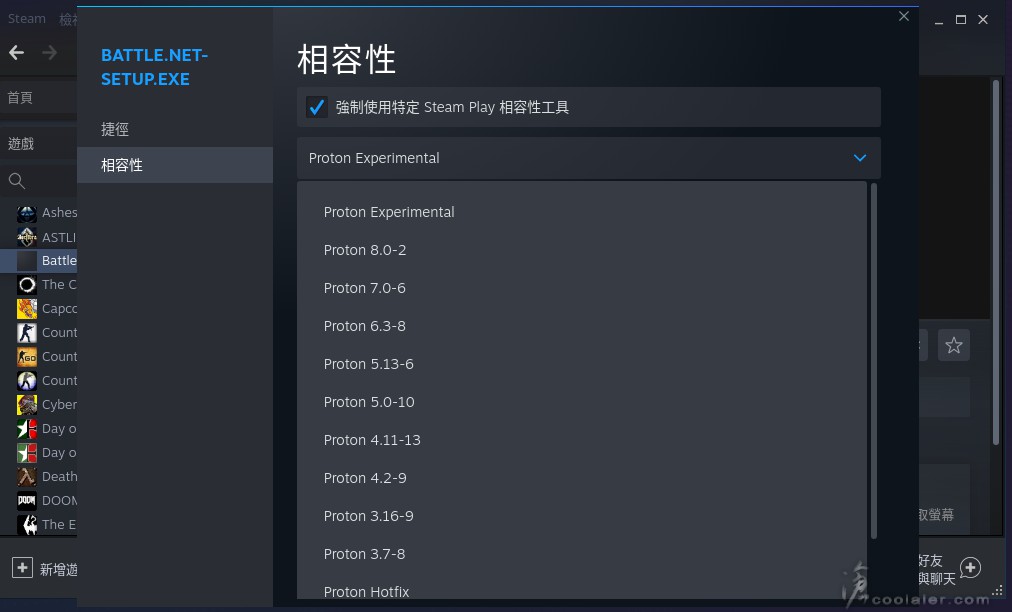
選擇剛剛下載的 Battle.net 啟動程式,檔案類型需選擇 All Files 才會看得到。新增完後點選右鍵,選擇相容性,勾選強制使用特定 Steam Play 相容性工具,並選擇 Proton Experimental。
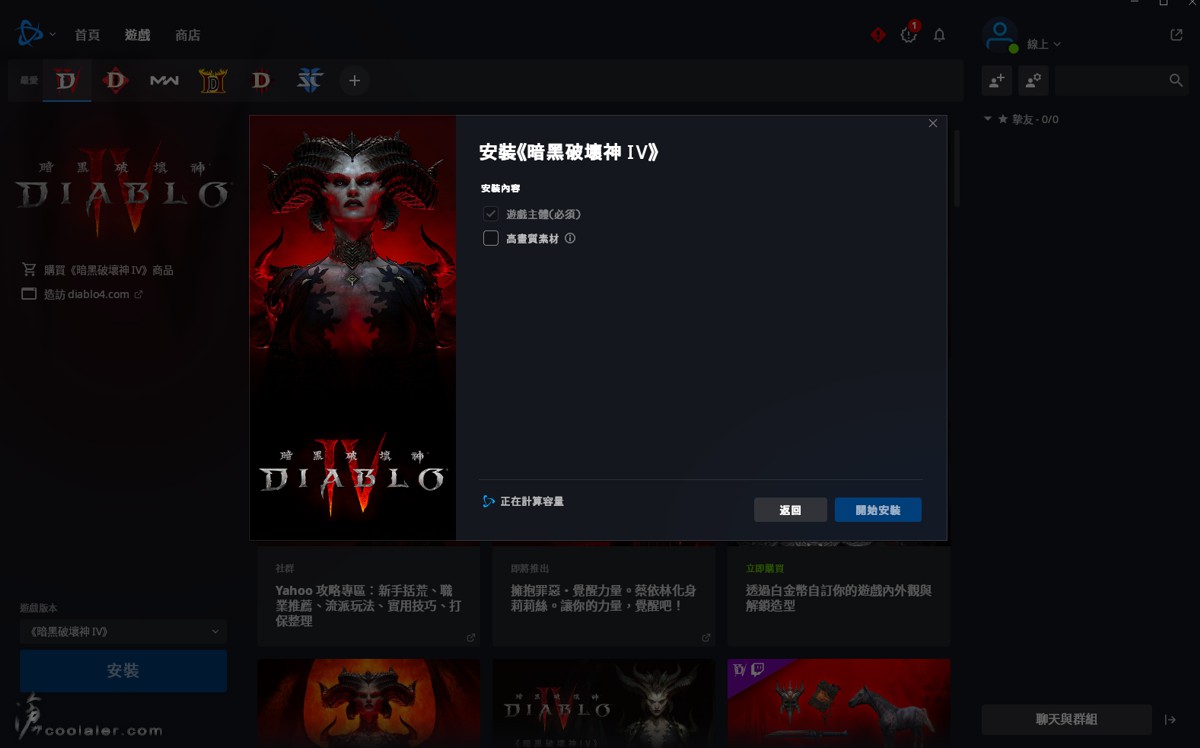
執行遊戲就會出現 Battle.net 啟動程式安裝選單,如有亂碼也沒關係。
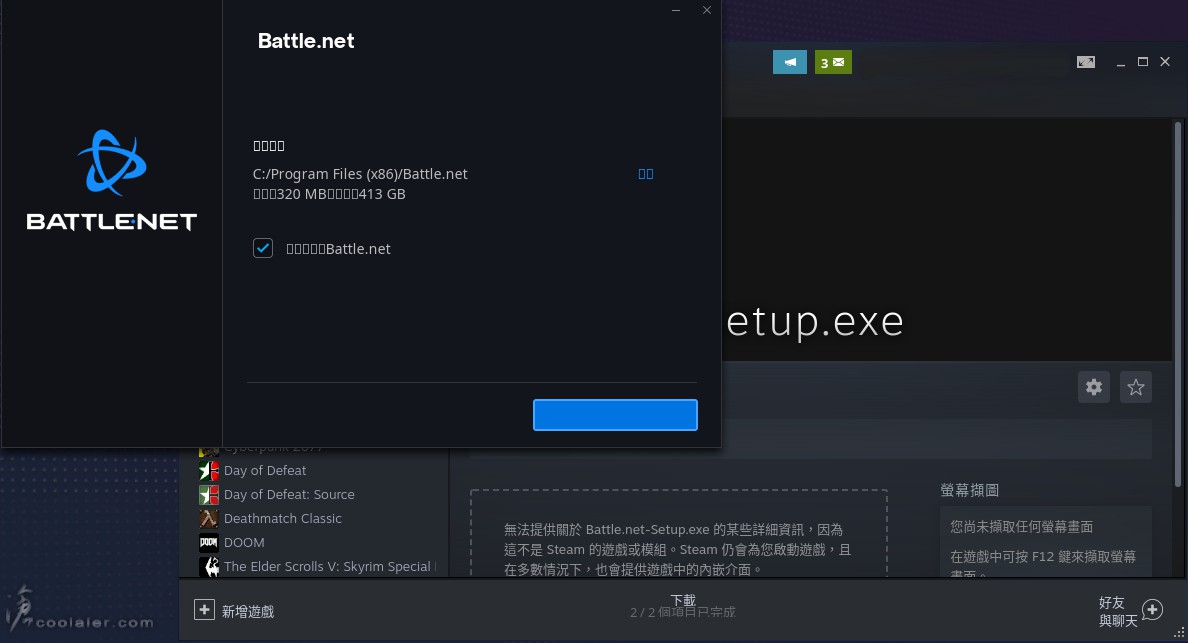
接著就是選擇安裝《暗黑破壞神IV》。如果你已經有下載在 PC 上面,建議是可以直接把資料夾複製到 Steam Deck 上會快許多。另外看到有人表示沒有選擇高畫質素材可能會有不穩定的情形。個人是使用高畫質素材。
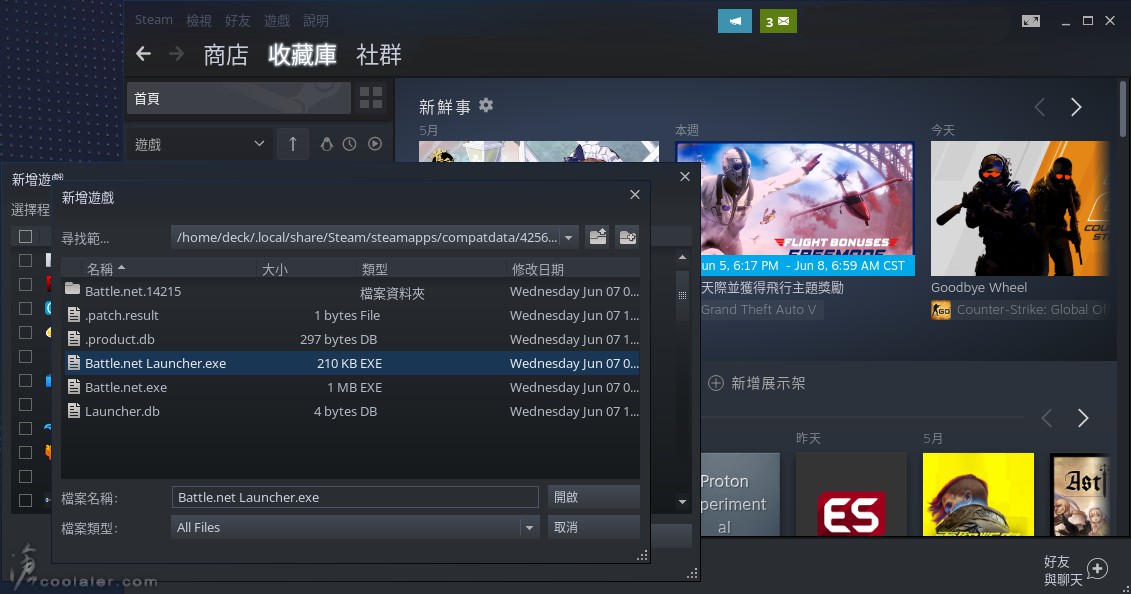
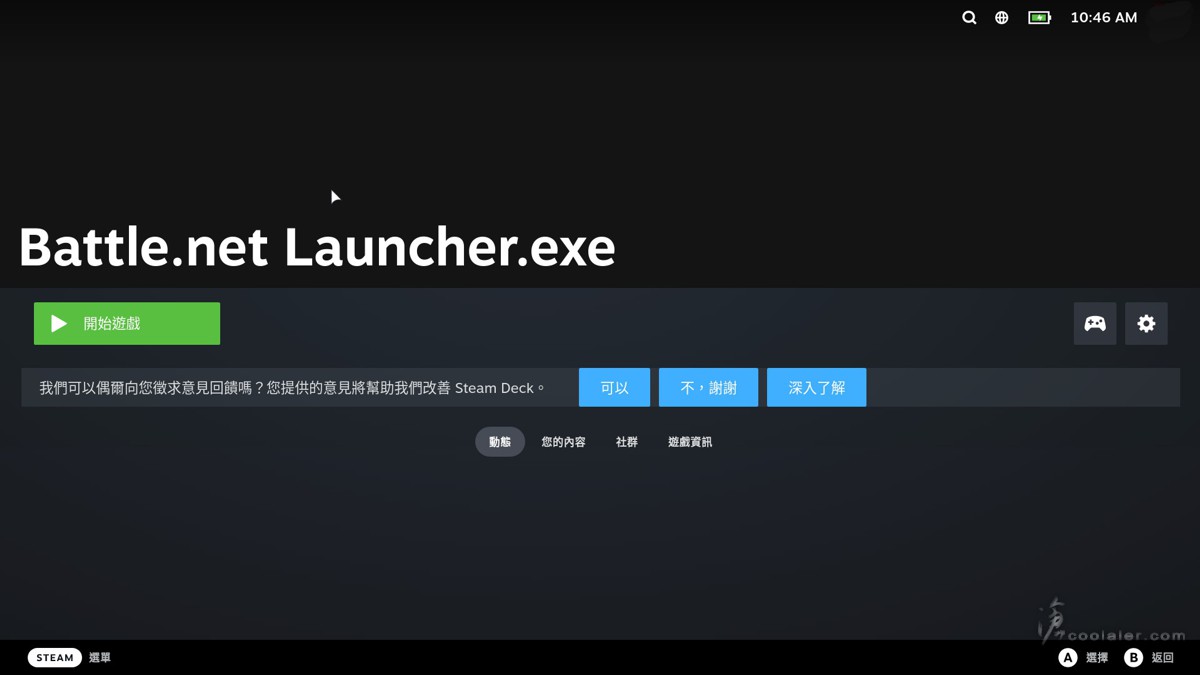
安裝完之後,還要再新增一次非 Steam 遊戲,這次選擇的是已經安裝好的 Battle.net Launcher.exe。其資料夾位置是在 home/deck/.local/share/Steam/steamapps/compatdata/ 裡面,找到最近的日期資料夾,會是一串數字,裡面的 pfx/drive_c/Program Files (x86)/Battle.net,檔案類型選擇 All Files 才會看得到。新增之後一樣要右鍵設定相容性,勾選強制使用特定 Steam Play 相容性工具,並選擇 Proton Experimental。
之後就可以點選開始遊戲。
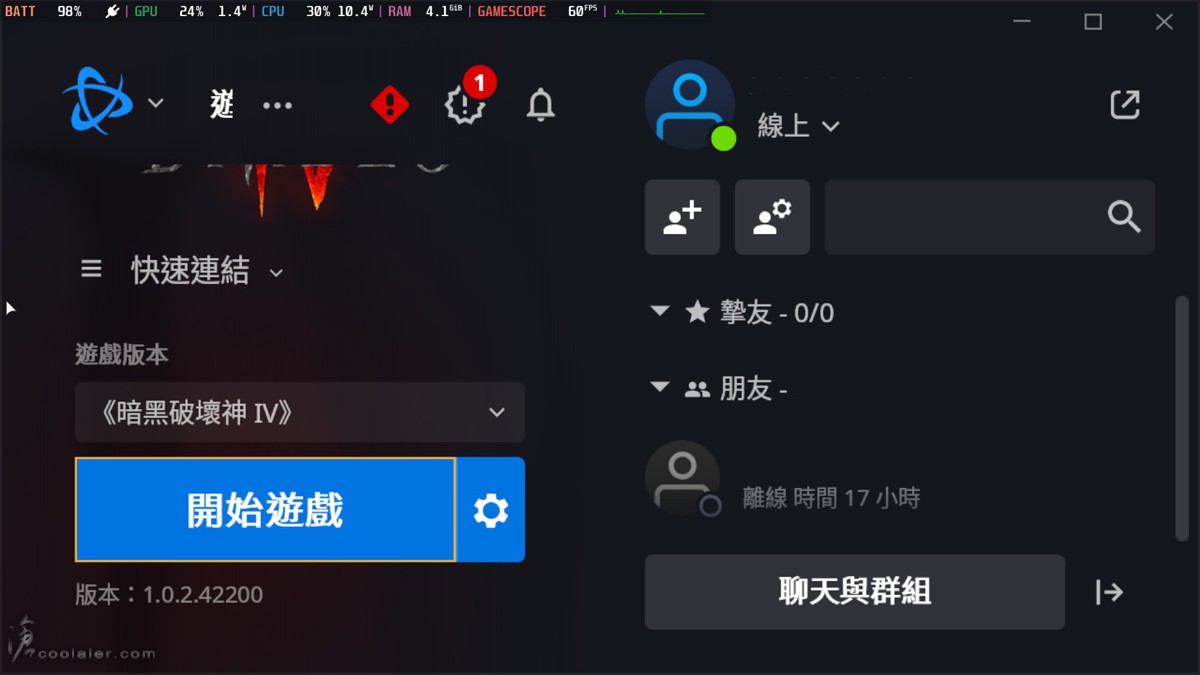
打開遊戲之後就會是 Battle.net 的啟動介面。如果像下圖這樣沒有開始遊戲的選單。
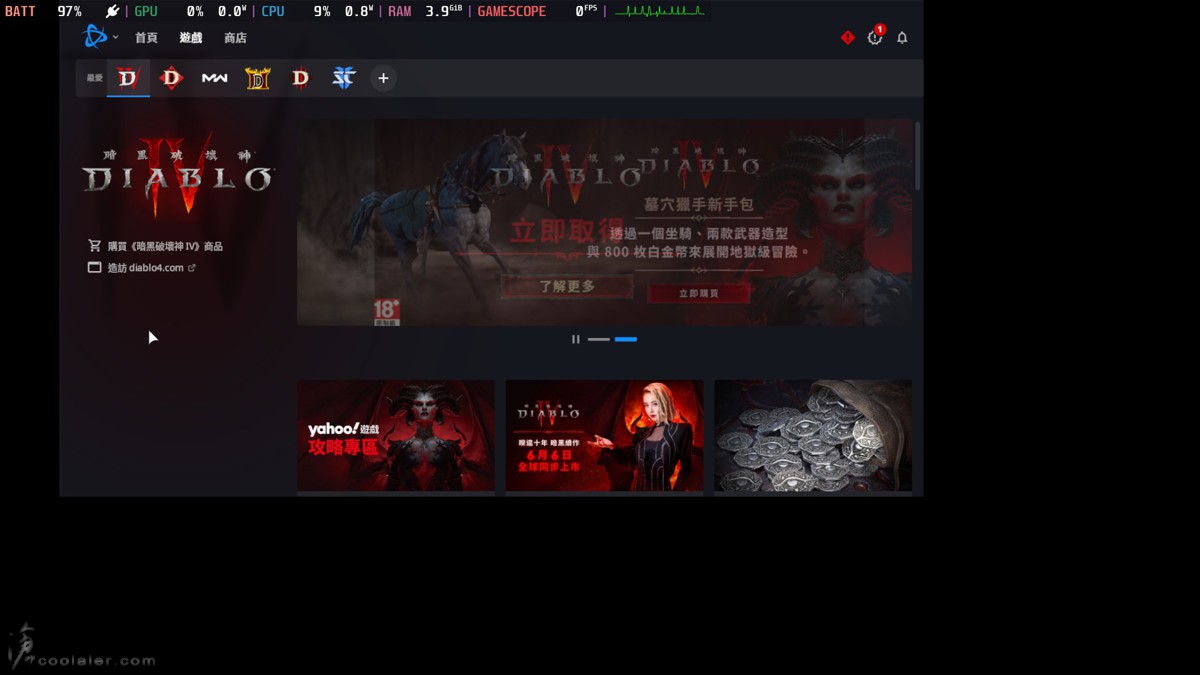
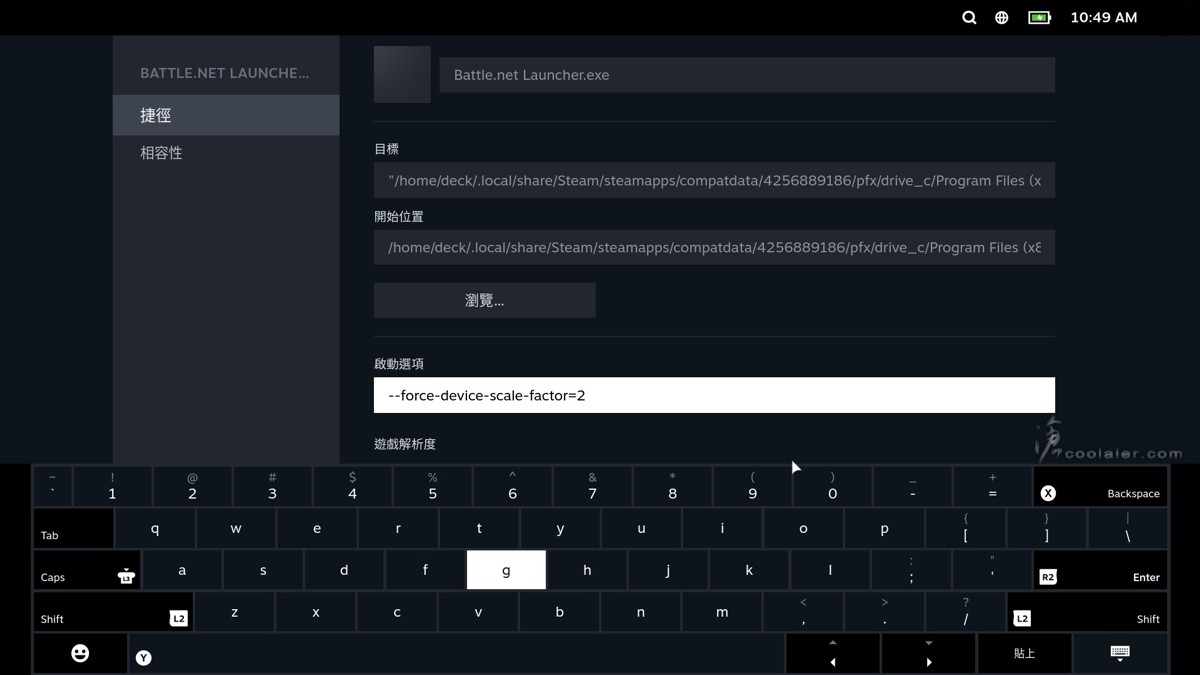
可以在捷徑裡面設定啟動選項 –force-device-scale-factor=2 。這是設定 UI 介面的尺寸。
這樣就會出現開始遊戲的選單。
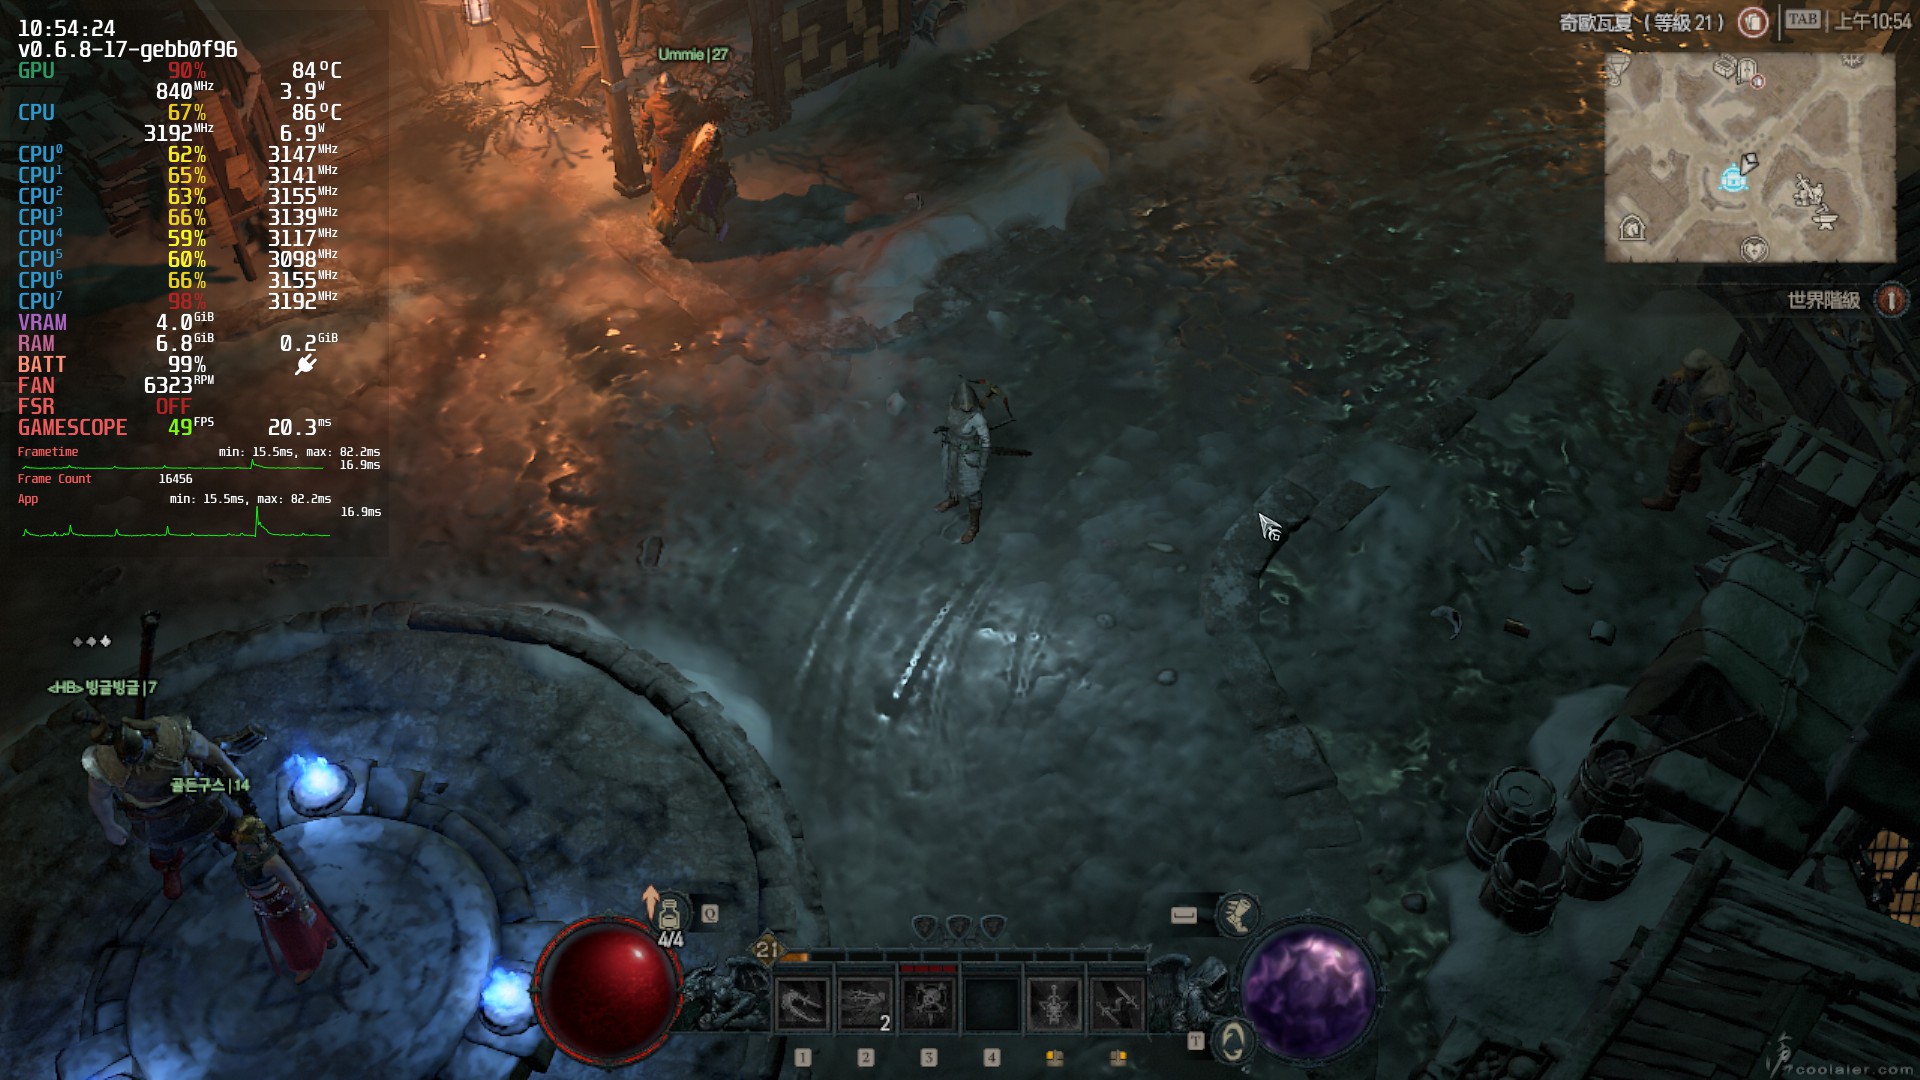
進入遊戲後,畫質應該是最低,張數表現最高有到60,遊玩上是沒有問題。
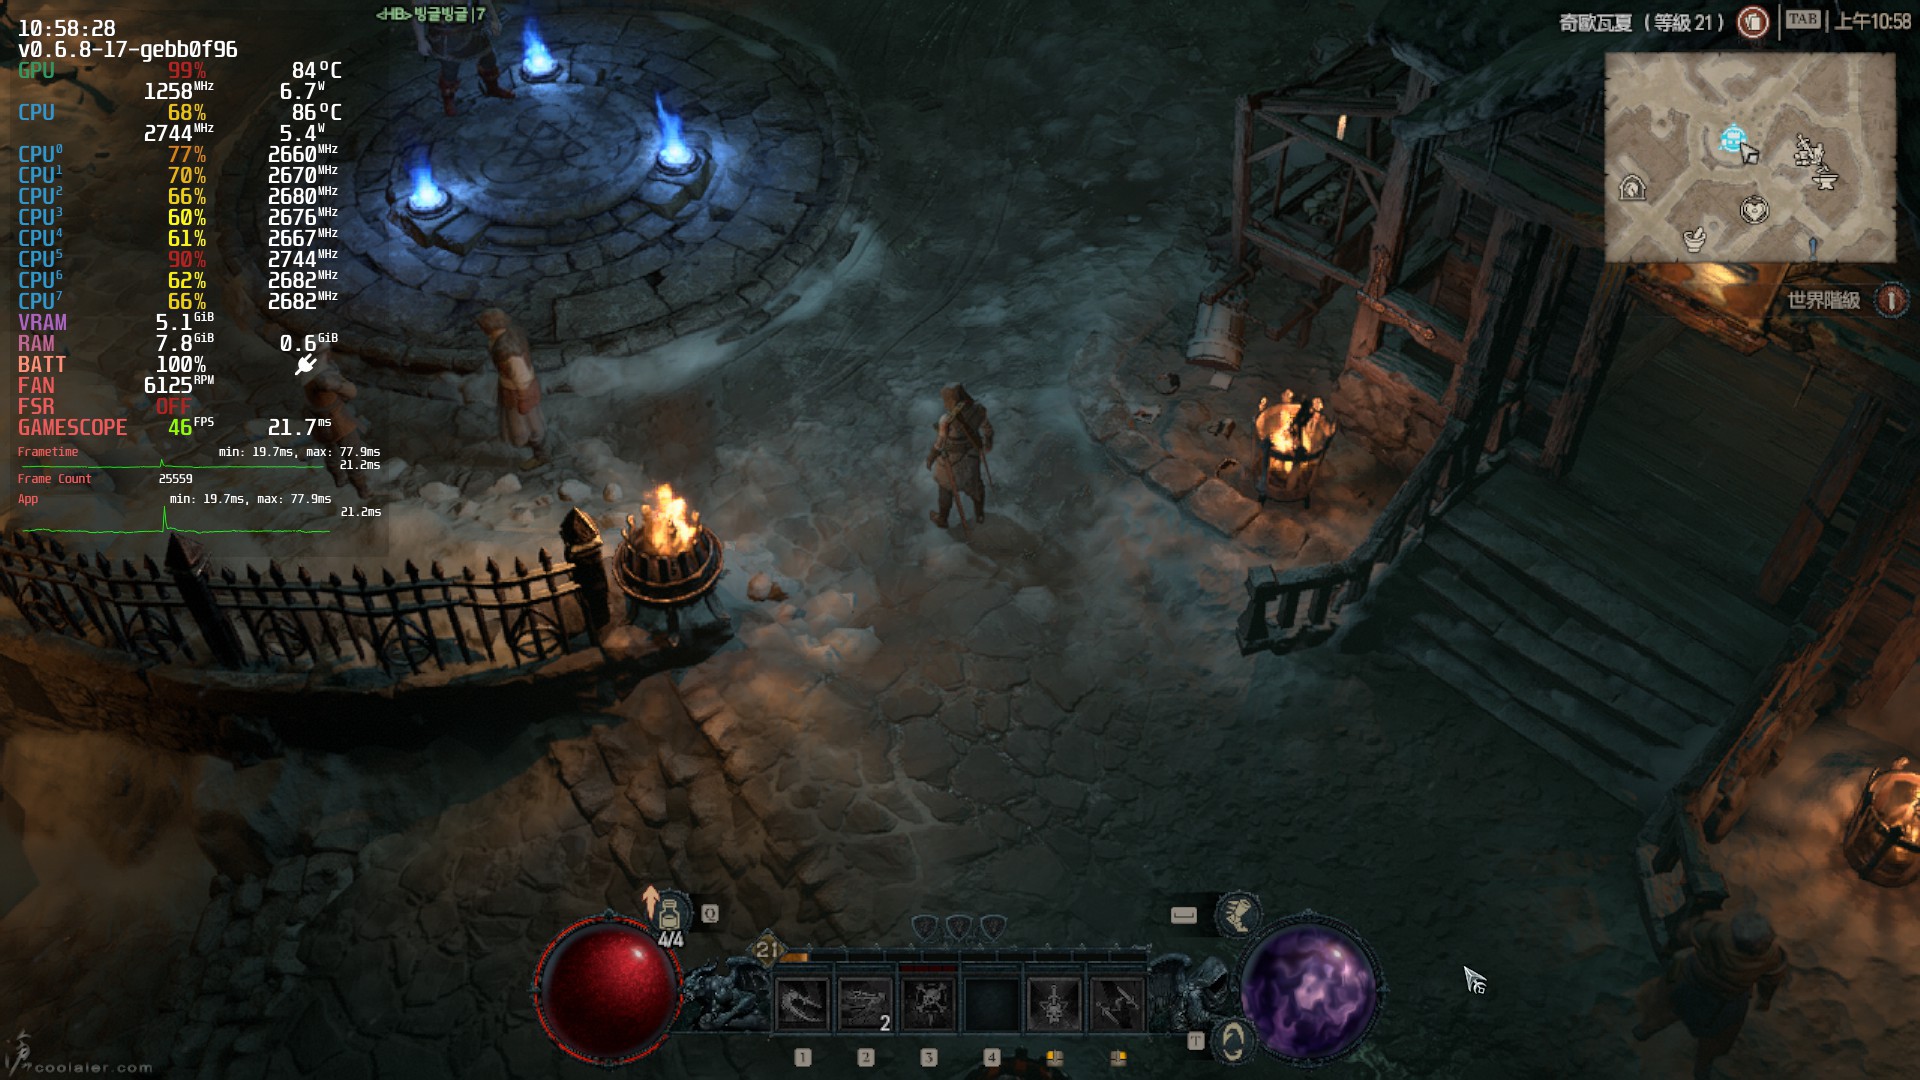
這邊把品質拉到高,FSR 2 設定為平衡。
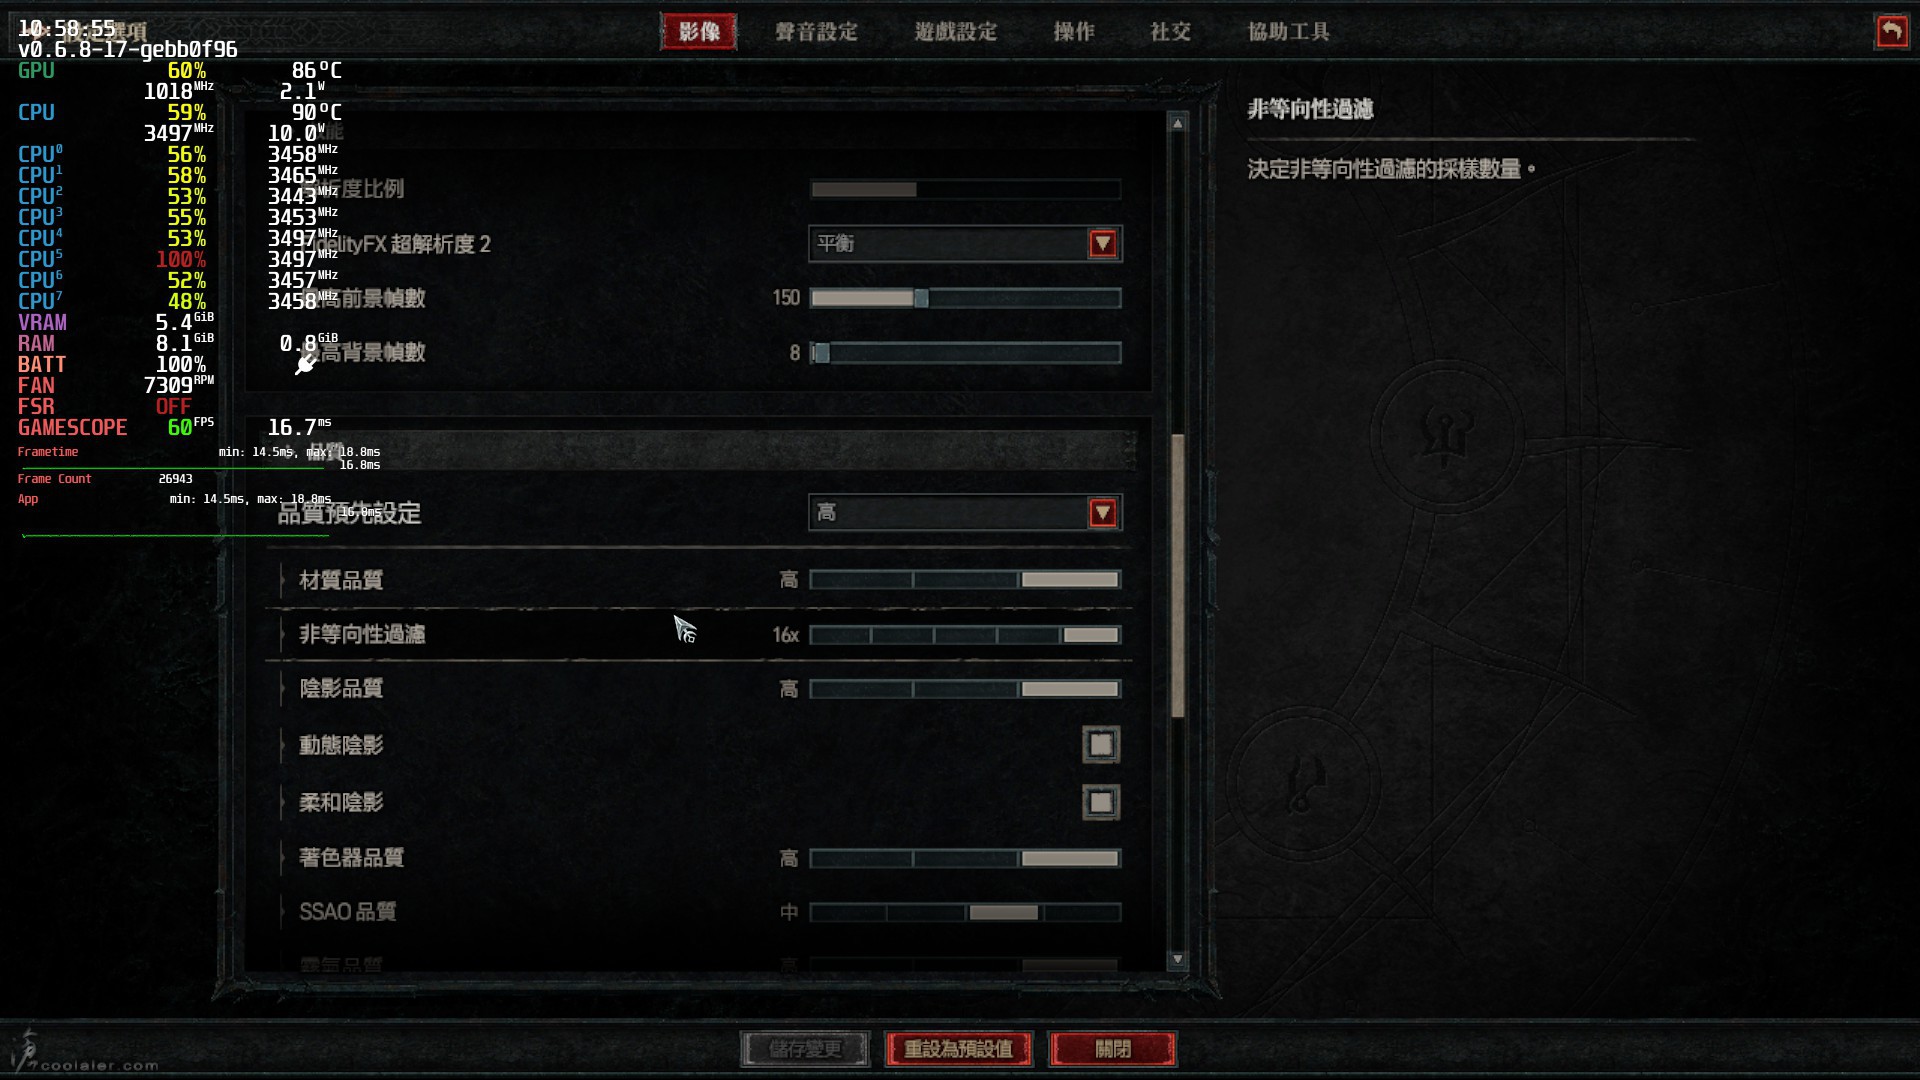
好像也還流暢喔。
首先進到桌面模式,在 Steam Deck 上面的電源選項選擇切換至桌面。進入桌面之後選擇在類似開始的選單上找到 Discover。
進入之後在左上角搜尋 ProtonUp-Qt,並進行安裝。
安裝的時候版本需要選擇 GE-Proton 7.51-diablo4_Beta 。
安裝完後,開啟瀏覽器進到暴雪的官網下載 Battle.net 的啟動程式 Windows 版本 。
然後先不要按安裝,這是沒用的。點選桌面版上的 Steam 應用程式,並在收藏庫中心新增非 Stem 遊戲。
選擇剛剛下載的 Battle.net 啟動程式,檔案類型需選擇 All Files 才會看得到。新增完後點選右鍵,選擇相容性,勾選強制使用特定 Steam Play 相容性工具,並選擇 Proton Experimental。
執行遊戲就會出現 Battle.net 啟動程式安裝選單,如有亂碼也沒關係。
接著就是選擇安裝《暗黑破壞神IV》。如果你已經有下載在 PC 上面,建議是可以直接把資料夾複製到 Steam Deck 上會快許多。另外看到有人表示沒有選擇高畫質素材可能會有不穩定的情形。個人是使用高畫質素材。
安裝完之後,還要再新增一次非 Steam 遊戲,這次選擇的是已經安裝好的 Battle.net Launcher.exe。其資料夾位置是在 home/deck/.local/share/Steam/steamapps/compatdata/ 裡面,找到最近的日期資料夾,會是一串數字,裡面的 pfx/drive_c/Program Files (x86)/Battle.net,檔案類型選擇 All Files 才會看得到。新增之後一樣要右鍵設定相容性,勾選強制使用特定 Steam Play 相容性工具,並選擇 Proton Experimental。
之後就可以點選開始遊戲。
打開遊戲之後就會是 Battle.net 的啟動介面。如果像下圖這樣沒有開始遊戲的選單。
可以在捷徑裡面設定啟動選項 –force-device-scale-factor=2 。這是設定 UI 介面的尺寸。
這樣就會出現開始遊戲的選單。
進入遊戲後,畫質應該是最低,張數表現最高有到60,遊玩上是沒有問題。
這邊把品質拉到高,FSR 2 設定為平衡。
好像也還流暢喔。