[轉貼]Vista 教學中心 [12月一次更新] 善用雙核加速開機

oooigtooo

一般般會員
已加入
2/17/07
訊息
101
互動分數
0
點數
0
把Vista 內的捷徑箭咀取消
今次教學所需的軟件: 1. .Net FrameWork 2.0 下載地址1
2. FxVisor 下載: For Vista (x86) For Vista (x64)

1. 先安裝 .Net Framework (Vista 基本尉內附, 如果冇請安裝)

2. 安裝 FxVisor

3. 打開 FxVisor
1-18.jpg


4. 你會看見有3個SELECT (Arrow / Light Arrow / No Arrow)
2-15.jpg


5. 隨你喜歉, 選取其中一個
2a.jpg


6. 按 Apply
3-12.jpg


7. 跟住佢會彈出一個視窗,問你是否陂山套用這項設定
4-13.jpg


8. 按 是
5-11.jpg


9. 重新登入

10. 完成
 

oooigtooo

一般般會員
已加入
2/17/07
訊息
101
互動分數
0
點數
0
關閉Vista安全性通知
1.首先去[控制台],找出[資訊安全中心]
safe1.jpg


2. 選[變更資訊安金中警示我的方式]
safe2.jpg


3.選第3項, [不要通知我,且不要顯示圖示] ,完成 :loveliness:
safe3.jpg
 

oooigtooo

一般般會員
已加入
2/17/07
訊息
101
互動分數
0
點數
0
解決Vista桌面沒有IE圖標的問題
係 VISTA桌面上顯示IE圖標

按住 Win鍵+R 在運行框中輸入 “regedit.exe” 到如下的註冊表分支:
HKEY_CURRENT_USER\Software\Microsoft\Windows\CurrentVersion \Explorer \HideDesktopIcons \NewStartPanel

  如果無以下lee 個分支,就建立一個;

  名為“{871C5380-42A0-1069-A2EA-08002B30309D}”的DWORD (32位) 註冊表項 ;

  將值設定為 "0";
完成

PS:當Windows Vista使用經典主題時,則應為:

  HKEY_CURRENT_USER\Software\Microsoft\Windows\CurrentVersion \Explorer \HideDesktopIcons \ClassicStartMenu

  
最後在Desktop 按 F5 即可....
 

kawaine

高級會員
已加入
5/28/08
訊息
566
互動分數
0
點數
16
真是不錯的教學.而且還圖文並茂.
 

oooigtooo

一般般會員
已加入
2/17/07
訊息
101
互動分數
0
點數
0
五個Vista必備小技巧
I.停用UAC使用者帳號控制

這點我們在反Vista!還我XP作業系統中就有提過了。對於許多剛進入Vista的使用者來說,每次安裝軟體、進入系統設定時,都會跑出這個東西,其實是很煩人的事情。其實這是為了安全考量的因素而加入了設定,像Ubuntu這類Linux distribution也有一樣的安全設定,不過如果你覺得很煩的話,也可以把它關閉。


關閉的方法為:
downtoxp_106.jpg

1. 視窗開始功能表->控制台
downtoxp_107.jpg

2. 點選「使用者帳戶」
downtoxp_108.jpg

3. 點選「使用者帳戶」裡面的「使用者帳戶」
downtoxp_109.jpg

4. 點選最後一項「開啟或關閉使用者帳戶控制」
downtoxp_110.jpg

5. 終於來到目的地,將方框內的打勾「去掉」,按下確定
downtoxp_111.jpg

6. 必須重新開機才會套用這項設定

II.改變預先安裝的Vista功能

Vista就像每一代的Windows一樣,會有許多預先設定好的功能,但是你從來沒用過,或是不想要。如果你想要改變的話,也很容易。

1.點選控制臺

2.選擇程式集大選項
snap1.jpg

3.選擇開啟或關閉Windows功能
snap2.jpg

4.選取你想要的功能,或是取消你不想要的功能。
snap3.jpg

遠端差異壓縮?那是什麼鬼

III.儲存搜尋

發現你常常尋找某種類似的檔案?想要儲存你常用的搜尋,方便下次再用嗎?可以用這個方法。

1.點開始鍵然後選搜尋,或者是按視窗鍵+F,來開啟搜尋方塊。

2.輸入你的搜尋項目

3.點選儲存搜尋
snap4.jpg

4.幫你的搜尋取名字,然後按存檔
snap5.jpg

5.想要下次再用的話,點選在最愛連結下方的搜尋連結
snap6.jpg


IV.快速啟動

把所有的程式捷徑放到桌面上顯得混亂,而且要開啟時得把所有視窗移開。而要從開始選單中點選程式則很費時,所以在工作列上的快速啟動就變成了我最常用的方法。

1.如果快速啟動列沒有出現在你的工作列上的話,請在工作列上按右鍵,然後移到工具列,點選快速啟動
snap7.jpg

先把快速啟動列叫出來

2.你可以用拖拉的方式把程式捷徑放到快速啟動列上

3.Vista另外還多加了熱鍵功能來操作快速啟動列。你可以用視窗鍵加上數字來執行快速啟動列上的程式。比如說Firefox名列第五的話,你可以按視窗鍵+5來啟動Firefox,如果你有十個icon,那視窗鍵+0代表啟動第十個程式。超過十個的部份則無法使用這個熱鍵功能。

V.使用Ready Boost

Vista有個功能叫做Ready Boost,理論上可以透過加上隨身碟的方式,來達到提昇系統效能的功能。要開啟的方式很簡單。
snap8.jpg

3.點選使用這個裝置
snap9.jpg

至於會有多少效能的提昇,視你使用的隨身碟、記憶卡或是Turbo Memeroy而定,很難有個確定的數字。

這五個小技巧對於使用Vista上或多或少有點幫助,如果你有其他的點子,或是自家的小技巧,也歡迎和我們分享喔。
1.先裝上一個隨身碟或是記憶卡

2.當自動播放的視窗出現時,點選加速我的系統
 

oooigtooo

一般般會員
已加入
2/17/07
訊息
101
互動分數
0
點數
0
Dual Boot Windows XP and Windows Vista (Eng)
Prepare Windows Vista
This tutorial assumes that Vista has been installed on a partitionwhich takes up 100% of the hard drive, so we need to create some space.Boot off the Vista DVD. Hit Next from the start screen and then select“Install now”. (If Vista came preinstalled on your machine and youdon't have a Vista install DVD, you can use the Gnome Partition Editor Gparted to do it.)
prepare+vista+01.article-width.jpg


Don’t type in your product key and untick “Automatically activateWindows when I’m online”, then hit “Next”, and “No” when asked whetheryou want to enter the key.

prepare+vista+03.article-width.jpg


When prompted to choose the edition of Vista you’re installing you canactually select any of them as we’re not doing a Vista install at thispoint. Also tick “I have selected the edition of Windows that Ipurchased” and hit “Next”.

prepare+vista+04.article-width.jpg


Accept the license terms and hit “Next” again, then choose a Custom installation.
On the screen where you’re asked where you want to install Windows,you should see a single large partition marked Primary – this is whereVista is already installed.


prepare+vista+06.article-width.jpg


Press SHIFT + F10.

prepare+vista+07.article-width.jpg


Type in DISKPART and press Enter. This opens the Microsoft DiskPartapplication. You need to select the active disk, so type in:
list disk
The primary disk is generally Disk 0, so type in:
select disk 0

prepare+vista+08.article-width.jpg


Now we need a list of volumes on this disk, so type in:
list volume
In this case Volume 0 is the one we want, so type in:
select volume 0
prepare+vista+09.article-width.jpg


Now type in:
shrink
prepare+vista+10.article-width.jpg

DiskPart will go off and reclaim as much of the drive as it can – you should get at least 50% of the space back.
Now type
EXIT
and
EXIT (again)
to quit the command window and get back to the install screen.Click Refresh and the partition window will update – you should now seethe original Primary partition plus a brand new partition.


prepare+vista+11.article-width.jpg


This is where we will install Windows XP. Eject the DVD, restart themachine (just hit the reset button) and boot off the Windows XP CD.

Now, install Windows XPWhen the Windows XP setup reaches the point where you’re promptedwhere it is to be installed, you’ll see that while XP can see the spacewe created earlier, it can also see the partition with Vista on it.


install+xp+01.article-width.jpg


You should be able to see the space you reclaimed on the disk earlier which has become "unallocated space".
Create a second partition using the Windows XP installer screenabove by selecting the free space on the drive and pressing "C" tocreate a partition (if prompted, choose NTFS as the file system.)
Irritatingly, XP assigns a drive letter to this partition (C:) whichmeans that it will use the next available drive letter after all theother physical drives have been taken into account.
This means that the system drive of the XP installation won’t be C:.
From XP’s perspective this isn’t really a problem – it’s smartenough to figure out where everything should go – but some applicationsmake assumptions about where they should install to, and can’t copewith a non-standard Windows configuration.
This was also the case with our tutorial on dualbooting Ubuntu andXP, where Ubuntu had been installed first. However in that scenario,even though the XP system drive had a non-standard drive letter, itcouldn’t read the Linux partitions so there was no danger of the twosystems overlapping. This is not the case with Vista/XP.
Nonetheless, install XP as normal – there’s no need to do anything differently.

When the system reboots it won’t bring up a boot menu. Although XPrecognises the Vista partition it doesn’t recognise Vista itself.
The Windows XP bootloader gets installed to the MBR and Vista can no longer boot.
When XP loads, open up Windows Explorer and you’ll see something interesting – a C: and (in this case) an E: drive.
The C: drive contains Windows Vista, and as Windows XP can read NTFSpartitions, it can browse and modify Vista’s file structure.
More importantly, applications which have installation pathshard-coded into their install scripts rather than using Windows systemparameter variables could easily dump files into C: when they should beinstalling to E:. This isn’t such a great situation.

install+xp+02.article-width.jpg

Because you can’t use the Windows XP bootloader to boot Vista, you haveto reinstate Vista’s bootloader to the MBR and configure it to manageboth operating systems.

Boot from the Vista DVD and on the screen where you’re prompted to “Install now”, select “Repair your computer”.

repair+vista+01.img_assist_custom.jpg

The next screen searches for local Vista installations – there should only be one, so click Next.

repair+vista+02.img_assist_custom.jpg


This loads the System Recovery Options screen. Select the first option– Startup Repair. This looks for problems which would prevent Vistafrom loading (like a missing bootloader) and automatically fixes them.

repair+vista+03.article-width.jpg

If you click on “Click here for diagnostic and repair details” andscroll to the bottom of the list, it shows that the problem detectedand repaired was a corrupt boot sector (according to Vista, anyway).

repair+vista+04.article-width.jpg

Click Close and then Finish, and the system will restart and boot into Vista.
Now we need to enable dualbooting with XP, and EasyBCD is the best application to achieve this.
Launch the app and go to Add/Remove Entries.
Under “Add an Entry” and under the Windows tab and select in the Version drop-down list “Windows NT/2k/XP/2k3”.
Change the Drive to E:\ and the name to “Windows XP”, then click “Add Entry” and “Save”.


vista_xp_easybcd.article-width.jpg

Reboot the system and you’ll have two entries in the Vista bootloader, and can boot into either operating system.
dualbooting+04.article-width.jpg
 

oooigtooo

一般般會員
已加入
2/17/07
訊息
101
互動分數
0
點數
0
47個 vista 優化登錄檔
【軟體名稱】:windows vista登錄檔 47個
【軟體語言】:
【檔案格式】:RAR
【檔案大小】:17KB
【下載位置】:下載地址1 下載地址2 下載地址3 下載地址4


【軟體介紹】:不必安裝 直接解壓縮 然後點選自己想要的即可
[font=仿宋_GB2312]
3秒鐘提昇系統效能.reg
IE瀏覽器 網址 輸入 [g 關鍵字] 即可用google 搜尋.reg
修改記憶體運作方式.reg
加大 CPU L2 Cache.reg
加大桌面圖示快取為 8MB.reg
加快 ADSL通訊協定速度.reg
加快開始功能表拉開的速度.reg
加速『開始』功能表開啟速度.reg
加速存取區域網路電腦存取時間.reg
取消檢查對方「印表機和傳真」,以加快共用資料夾顯示速度.reg
取消螢幕保護程式.reg
右鍵 命令提示字元 .reg
右鍵 在新視窗打開 .reg
啟用大的系統快取程式能以最快速度獲取所需資料.reg
在裝置管理員看到目前或曾經擁有的硬體裝置.reg
增加 IE可以同時下載數為 16個檔案.reg
增加工作列按鈕群組的數量為 16個.reg
增大 DNS快取以加快 IE瀏覽器閱讀網頁能力.reg
建立捷徑時不顯示『捷徑』兩個字.reg
徹底清除登錄檔中的駭客程式.reg
應用程式關閉後,完整釋放系統資源.reg
提升 NTFS檔案系統的效能.reg
提昇檔案系統運作效率.reg
改 IE的首頁畫面為「Yahoo!奇摩」.reg
當你關閉這些影像檔asf、avi、wmv後,允許你可以移動、重新命名、刪除而沒有錯誤.reg
當使用 IE下載檔案後,直接結束對話方塊.reg
當在「我的電腦」上按滑鼠右鍵(次要鍵)後,新增選項→「 登錄編輯程式」.reg
當在「檔案」上按滑鼠右鍵(次要鍵)後,新增選項→「使用記事本開啟」.reg
登出時保時連線.reg
禁用記憶體頁面調度.reg
移除捷徑上的小箭頭.reg
縮短不正常關機.reg
解決硬碟轉個不停.reg
設定輸入輸出快取大小為 64MB,可以減少 P2P軟體對硬碟的傷害.reg
調整「前景應用程式」與「背景服務」的處理時間為 1比1.reg
調整網路傳輸設定,以增加寬頻上網速度.reg
讓 Windows Media Player的預設檔案類型能看到dat、mov、ra .rm、rmvb.reg
讓系統自動關閉停止回應的程式.reg
關機之後自動關閉電源.reg
關閉 Windows Media Player的「媒體導覽」功能,加快開啟的速度.reg
關閉Windows Media Player自動更新.reg
關閉將視窗最大化或最小化的動畫效果.reg
關閉所有磁碟機與光碟機的自動執行功能.reg
關閉第一次登入 MSN時會顯示出NET Passport精靈.reg
關閉系統預設開啟的分享資料夾.reg
關閉自動重新啟動功能.reg
降低「CMOS即時時鐘」對系統的分發請求,以增進效能.reg[/font]
 

oooigtooo

一般般會員
已加入
2/17/07
訊息
101
互動分數
0
點數
0
Vista 更換磁碟機代號
! 第一步 按電腦 右鍵 ->管理 ->左邊選(磁碟管理)

! 第二步 選你想變更代號的分區,之後按右鍵選(變更磁碟機代號及路徑)


! 第三步 見到 變更磁碟機代號及路徑面板 按(變更),再更改代號~ 確定 ~ 完成!!
PS如果想用的代號巳被使用,請先更改巳被用的代號為其他代號~再更改~~
 

oooigtooo

一般般會員
已加入
2/17/07
訊息
101
互動分數
0
點數
0
更改Windows Vista 開機畫面
本教學所需軟件:Vista Boot Logo Generator
下載地址1 下載地址2 下載地址3

1. 首先安裝 Vista Boot Logo Generator
1-21.jpg

2-16.jpg

3-13.jpg

4-14.jpg

5-12.jpg

6-9.jpg

7-8.jpg


2. 尋找你想更改開機畫面的圖.. (本人已Win 98 示範)
8-5.jpg


3. 使用軟件將你果幅圖分別製成 800*600 及 1024*768 的bmp 24 bit 檔... (本人使用FLASH, 較快)
9-6.jpg


4. 開啟程式
10-4.jpg


5. 兩邊分別browse 圖片入去. (切勿放錯SIZE, 請在改名時留意)
11-4.jpg

12-3.jpg

6. 開始 > 執行 > cmd
13-3.jpg


7. 打入以下CODE... ([ENTER] 代表按Enter)
引用:
takeown /f C:\Windows\System32\zh-TW\winload.exe.mui [Enter]
(xxxx 代表用家本身的VISTA帳戶名稱)
cacls C:\Windows\System32\zh-TW\winload.exe.mui /G xxxx:F


8. 係程式入面 [File] [Save Boot Screen File As]
14-1.jpg


9. 貼入去並取代...
P.S: C:/windows/system32/zh-TW/winload.exe.mui


10. 開始 > 執行 > msconfig
15.jpg


11. [開機] > [無GUI開機]
17.jpg


12. 重新開機即可.....


P.S. 以上的教學, 本人是以台灣版Windows Vista 作示範... 如果是使用香港版的朋友
請將 zh-TW 改為 zh-HK 即可


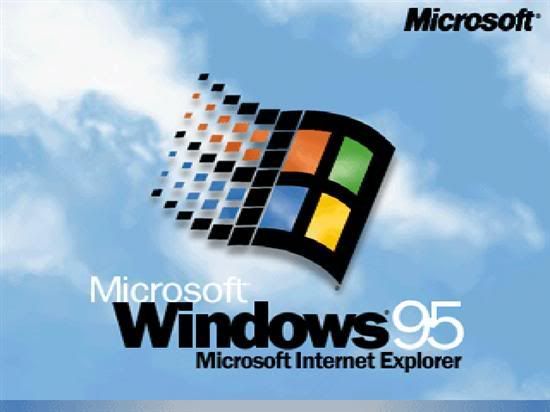
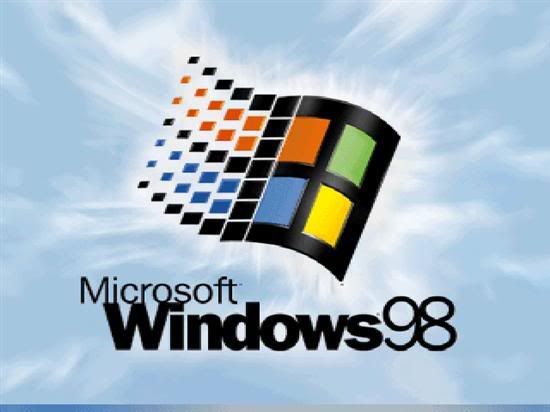
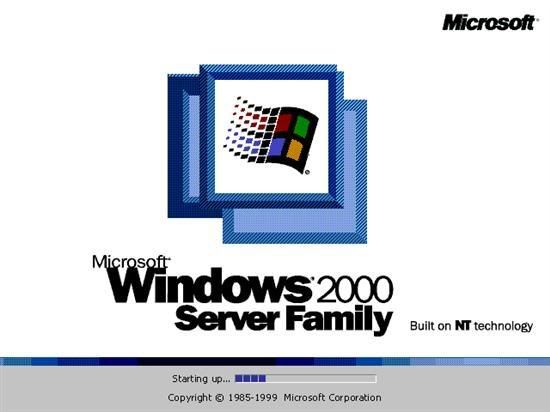
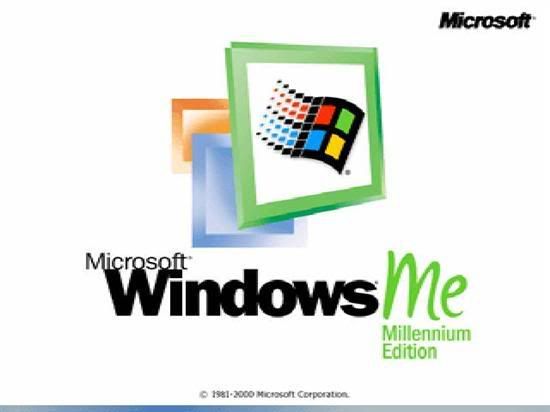
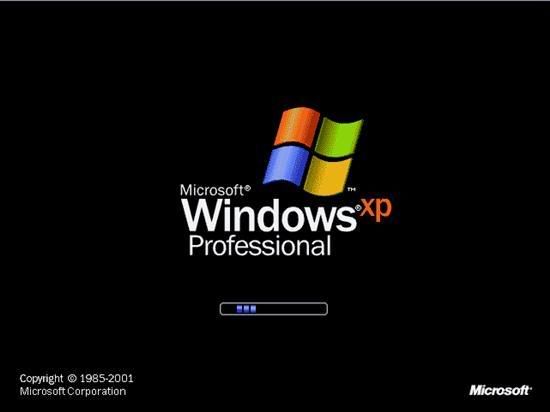
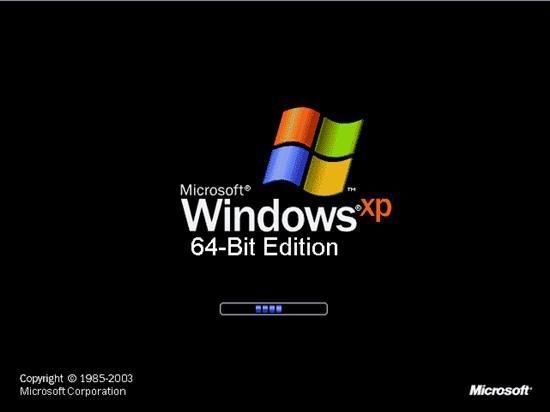
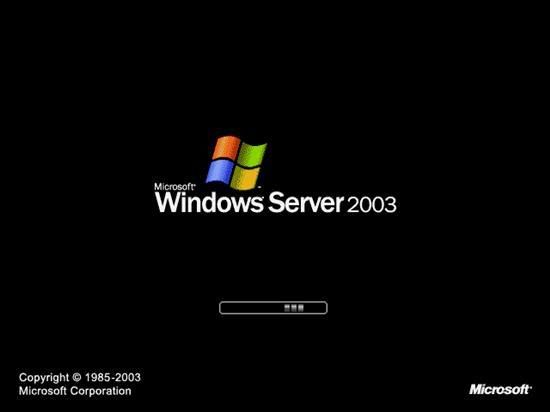
以下是一些以前舊版WINDOWS 的開機畫面.....
[font=新細明體] [/font]
[font=新細明體][/font]

[font=新細明體] [/size][/font]

[font=新細明體] [/size][/font]
[font=新細明體][/font]
[font=新細明體] [/size][/font]
[font=新細明體][/font]
[font=新細明體] [/font]
[font=新細明體][/font]
[font=新細明體][/font]

[font=新細明體] [/font]
[font=新細明體][/font]
[font=新細明體][/font]
\[font=新細明體] [/font]

[font=新細明體] [/font]
[font=新細明體][/font]

[font=新細明體] [/font]
[font=新細明體][/font]
[font=新細明體] [/font]
[font=新細明體] [/font]

 
最後編輯:

oooigtooo

一般般會員
已加入
2/17/07
訊息
101
互動分數
0
點數
0
救回被刪的資源回收筒
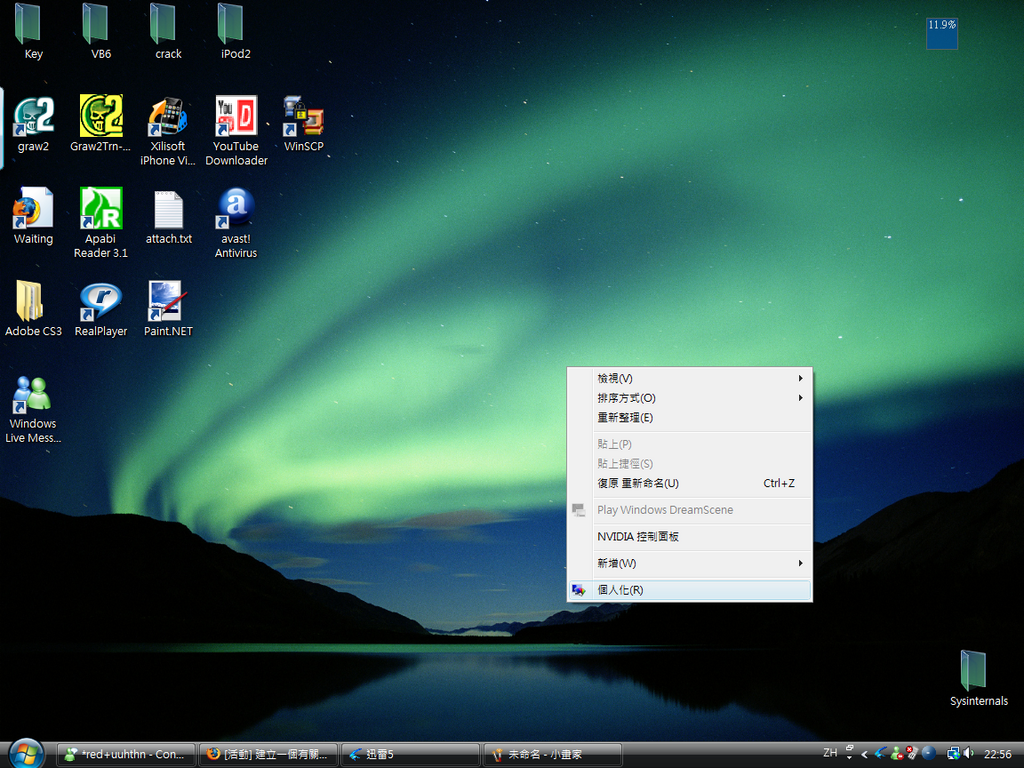
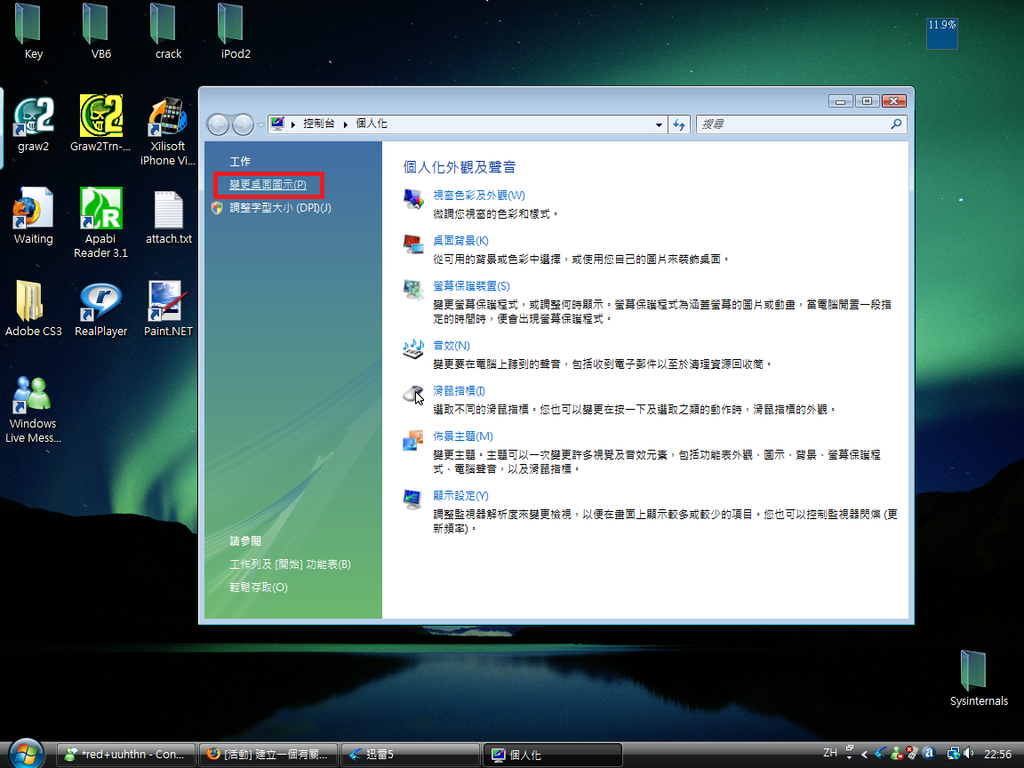
1. 在桌面右按 -> 個人化
1. Right Click -> Properties
teaching10.png


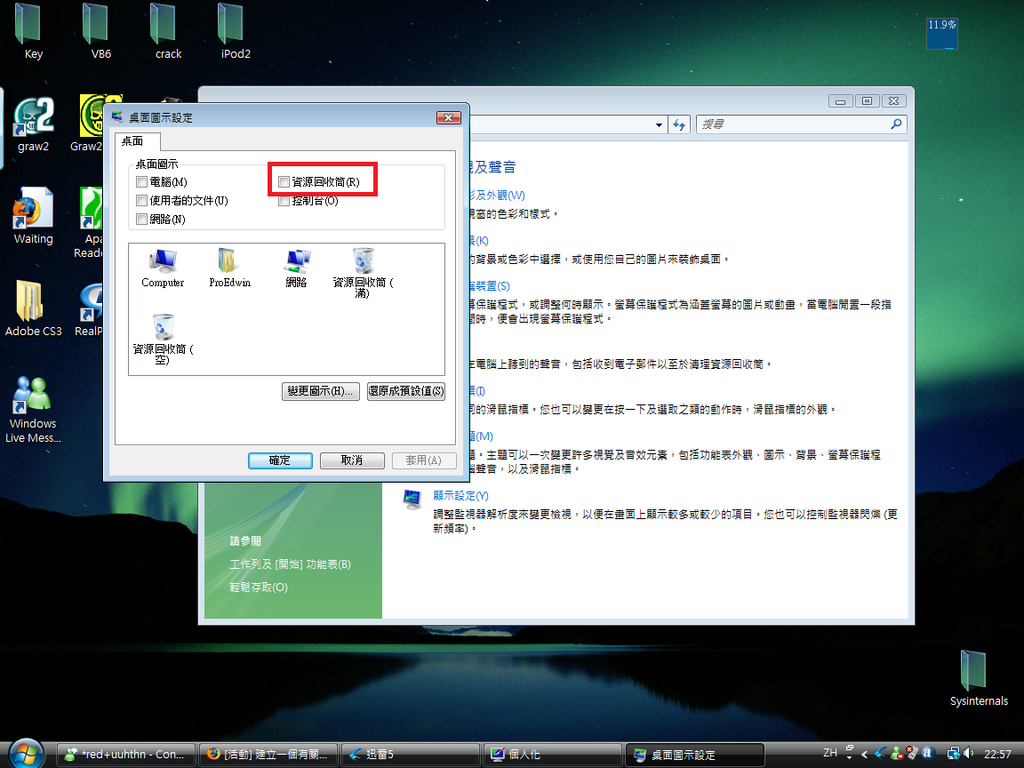
2. 按變更桌面圖示
2. Click Change Desktop Icons

teaching11.png


3. 按資源回收筒
3. Click Recycle Bin

teaching12.png


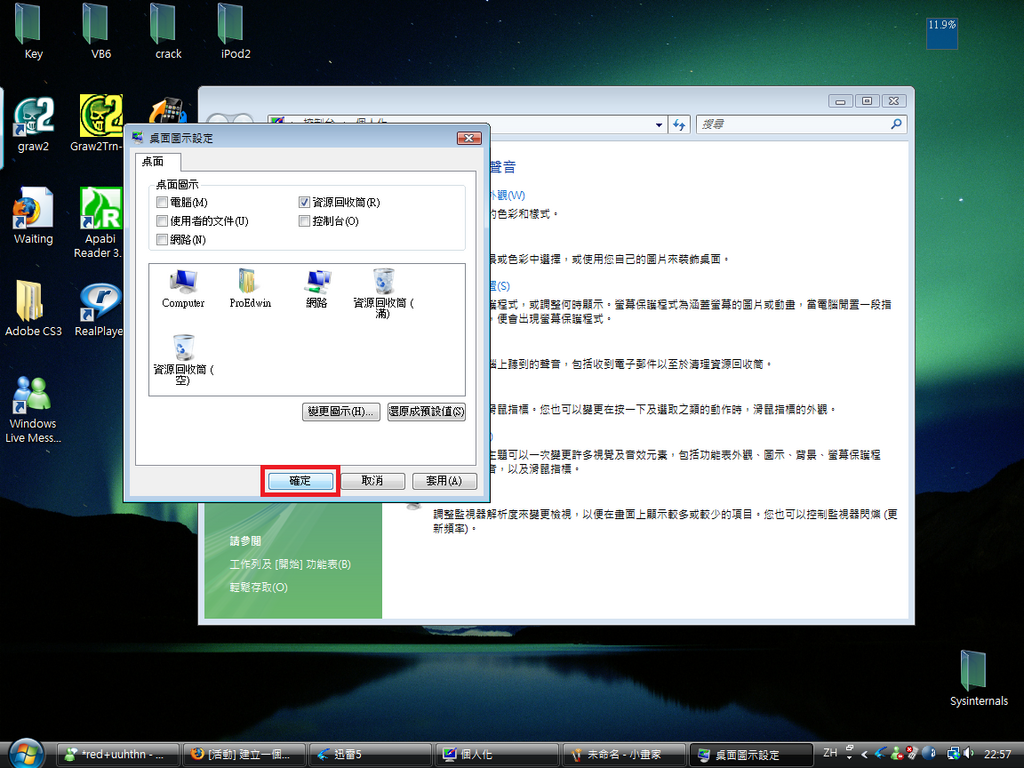
4. 按確定
4. Click OK

teaching13.png


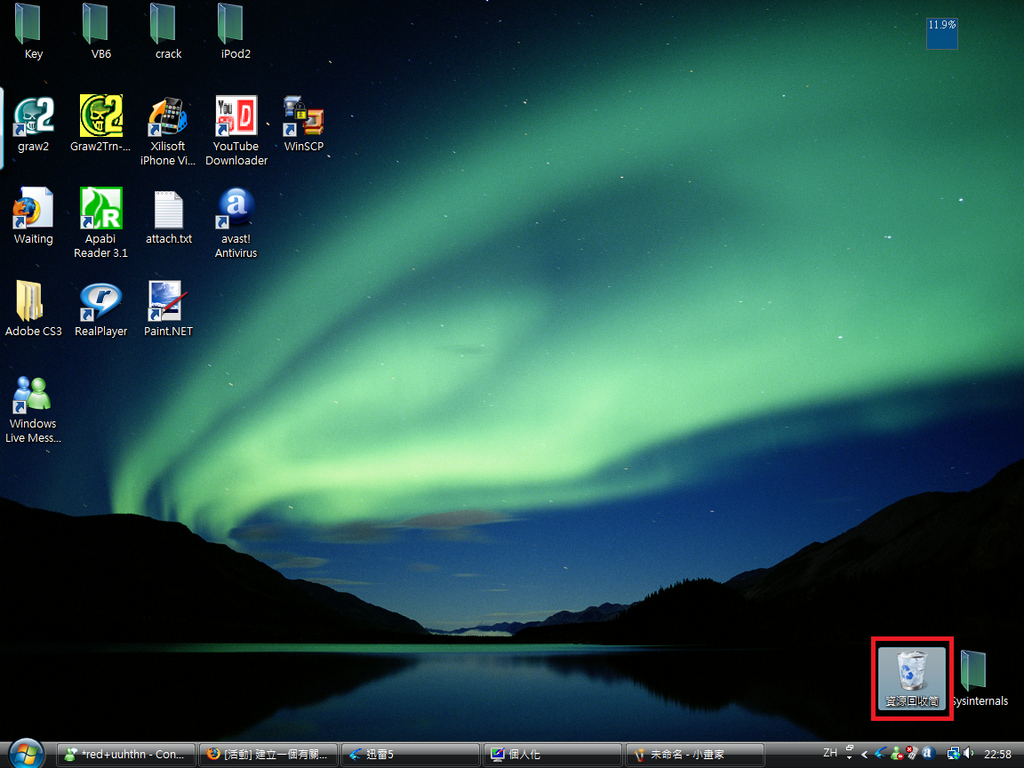
5. 完成
5. Done


teaching14.png
 
▌延伸閱讀